Your cart is empty.
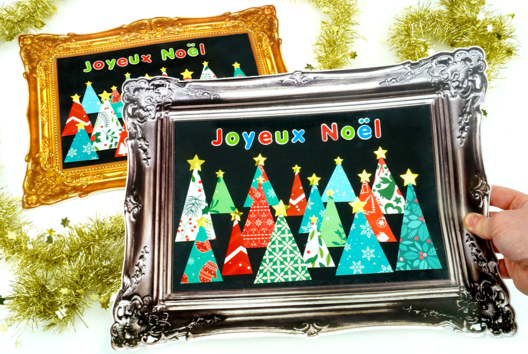
3D Christmas Tree Card
3D Christmas Tree Card


Holiday card with 3D paper tree
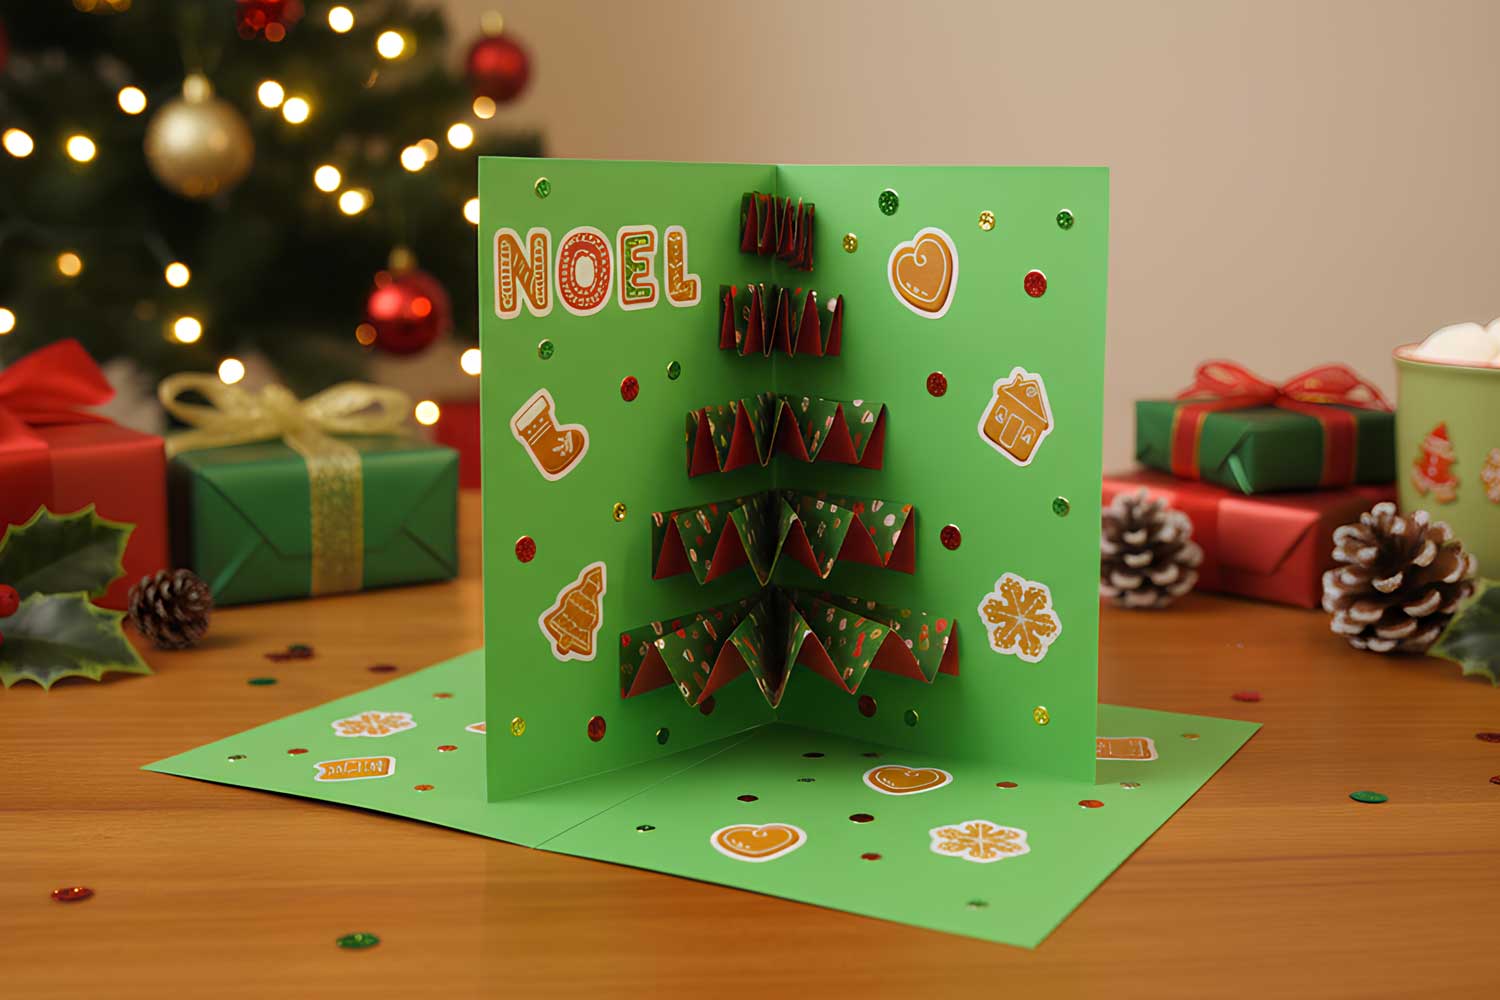
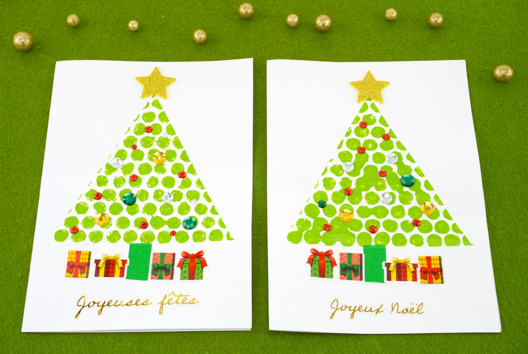
Surprise your loved ones with an original and festive greeting card! This tutorial guides you step by step to create a 3D tree inside a card, using the simple technique of paper accordion folding.
Just fold strips of decorative Christmas-themed paper in an accordion style, then assemble them to form the different branches of the tree. Add some stickers, foam stickers, or shiny decorations to personalize your creation and give it even more magic.
Thèmes de l'idéa créa :
#Christmas Cards
#Adult Tutorials
#Complete Guide to Starting Scrapbooking
#I Decorate a Card
How to complete this tutorial step by step?
Step 1

On a sheet of colored paper (red here), draw 5 strips of different widths: 1.5 cm, 2.5 cm, 4 cm, 5.5 cm. These will form the different branches of the tree.
Step 2
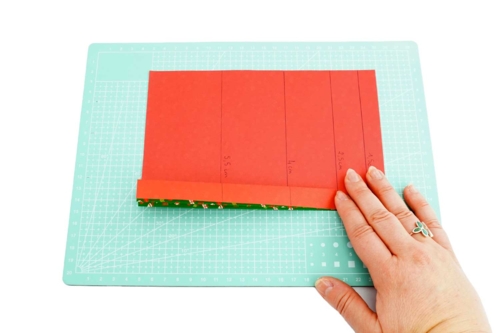
Fold the entire sheet accordion-style, perpendicular to the drawn lines. Make sure to keep the folds regular.
Step 3
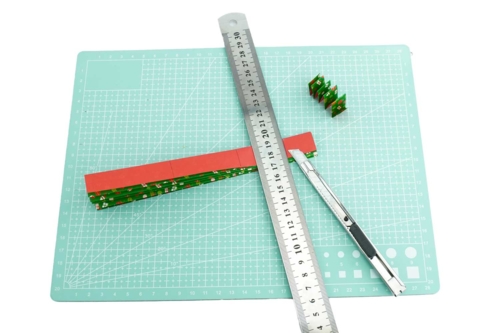
Cut the strips following the marks made in step 1. Continue until you have 5 accordions of increasing sizes.
Step 4
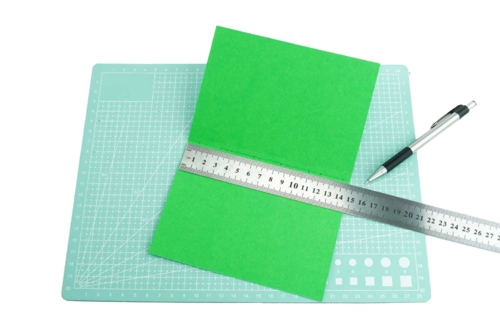
Cut an A4 sheet in half to form the card. Inside, draw a central line and mark points every 2 cm.
Step 5
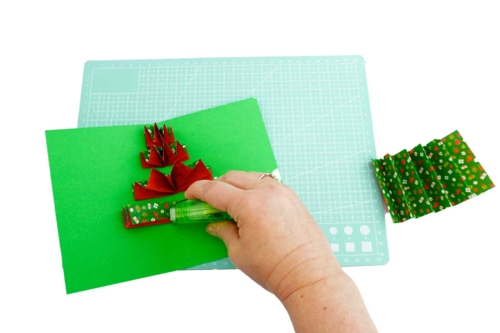
Glue the folded strips inside the card, starting with the smallest at the top and following the marked references down to the largest at the bottom.
Step 6
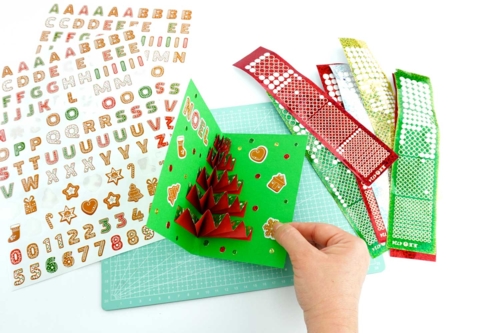
Finish by decorating with stickers and foam stickers for a festive and creative touch.
The products used:
The products used:


3,59€ (either 0,36 € / pc)
Available

2,49€
Available
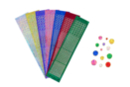
Round Rhinestone Stickers - 7 Sheets
Réf. 44536 - Product sheet
3,99€ (either 0,57 € / pc)
Available

Other tutorials on the theme "Christmas Cards"
-
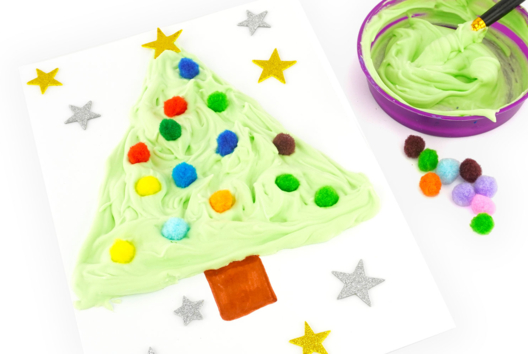
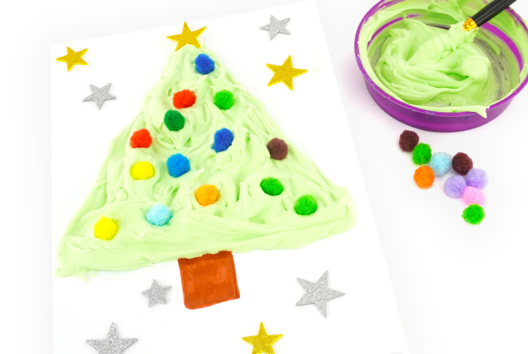
Christmas Tree - Puffy Paint
C16596View 19194 time


-
Christmas Card with Bubble Wrap
C11183View 21471 time
-

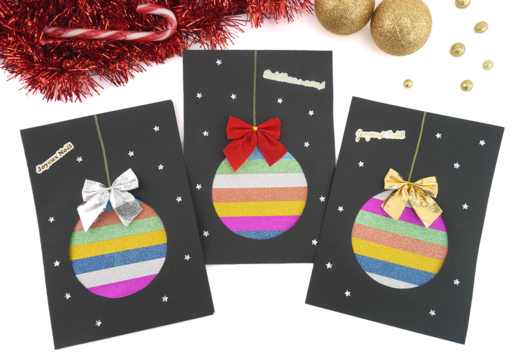
Christmas Bauble Greeting Card
C11023View 33894 time
-

Canvas "Christmas Tree Forest"
C11175View 16365 time
-

Christmas Sticker Boards
C14848View 27490 time -
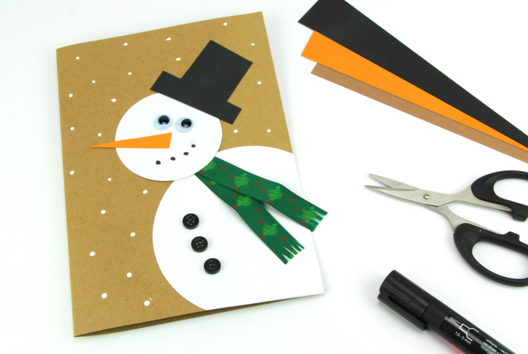
Snowman Card
C14476View 54949 time
Très agréable à faire mais manque d’explications, pas assez détaillé surtout pour les guirlandes du sapin