Your cart is empty.
Kids Makeup: The Tiger


Kids Makeup: The Tiger


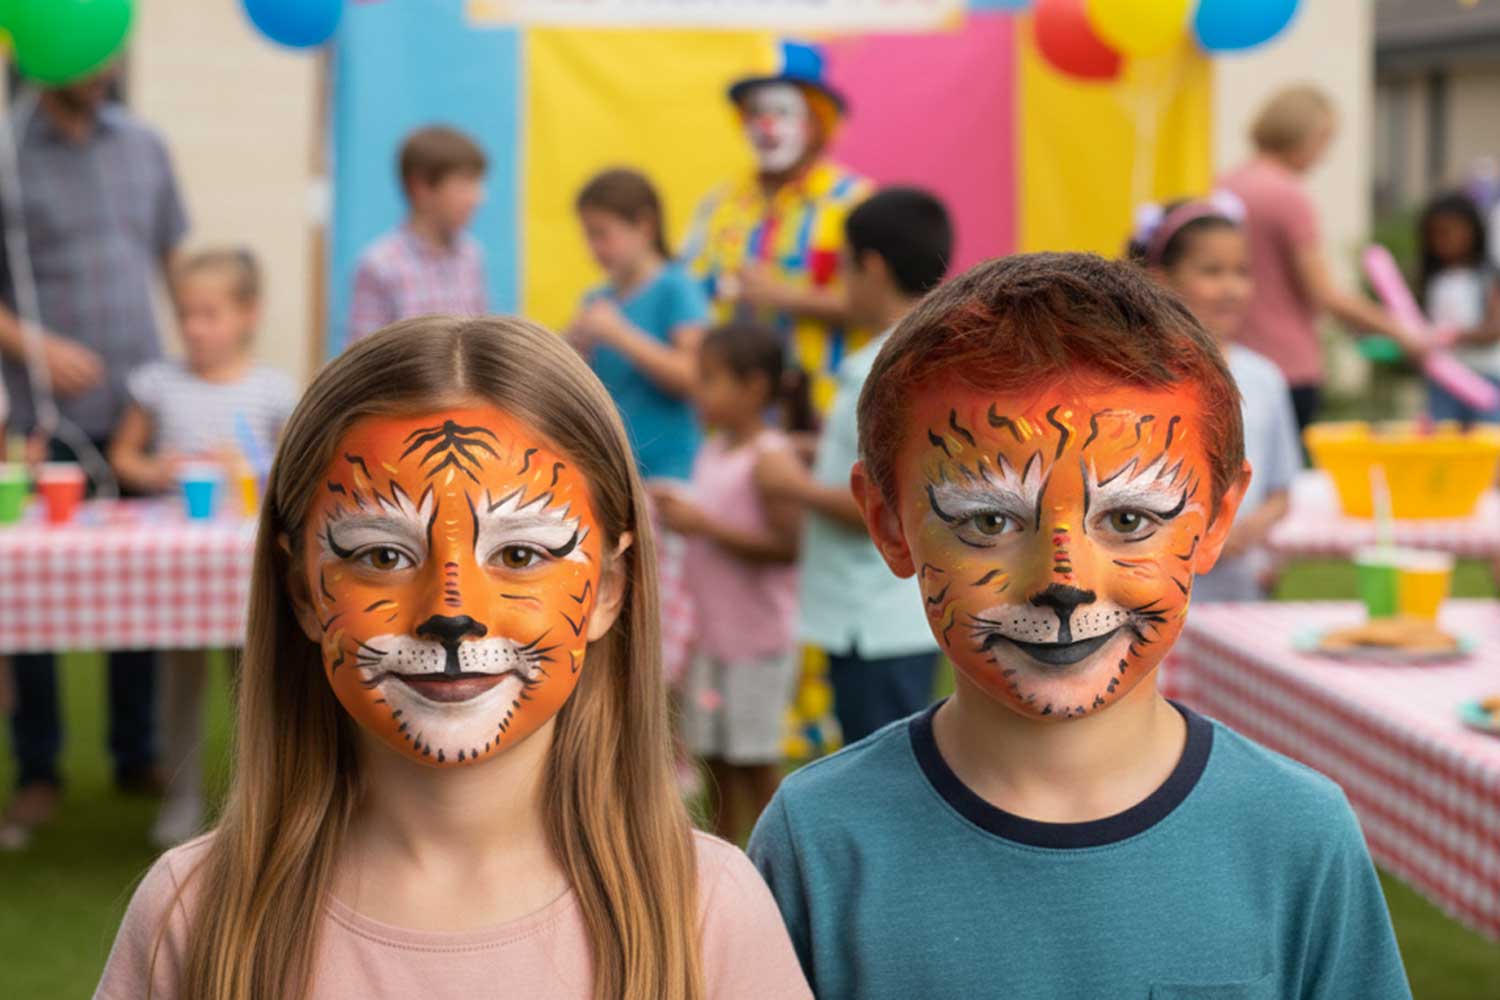
Are you looking for a creative activity to transform your child into a true king of the jungle? This detailed tutorial explains how to achieve an easy and professional tiger makeup in just three key steps. Whether for a school party or a birthday snack, this method guarantees an impressive result with simple materials.
To achieve a result identical to ours in the photos, we recommend using the Grim'tout carnival makeup palette. It is the ideal accessory for parents and communities (schools, leisure centers) as it is designed to be complete and safe.
It already contains a brush and a sponge, as well as all the necessary colors (yellow, orange, white, and black) to successfully create your tiger.
Guaranteed Safety: This makeup complies with the strictest cosmetic standards, which is essential to protect the fragile skin of young children.
Expert Tip: Before you start, make sure the child’s face is clean and free of overly greasy cream, so that the color adheres perfectly from the very first application of the sponge.
How to complete this tutorial step by step?
Step 1: Create the Colored Base
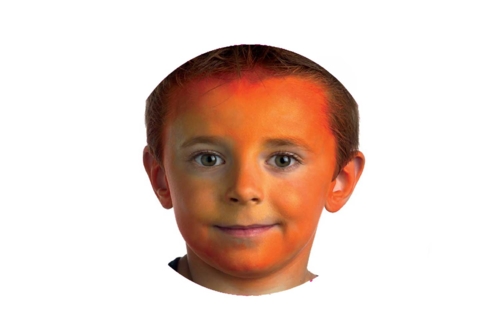
This phase involves preparing the face by applying the base colors using a damp sponge, which helps achieve a natural gradient.
Lightly moisten your sponge before picking up the paint. Apply the yellow color to the central area of the face, particularly on the forehead, nose, and cheekbones.
Then, use the orange color to cover the outer contours of the face, moving up toward the temples and jawline.
Finishing: Gently dab at the junction of the two colors to create a smooth blend between the yellow and orange.
Step 2: Add White Areas with a Brush
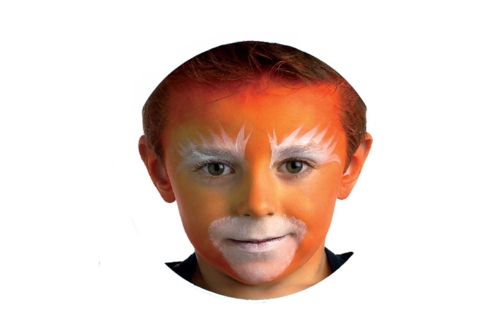
Use a clean brush and slightly diluted white paint for precise application.
The Muzzle: Paint a rounded white area all around the mouth and on the chin to form the muzzle.
The Eyebrows: Draw pointed and jagged shapes above each eyebrow, extending the tips up towards the forehead to give a "furry" appearance.
Step 3: Finishing Touches
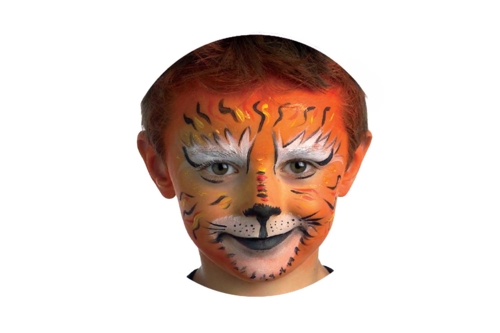
Nose and Mouth: Using a fine brush and black paint, paint the tip of the nose, then draw a vertical line down to the upper lip, which you will also color black. Add small black dots on the white area of the snout to simulate whisker placement, then draw fine whiskers on either side.
Eyes: Accentuate the gaze by drawing a black line along the upper and lower lashes, extending the line outward for a "cat-eye" effect.
Stripes: Draw black stripes in the shape of points or flames on the forehead, cheeks, and chin. Make sure they point towards the center of the face for added dynamism.
Final Touches: You can add a few small yellow or red strokes between the black stripes to give even more depth to the fur.
The products used:
The products used:

Other tutorials on the theme "Makeup Tutorials"
See all tutorials on "Makeup Tutorials"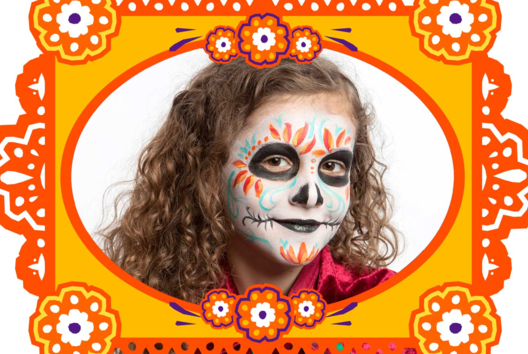


Customer review
Give your feedback
Kids Makeup: The Tiger
Be the first to share your review of this product.
Post a review