Your cart is empty.
Bracelets with Craft Sticks


Bracelets with Craft Sticks
In this tutorial, you will learn how to make beautiful personalized bracelets using wooden craft sticks.
A fun, easy, and low-cost activity that children will love!
To see the video tutorial, click on "VIDEO" below the main photo.
Thèmes de l'idéa créa :
#Jewelry Creation Tutorials
How to complete this tutorial step by step?
Etape 1.

To make a bracelet you need :
- a 15 cm natural wooden stick
- a large container
- a glass with a diameter of about 7 cm
- a hole punch
- 1 mm diameter waxed cotton cord
- POSCA markers or acrylic paint
- masking tape
Etape 2.
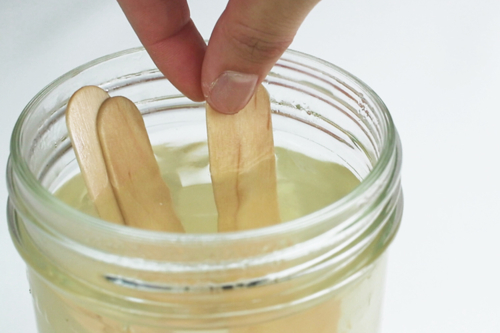
Soak the wooden sticks in a container filled with water and let them soak for 12 hours.
Etape 3.
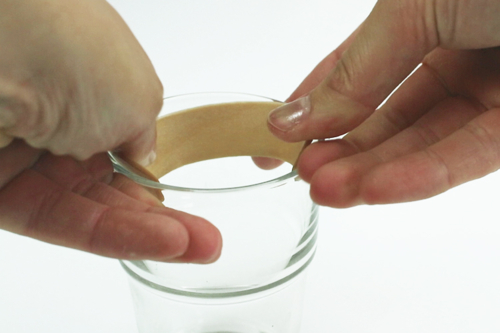
Once soaked in water, the wooden sticks become flexible.
Place a wooden stick in a glass of approximately 7 cm in diameter to give it a circular shape.
Let the stick dry in the glass for about 12 hours so that it can retain its circular shape once dry.
Etape 4.
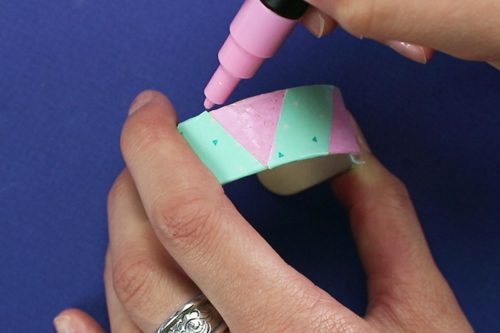
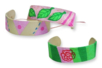
Once the bracelet is completely dry, decorate it with POSCA markers, acrylic paint, masking tape, rhinestones...
Etape 5.
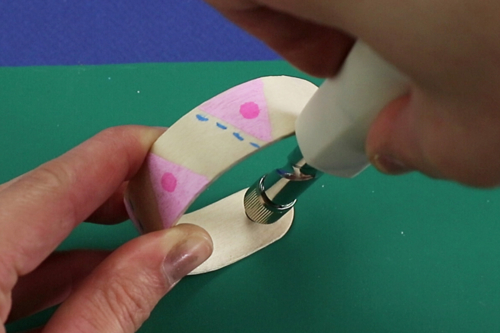
Using a hole punch, make 2 holes of about 2-3 mm at the ends of the bracelet.
Etape 6.
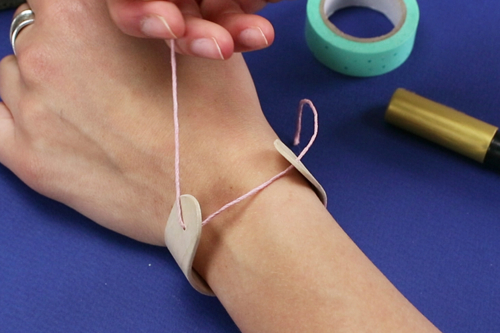
Place the bracelet around the wrist, thread a waxed cotton cord Ø1 mm through the 2 holes located at the ends of the bracelet, and then tie a knot to secure the bracelet in place.
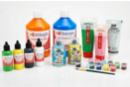
Les produits utilisés :
Les produits utilisés :


Other tutorials on the theme "Jewelry Creation Tutorials"
-
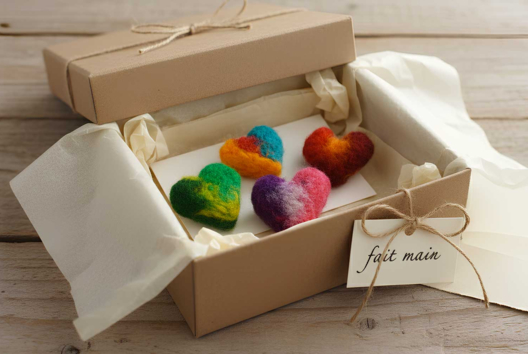
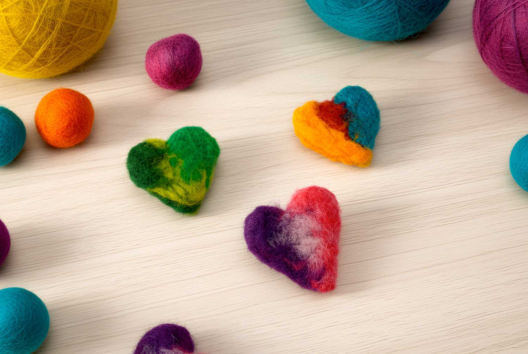
Felted Wool Heart Brooch
C11260View 5605 time


-
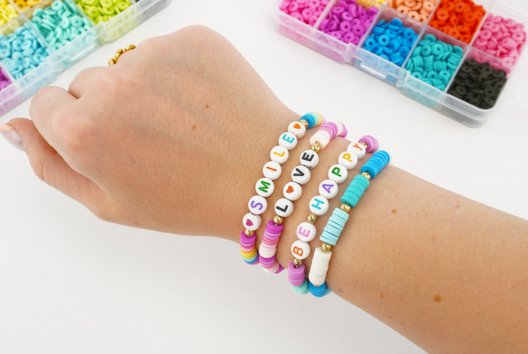
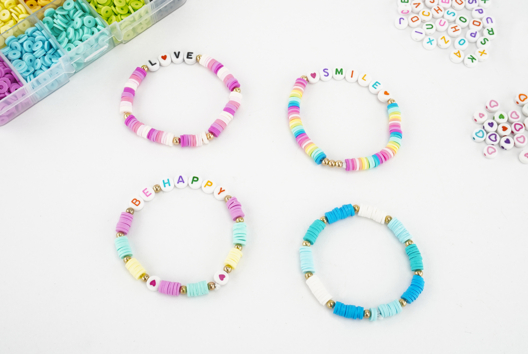
Collectible Friendship Bracelets!
C11252View 24644 time

-
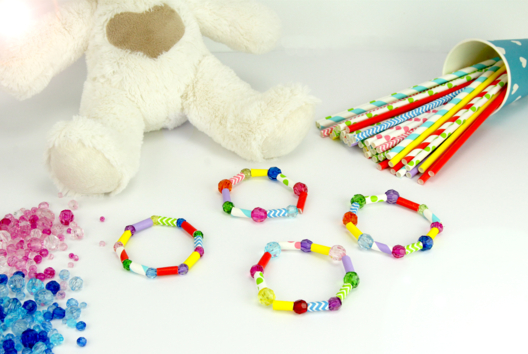
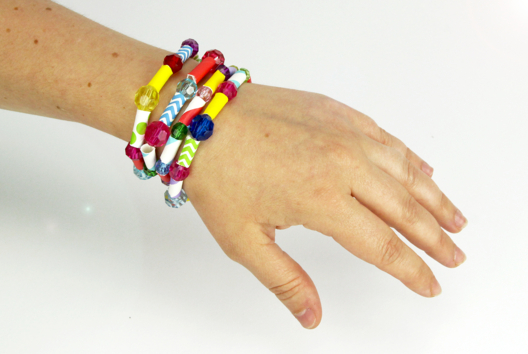
Making a Bracelet with Paper Straws
C13522View 20138 time -
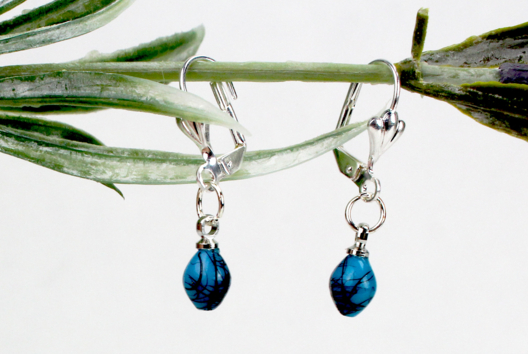
Turquoise Earrings
C13352View 7271 time
-
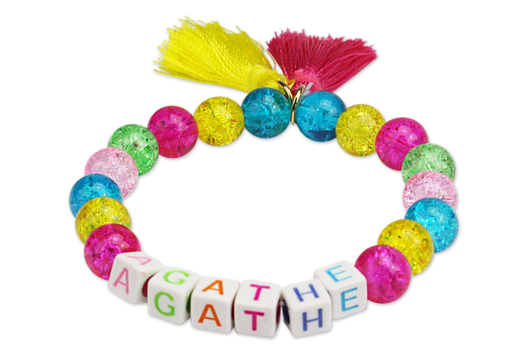
Colorful Name Bracelet
C13333View 12736 time -
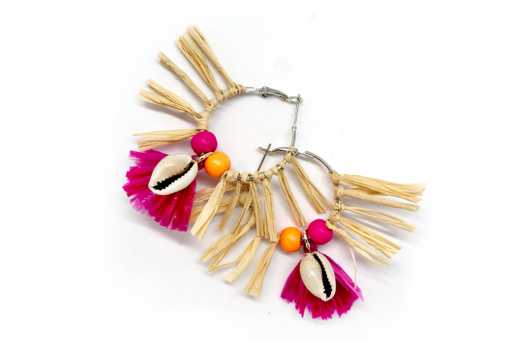
Ethnic Earrings
C13322View 7667 time
-
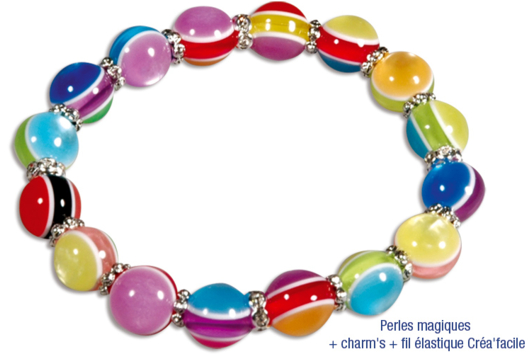
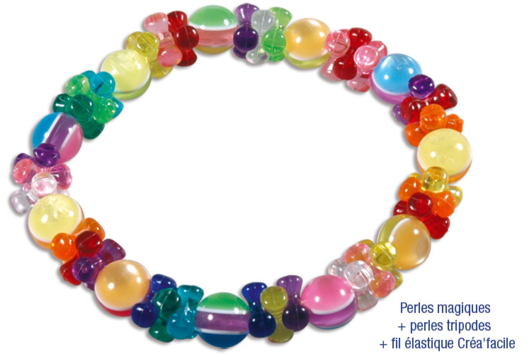
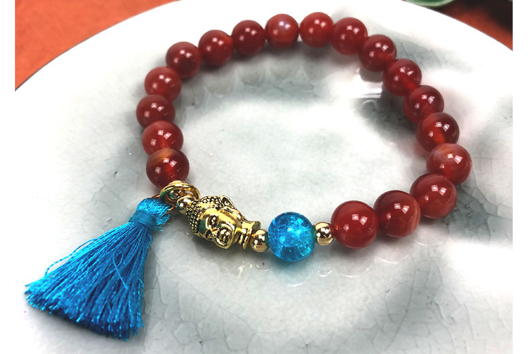
Magic Glass Bead Bracelets
C8774View 8292 time
-
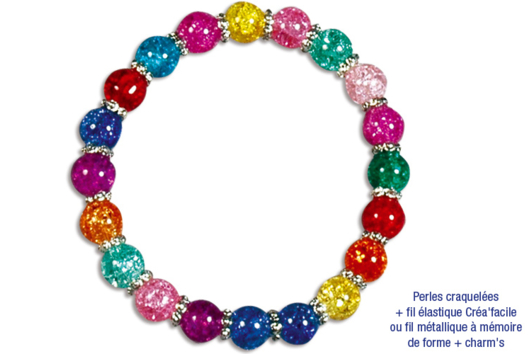
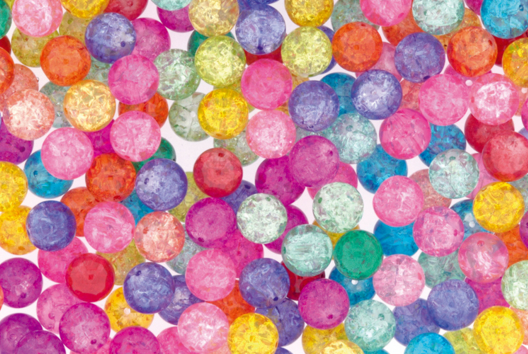
Cracked Bead Bracelets
C8769View 5743 time
-
Bracelet or necklace in semi-precious stones
C8768View 6898 time -

Varnished Wooden Bracelet
C8417View 10235 time
Customer review
Give your feedback
Bracelets with Craft Sticks
Be the first to share your review of this product.
Post a review