Your cart is empty.
Chick with a Paper Plate (EASY)
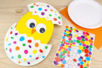

Chick with a Paper Plate (EASY)


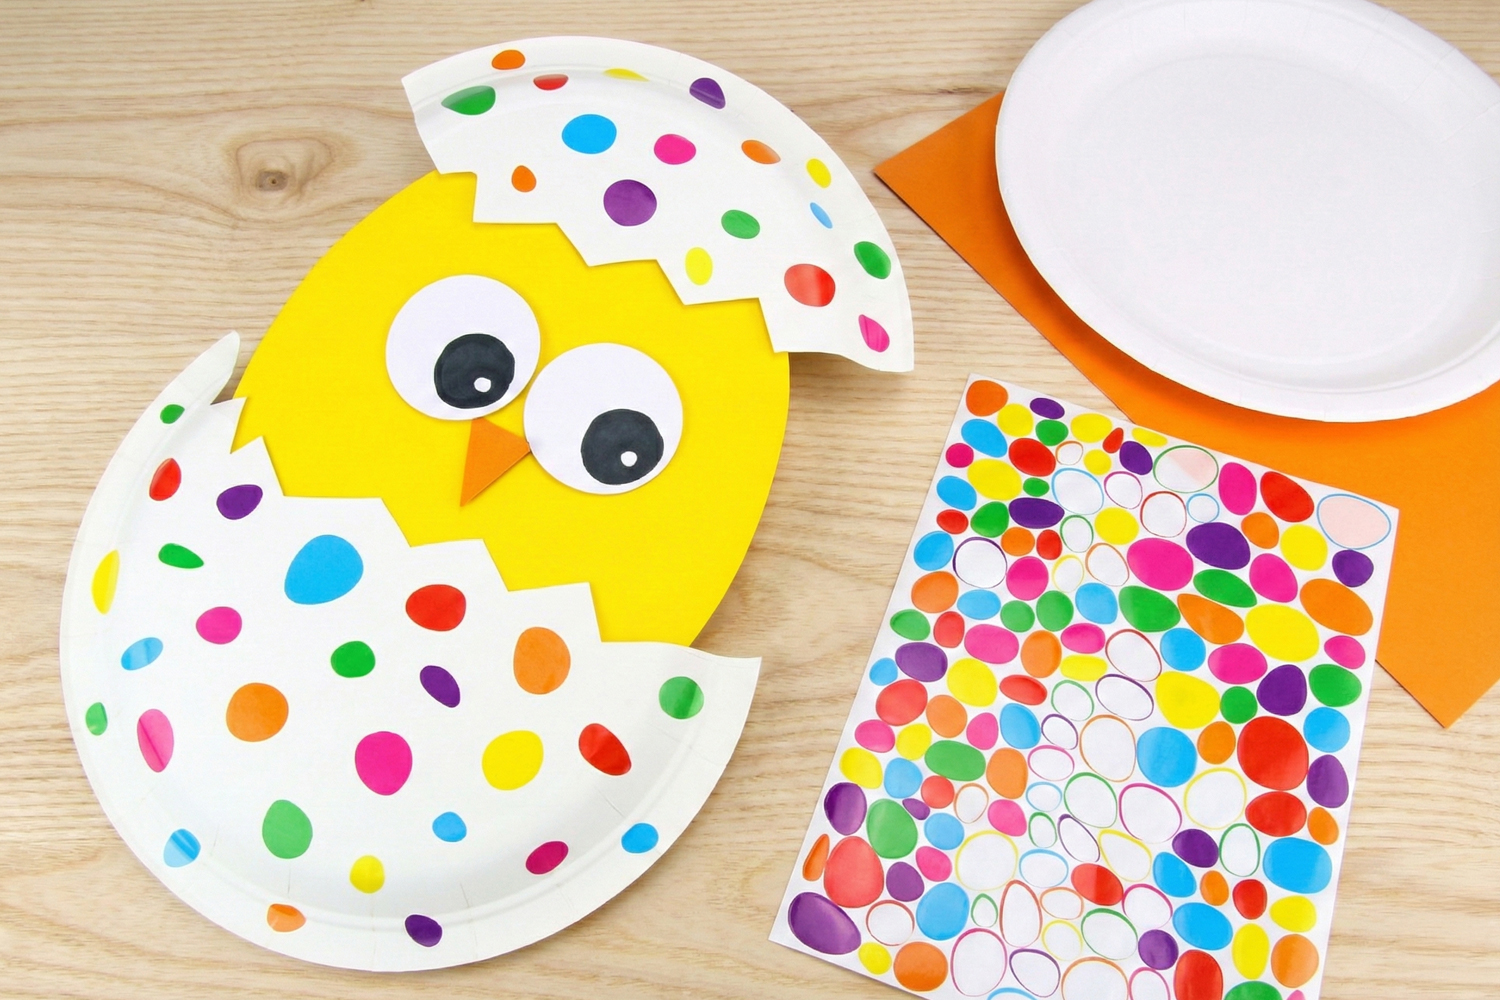
With a bit of paper, a cardboard plate, and some lovely stickers, we will show you how to make a cute chick.
An easy and fun Easter activity for children from a very young age !
Thèmes de l'idéa créa :
#Easter Tutorials
#I Stick Stickers
#Animal Tutorials
#Glue and Fold Tutorials
How to complete this tutorial step by step?
Materials
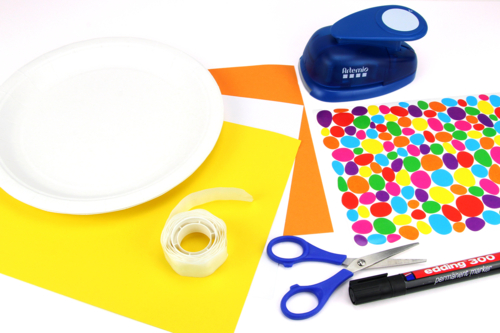
To make a pretty chick, you will need:
- a white cardboard plate
- a thick yellow cardstock (300 g/m² - A4)
- a thick orange cardstock (300 g/m² - A4)
- a thick white cardstock (300 g/m² - A4)
- mosaic stickers
- gel adhesive dots
- a pair of scissors
- a black marker
Optional: a 5 cm round hole punch
Step 1
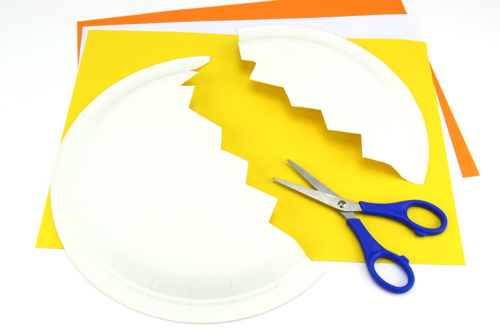
Cut the plate in a "zig-zag" pattern to create the two parts of the chick's shell.
Cutting proportion of the plate: 1/3 for the top of the shell, 2/3 for the bottom of the shell.
Step 2
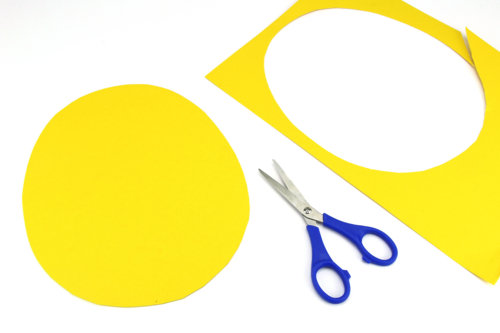
Cut out an egg shape approximately 20 cm tall from a sturdy yellow card to create the chick's base.
Step 3
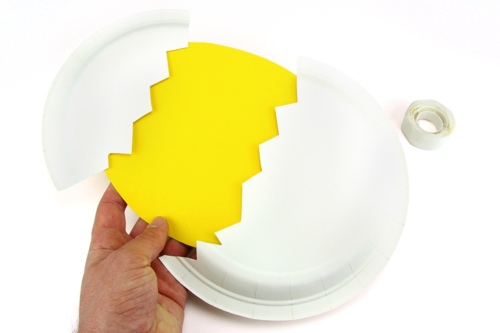
Glue the base and the top of the shell onto the chick using gel adhesive dots.
Step 4
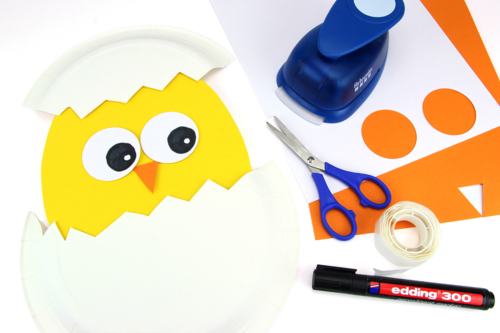
Cut out 2 eyes of Ø 5 cm from a sturdy white card and draw the pupils with a black marker.
Cut out the chick's beak from a sturdy orange card.
Stick the cut-out shapes with adhesive dots.
Step 5
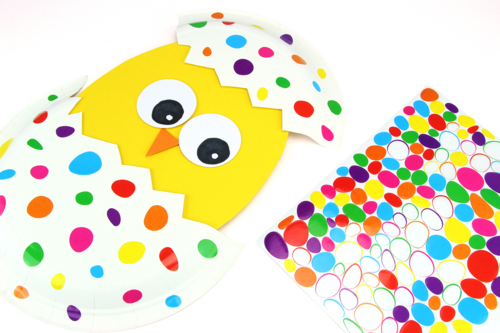
Decorate the chick's shell with pretty colored stickers.
The products used:
The products used:


3,59€ (either 0,36 € / pc)
Available

3,59€ (either 0,36 € / pc)
Available

3,59€ (either 0,36 € / pc)
Available

3,49€
Available

2,29€
Available


Other tutorials on the theme "Easter Tutorials"
-

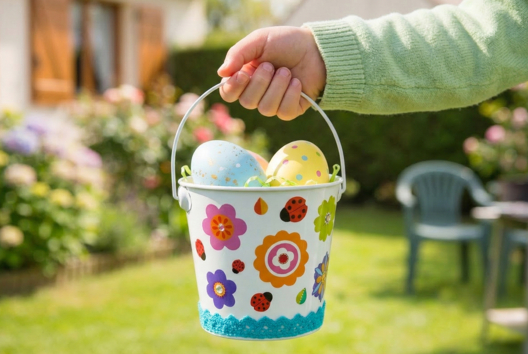
Bucket for collecting Easter eggs
C17732View 6477 time


-
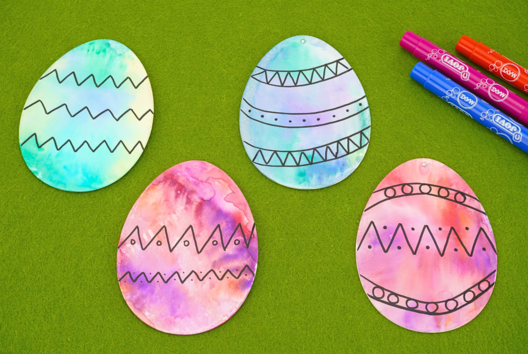

Watercolor Easter Eggs
C11103View 21130 time
-
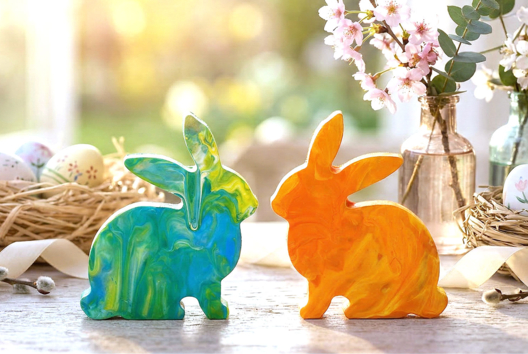
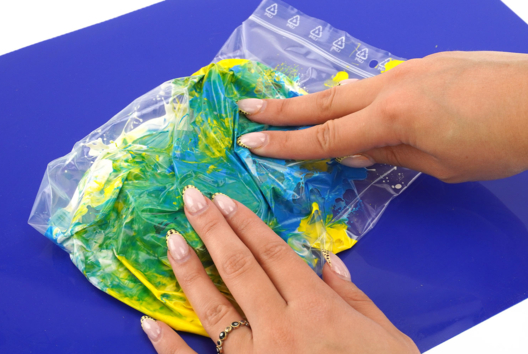
Marbled Wooden Rabbit - Mess-Free Painting
C17733View 10270 time

-
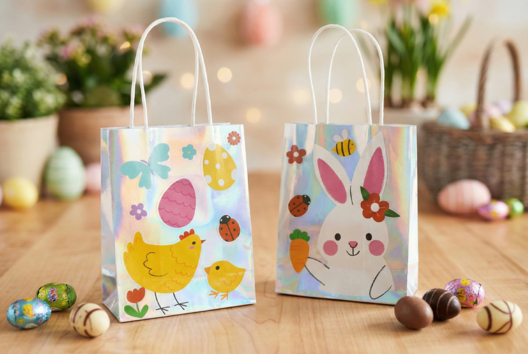
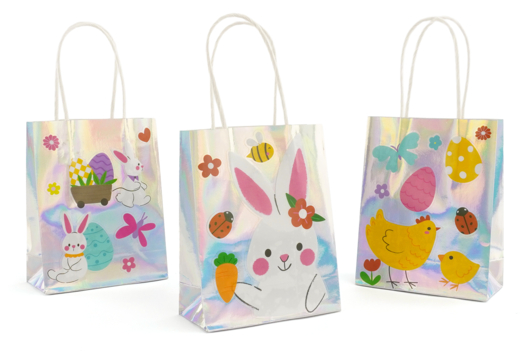
Holographic Easter Bag
C17670View 8099 time
-
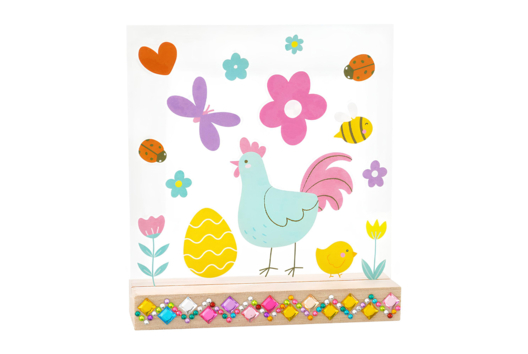
Easter Scene with Stickers
C16981View 26044 time
-
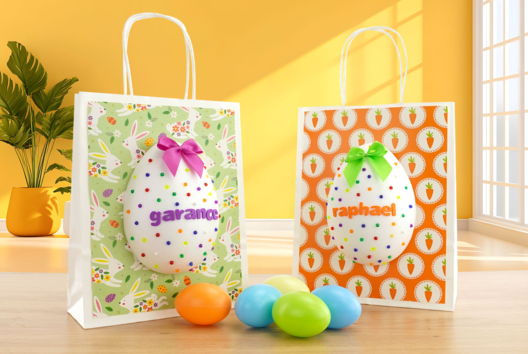
Custom Bag for the Easter Egg Hunt
C17089View 10390 time

-
Easter Bunny and Flower Planter
C15113View 22866 time
-
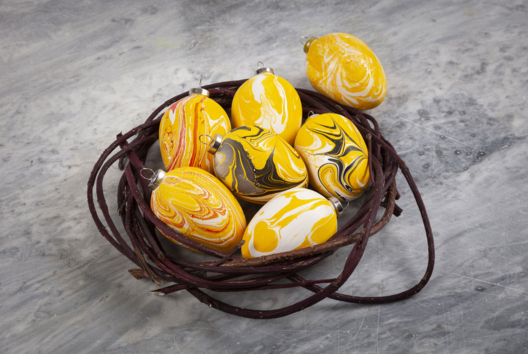

Marbled Eggs
C8337View 12748 time -

Easter Garland: Paper Bunnies
C14589View 42268 time
-
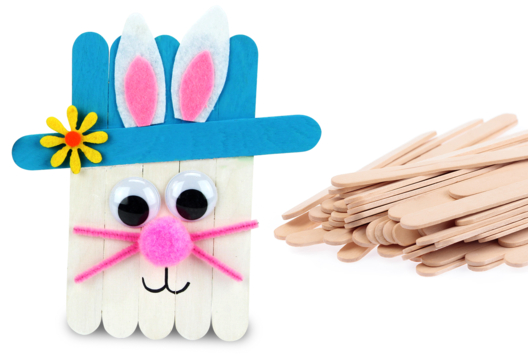
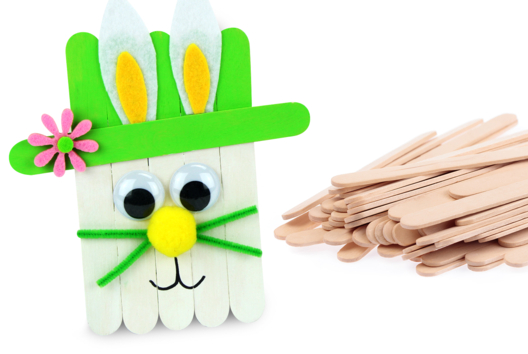
Easter Bunny with Wooden Sticks
C14588View 39745 time
Vos créations inspirées par ce tuto
Customer review
Give your feedback
Chick with a Paper Plate (EASY)
Be the first to share your review of this product.
Post a review