Your cart is empty.
Drawing gum and ink for eggs


Drawing gum and ink for eggs


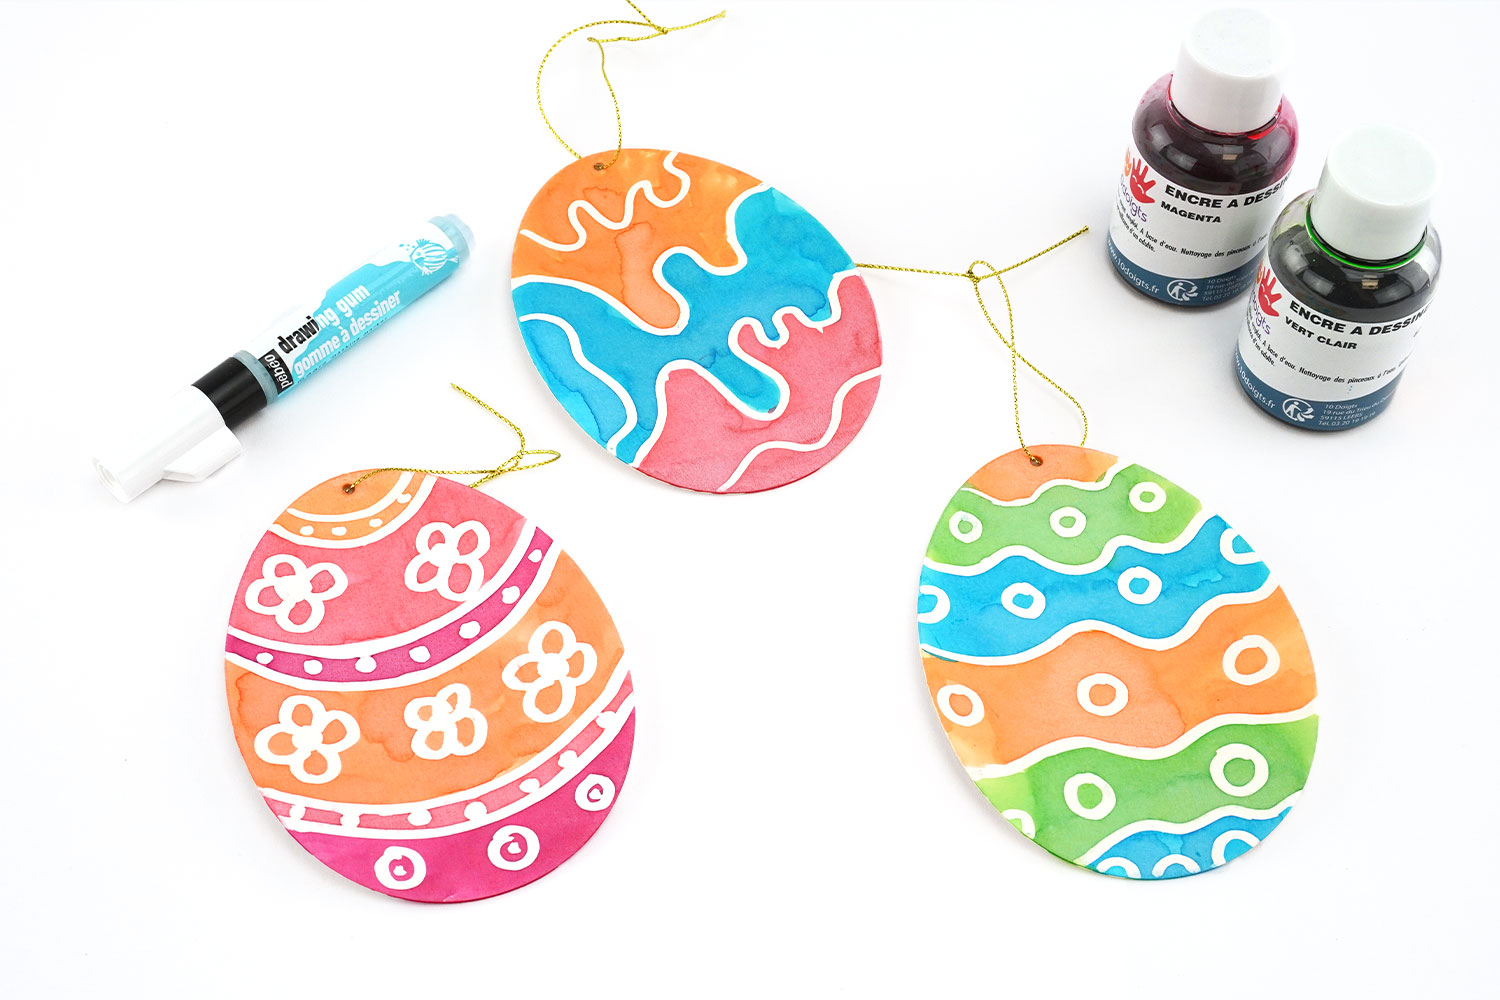
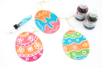
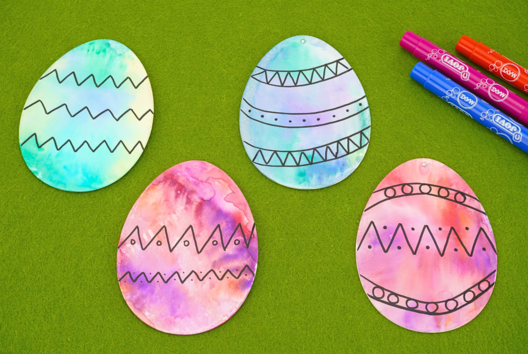
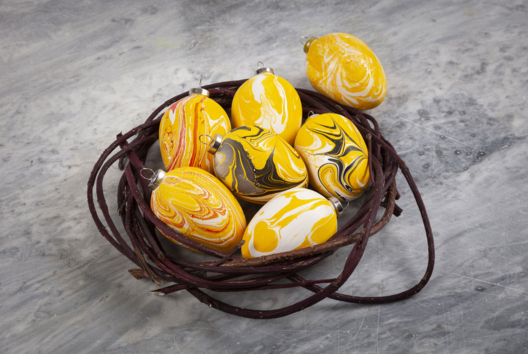
Discover the drawing gum technique combined with drawing ink through the creation of these lovely Easter eggs.
A simple and suitable technique for younger children that we will explain to you step by step.
How to complete this tutorial step by step?
Materials:
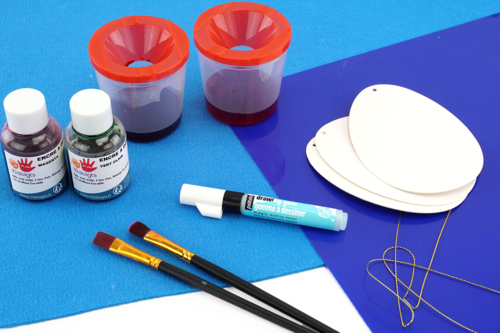
To create these eggs, you will need :
- White cardboard eggs to decorate
- A drawing gum marker
- Drawing ink and a brush
Step 1:
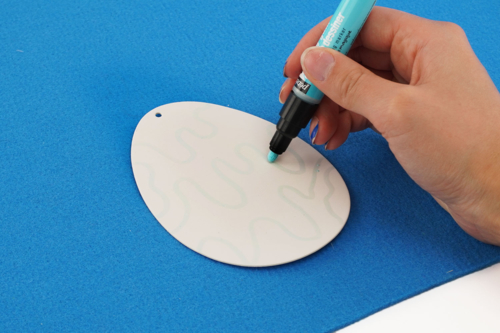
Using a Drawing gum marker, draw patterns on a white cardboard egg.
Then let it dry for 10 minutes.
Step 2:
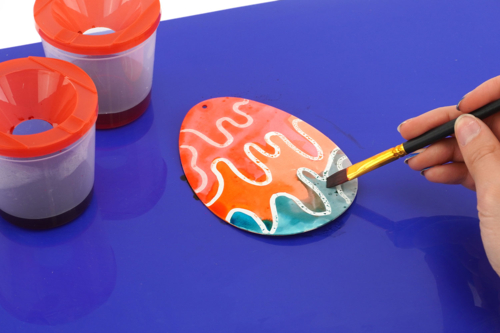
Paint the egg with drawing ink, then let it dry for 30 minutes.
As you will notice, the ink does not adhere to the drawing gum, highlighting the previously drawn patterns.
Step 3:
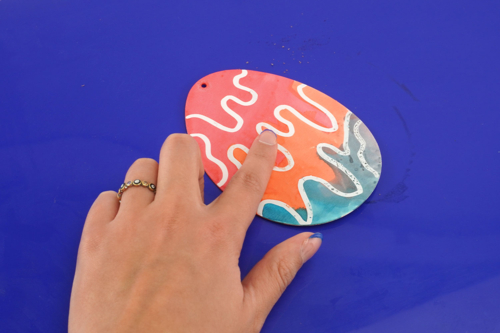
Once the ink is dry, rub the drawing gum patterns with your finger to remove the fine layer of rubber.
Step 4:
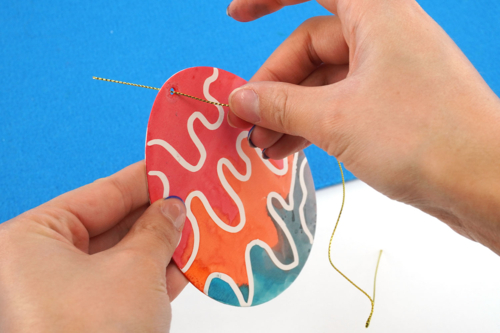
All you have to do now is attach a cord so that you can hang the egg.
The products used:
The products used:


26,90€ (either 2,69 € / pc)
Available

2,99€ (either 1,00 € / pc)
Available


Other tutorials on the theme "Easter Tutorials"
-


Bucket for collecting Easter eggs
C17732View 6199 time


-

Watercolor Easter Eggs
C11103View 20793 time
-

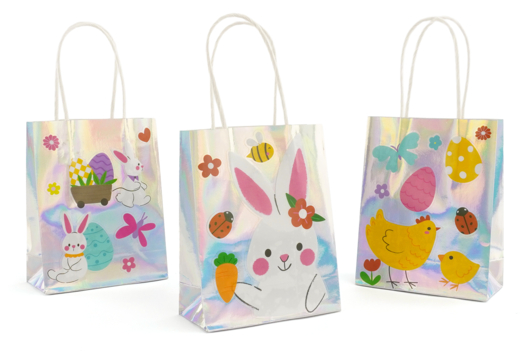
Holographic Easter Bag
C17670View 7931 time
-
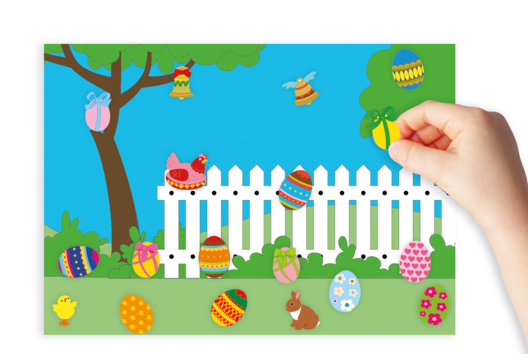
Easter Scene with Stickers
C16981View 25803 time
-

Custom Bag for the Easter Egg Hunt
C17089View 10195 time

-
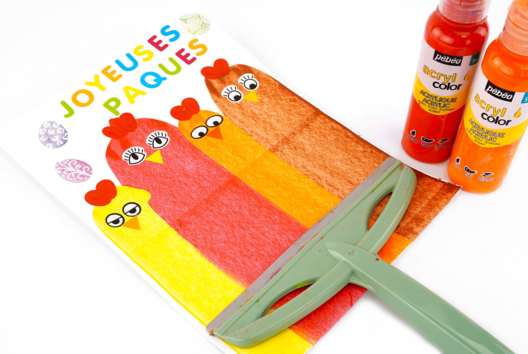
Raclette Painting: Easter Chickens
C17072View 10234 time

-

Marbled Eggs
C8337View 12501 time -

Easter Garland: Paper Bunnies
C14589View 41963 time
-
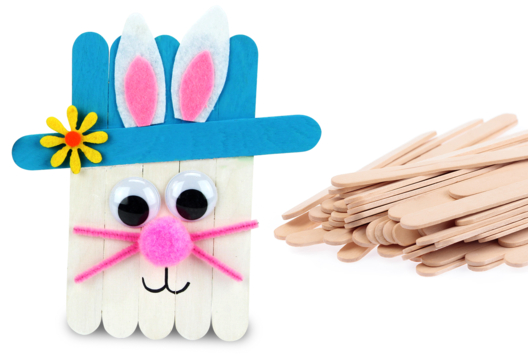
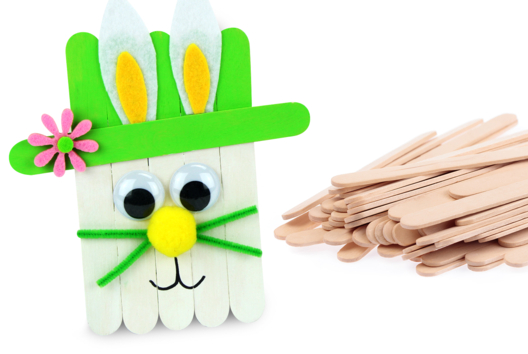
Easter Bunny with Wooden Sticks
C14588View 39387 time -
Easter Coloring: The Egg Hunt
C14587View 12239 time
Customer review
Give your feedback
Drawing gum and ink for eggs
Be the first to share your review of this product.
Post a review