Your cart is empty.
Easy Dreamcatcher for Kids


Easy Dreamcatcher for Kids
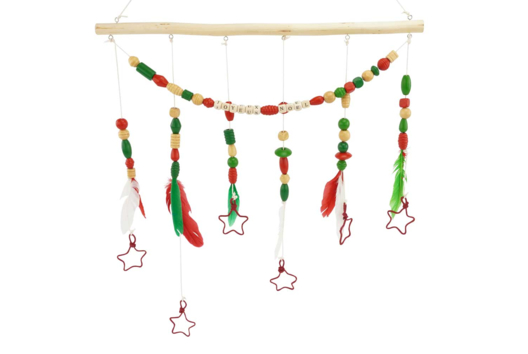
Dreamcatchers are very beautiful but often a bit complicated for children to make.
We have found an easy solution for children to create their own dreamcatcher using just 2 sheets of paper, some yarn, and a few beads.
Additionally, children can personalize their creations by placing lovely photos in the center!
To view the video tutorial, click on "VIDEO" below the main photo.
Thèmes de l'idéa créa :
#I Make a Dreamcatcher
#Mobile Tutorials
#Craft Tutorials
#Glue and Fold Tutorials
#I Make a Wind Chime
How to complete this tutorial step by step?
Etape 1.
To make a children's dream catcher, you will need:
- 2 sturdy cardstock sheets (300 g/m²) in coordinating colors
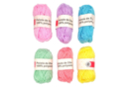
- balls of yarn (in coordinating colors)
- 20 to 30 plastic beads
- a paint marker
- a hole punch
- a pair of scissors
- a glue stick
- a compass
- a photo
Etape 2.
Using a compass, draw a circle with a diameter of 20 cm on a sturdy card.
On a second piece of sturdy card in a different color, draw a circle with a diameter of 16 cm.
Cut out the two circles and then glue the smaller one to the center of the larger circle with a glue stick.
Etape 3.
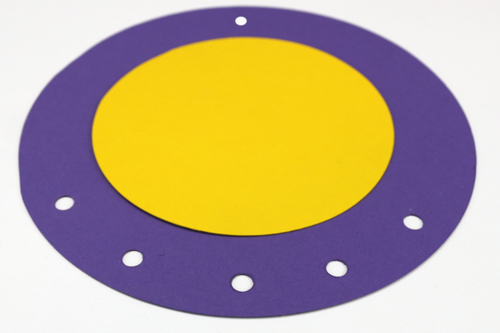
Using a hole punch, make 6 holes of Ø 3 mm on the circle:
- 5 holes spaced 3 cm apart on the lower part of the circle
- 1 hole in the center on the upper part of the circle
Etape 4.
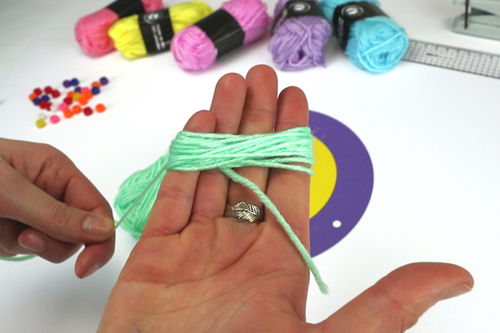
Wrap a colored wool thread around your hand, about 15 times, then cut the thread.
Gently remove the ball formed around your hand.
Etape 5.
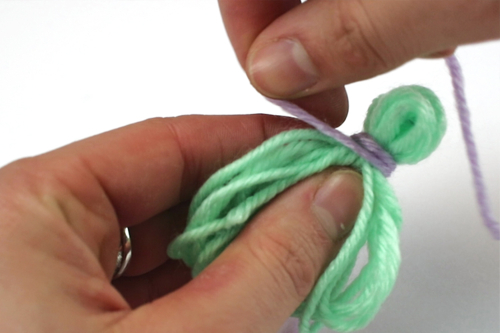
Cut a piece of yarn about 20 cm long and make a double knot about 1/3 of the length of the ball.
To add contrast to the pompom, wrap the knot with a piece of yarn in a different color.
This creates a "small loop" and a "large loop".
Etape 6.
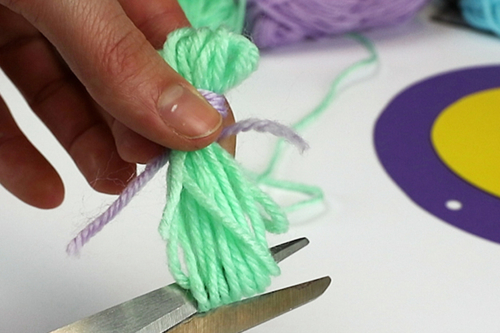
Use a pair of scissors to cut the loops forming the "large loop" to shape the pompom.
Etape 7.
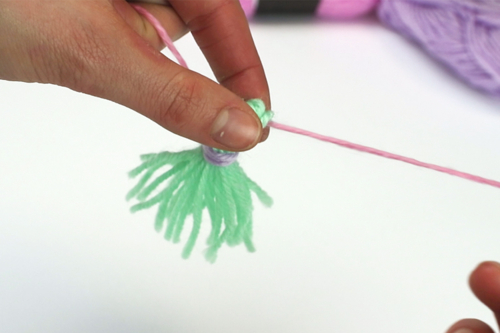
Cut a piece of yarn about 80 cm long and pass it through the "small loop" of the pompom.
Etape 8.
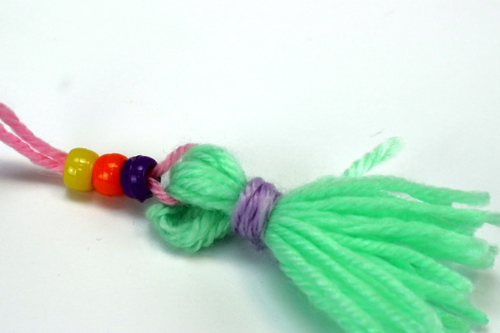
Thread 4 to 5 colored plastic beads onto both ends of the yarn so that they rest at the base of the pompom.
Etape 9.
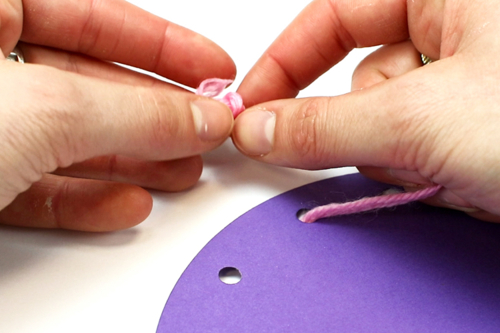
To attach the pompom, thread both ends of the wool yarn through a hole at the bottom of the paper circle (from the front) and then tie a double knot to secure the yarn.
Etape 10.
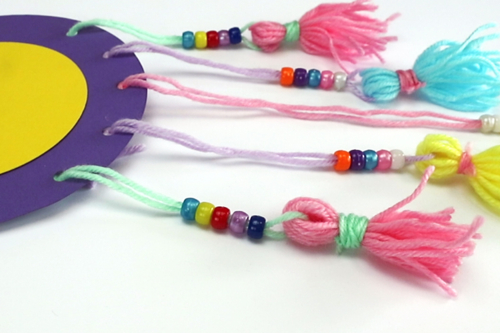
Make 4 more pom poms to complete the dreamcatcher decoration.
Etape 11.
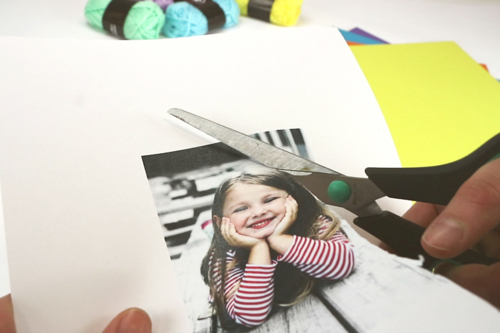
Cut out a photo...
Etape 12.
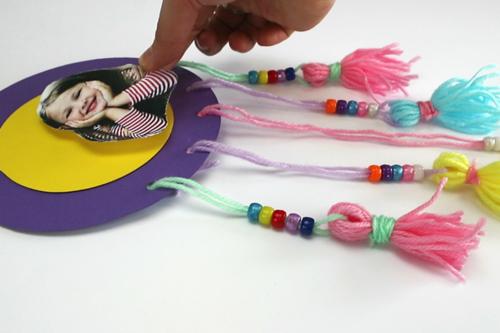
... then glue it to the center of the dream catcher to personalize it.
Decorate the border of the dream catcher using paint markers to add the finishing touch.
The products used:
The products used:


3,59€ (either 0,36 € / pc)
Available

3,59€ (either 0,36 € / pc)
Available


1,69€
Available

Other tutorials on the theme "Mobile Tutorials"
See all tutorials on "Mobile Tutorials"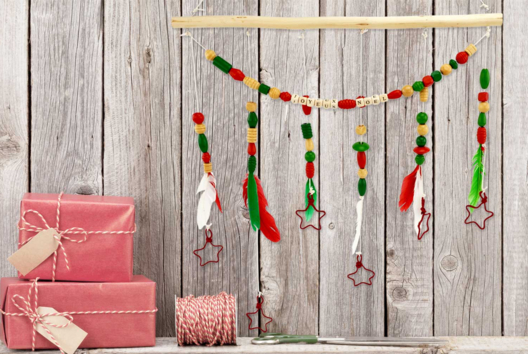


Customer review
Give your feedback
Easy Dreamcatcher for Kids
Be the first to share your review of this product.
Post a review