Your cart is empty.
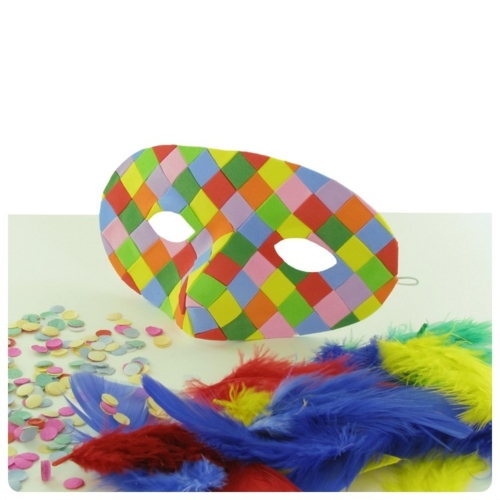
Harlequin Mask

Harlequin Mask
An ideal activity for children, as the soft rubber squares can be easily cut with a pair of scissors, and no glue is needed to create this mask.
For reference: approximately 100 squares measuring 1.2 x 1.2 cm of adhesive soft rubber are needed to cover the mask shown in the photo.
Thèmes de l'idéa créa :
#Carnival Tutorials
How to complete this tutorial step by step?
Etape 1.
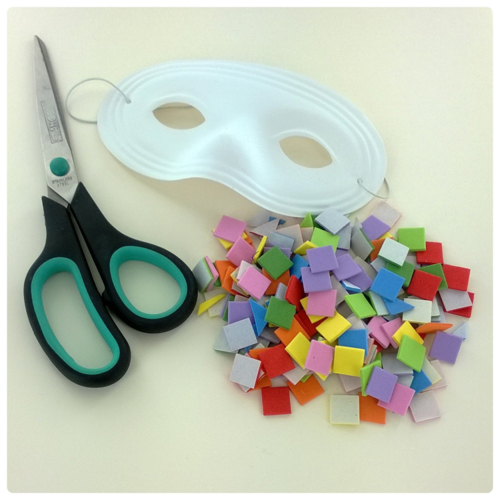
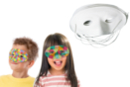
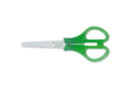
To make a harlequin mask, you need:
- a white plastic mask
- about 100 self-adhesive soft rubber mosaic stickers
(dimensions of a square sticker: 1.2 x 1.2 cm)
- a pair of scissors
Etape 2.
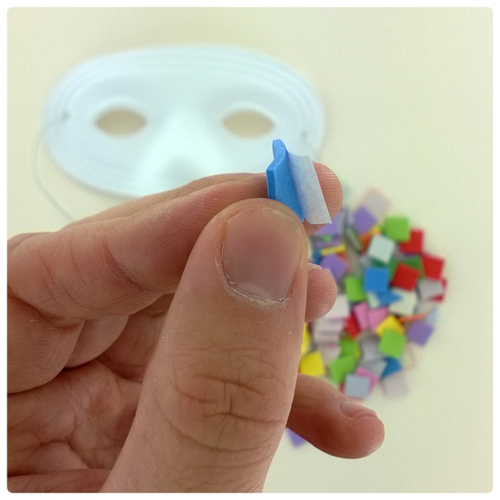
Remove the paper film located on the back of the square stickers so that they can be stuck onto the mask
.
The self-adhesive side allows for easy and clean application.
Etape 3.
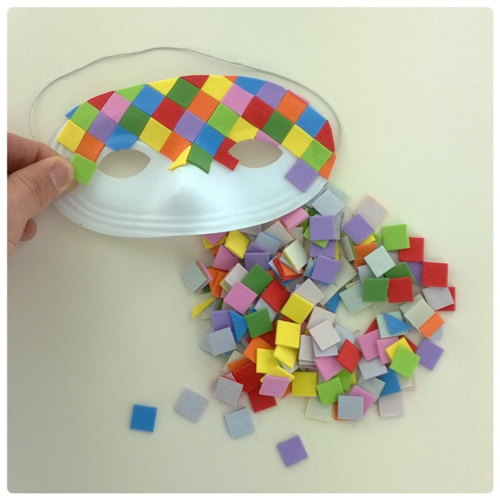
Stick the square stickers next to each other, varying the colors.
Etape 4.
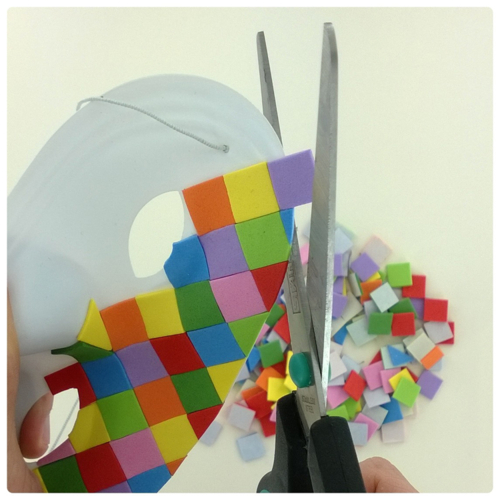
- For the outer edge of the mask, cut the squares that extend beyond the mask using a pair of scissors.
- For the contours of the eyes and nose, pre-cut the square stickers so that they perfectly fit the shapes and contours.
Etape 5.
Your harlequin mask is now ready for carnival!
The products used:
The products used:

5,94€ (either 0,99 € / pc)
Available
Other tutorials on the theme "Carnival Tutorials"
See all tutorials on "Carnival Tutorials"


Customer review
Give your feedback
Harlequin Mask
Be the first to share your review of this product.
Post a review