Your cart is empty.
Ladybug Card for Poking and Embroidering


Ladybug Card for Poking and Embroidering
Create a lovely ladybug card to poke on felt and then embroider it with colored cotton thread.
How to complete this tutorial step by step?
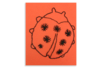
Draw the pattern
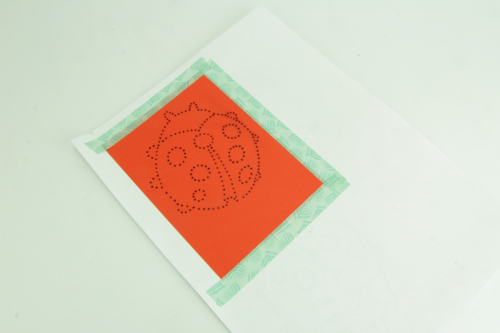
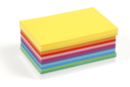
Start by choosing a pattern to draw or print on a colored card. Here we downloaded a pattern and printed it on a card by initially fixing it onto an A4 sheet so that it passes more easily through the printer.
Punched Card on Felt
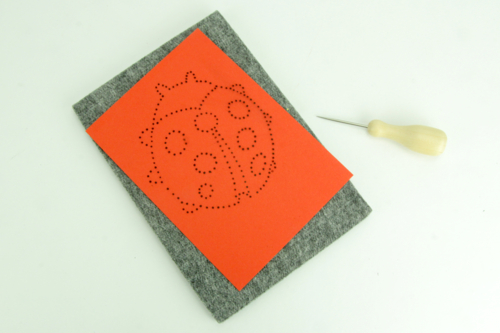
Place the card on the felt sheet; this sheet must be thick (1cm) and dense.
Stitch the Drawing
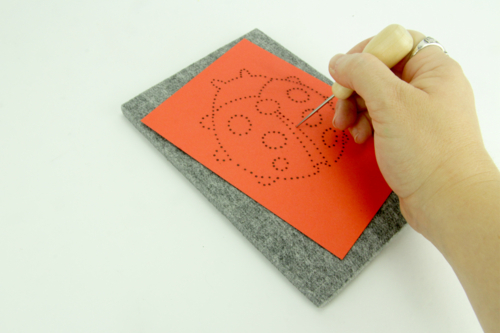
Then, use the stitching tool to stitch the card following the drawing.
Once the drawing has been pierced

You can remove the card from the board.
Tip: Check that the entire drawing has been properly pierced by holding the card in front of a light source; this way, you will see all the holes appear more easily.
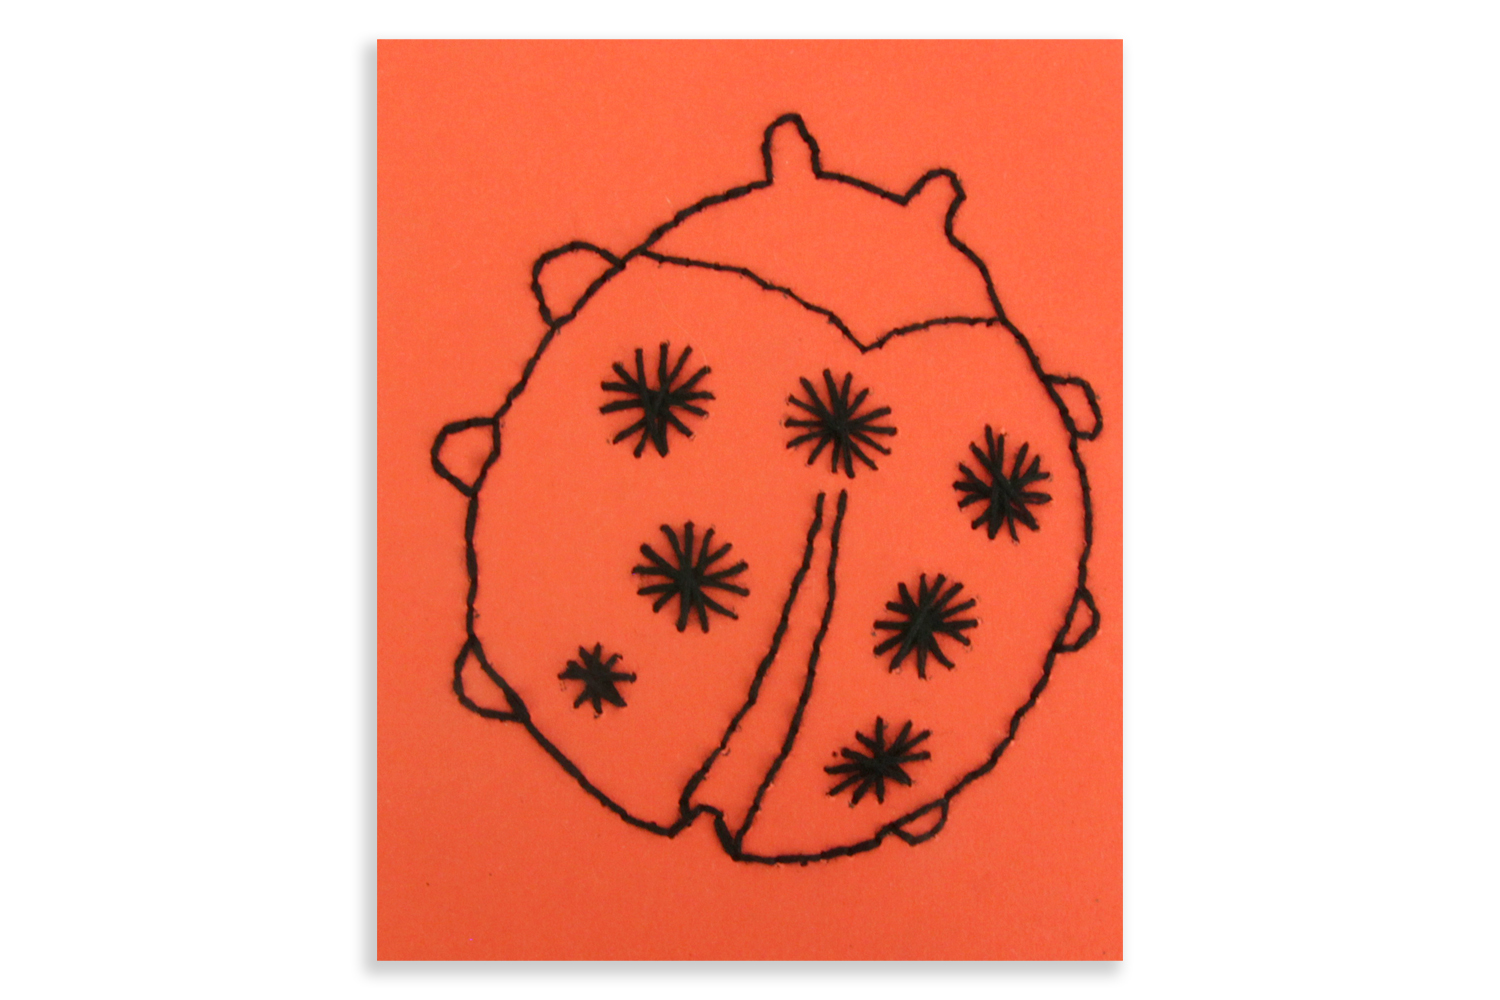
Embroider the Drawing
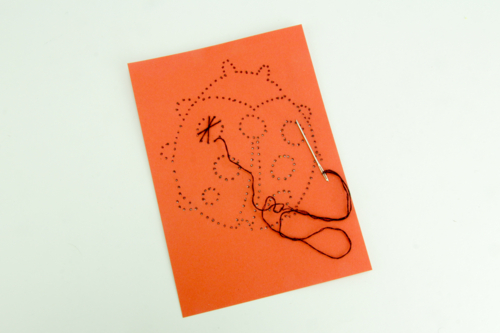
All that's left is to choose the color of the thread that will be used to embroider the card.
With the colored skeins, split the threads to keep only 2 or 3 that will be used to embroider the card.
Pass through each hole to connect them together using the colored thread. It's the thread that will bring the line to the stitched drawing.
When the drawing is finished being embroidered, make a small knot at the back of the card, or attach it with tape so that it does not stick out.
The products used:
The products used:

8,49€ (either 0,07 € / pc)
Available


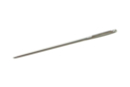
Embroidery Needles - 6 Needles Size No. 22
Réf. 51216 - Product sheet
2,99€ (either 0,50 € / pc)
Available
Other tutorials on the theme "Mother's Day Tutorials"
-


Heart frame Father's Day
C17797View 5621 time


-


Bottle Opener Set
C17389View 3807 time
-

Paper Flower with Hidden Love Messages
C14562View 43082 time

-

Dried Flower Soaps
C14664View 17846 time -

Romantic Tea Box
C9535View 13212 time -


Mother's Day/Grandmother's Day Heart Pot
C15082View 23246 time
Customer review
Give your feedback
Ladybug Card for Poking and Embroidering
Be the first to share your review of this product.
Post a review