Your cart is empty.
Masking Tape Bracelet


Masking Tape Bracelet

To make a masking tape bracelet, all you will need is a sheet of cardboard, some beautiful rolls of masking tape, and a pair of scissors. A simple and fun activity that kids will love!
To view the video tutorial, click on "VIDEO" below the main photo.
How to complete this tutorial step by step?
Etape 1.
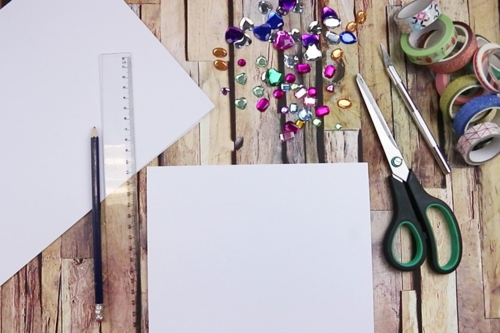
To make a masking tape bracelet you need:
- a strong white card of 300 g/m² in A4 size
- rolls of masking tape
- rhinestones
- strong universal glue
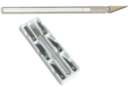
- a pair of scissors (or a precision cutter)
- a wood pencil
- a cutting mat to protect your work surface
Etape 2.
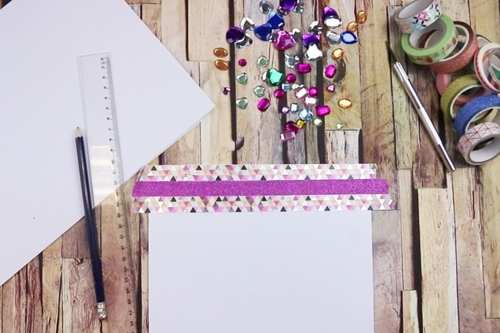
Stick masking tape strips on the width of your white heavyweight A4 card.
Etape 3.
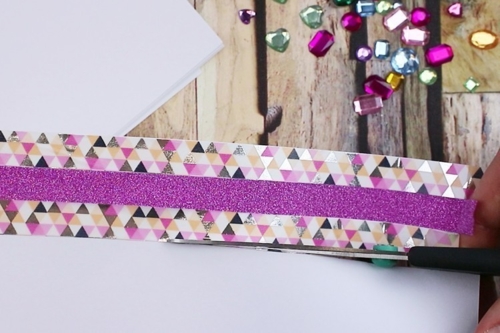
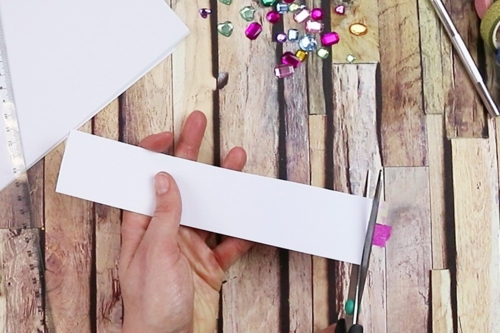
Cut the base of the bracelet with a pair of scissors.
Etape 4.
Cut the excess masking tape and adjust the bracelet to fit your wrist size if needed.
Etape 5.
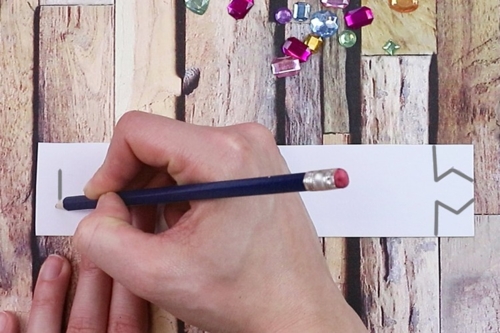
Draw the clasp of the bracelet on the back of the bracelet (see the photo on the side).
Etape 6.

Cut the clasp following your trace.
Etape 7.
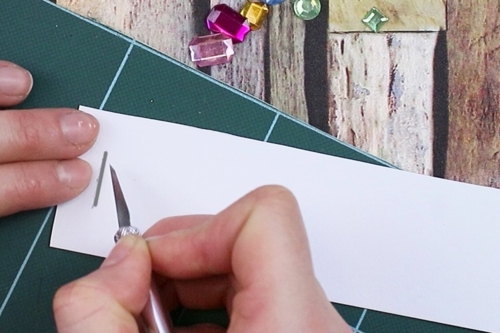
Using a cutter or a pair of scissors, make a notch at the other end of the bracelet (the size of this notch should be slightly smaller than the width of the hexagon located on the other side of the bracelet).
Etape 8.
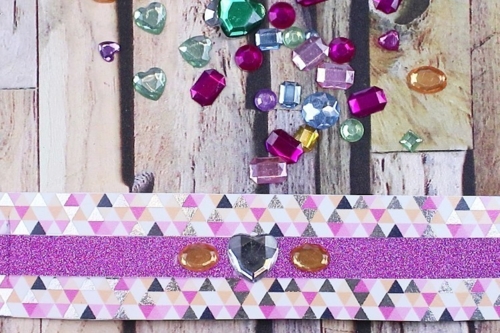
Glue rhinestones with a strong universal adhesive to enhance the bracelet.
Etape 9.
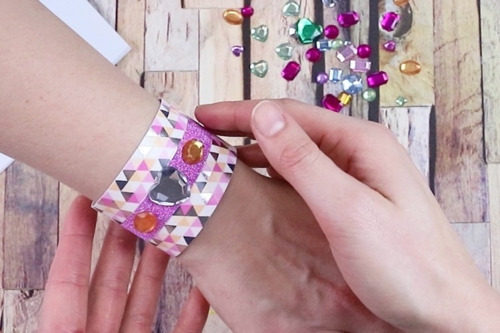
All you have to do now is proudly wear your lovely creation!
The products used:
The products used:

3,59€ (either 0,36 € / pc)
Available

2,49€
Available
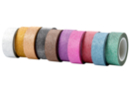
Glitter masking tape - 10 assorted rolls
Réf. 27727 - Product sheet
7,90€ (either 0,79 € / pc)
Available


Other tutorials on the theme "Mother's Day Tutorials"
-
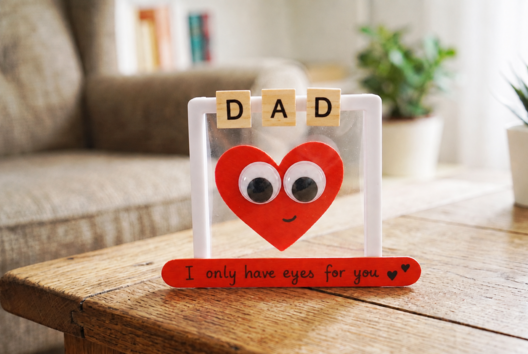
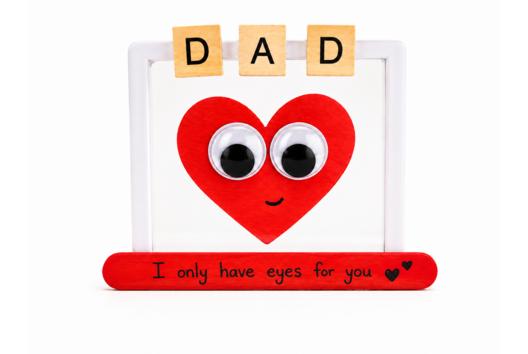
Heart frame Father's Day
C17797View 7309 time


-
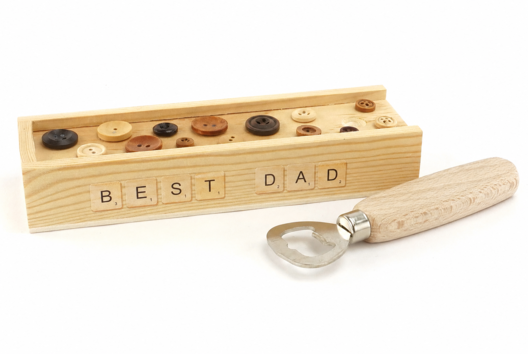
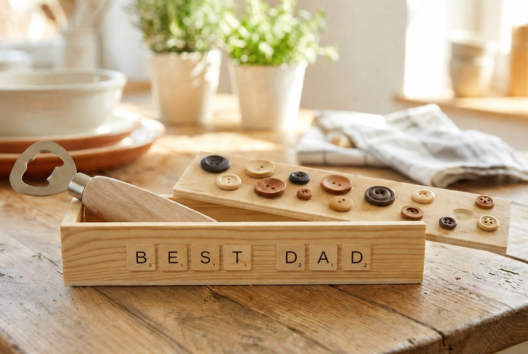
Bottle Opener Set
C17389View 4205 time
-
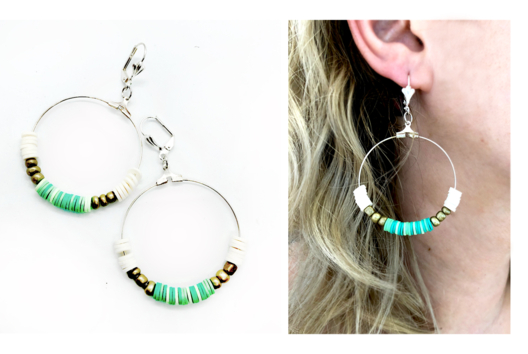
Heishi Hoop Earring
C13582View 11820 time
-

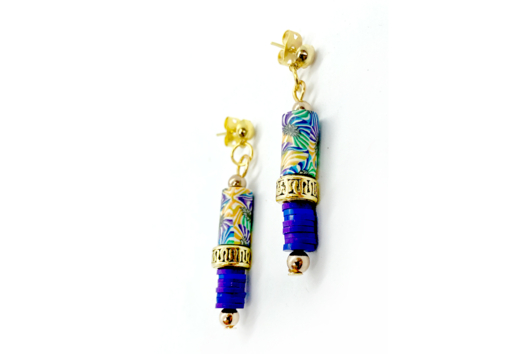
Earrings
C13524View 9163 time
-
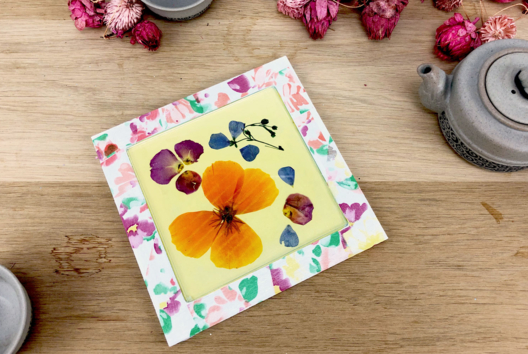
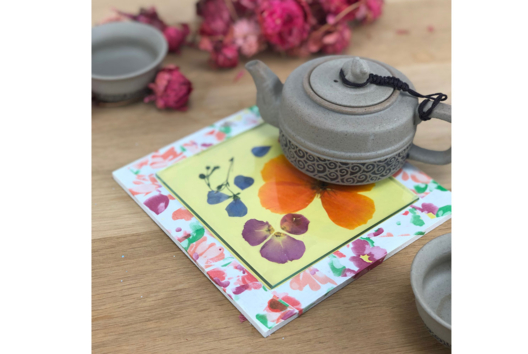
Dried Flower Trivet
C13523View 16351 time
-
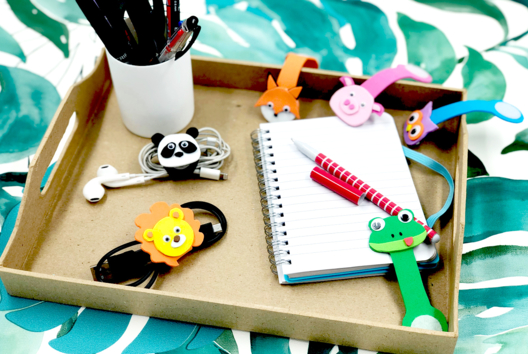
Animal Cord Wraps
C13513View 13338 time
Merci pour l'idée ! je vais tester avec mes élèves.