Your cart is empty.
Mosaic Photo Frame

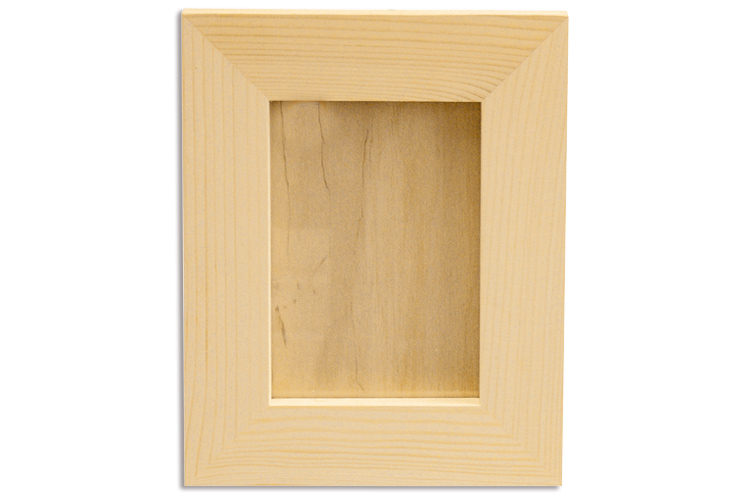

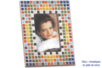
Mosaic Photo Frame

Discover how to create a photo frame decorated with glass paste mosaic tiles.
Thèmes de l'idéa créa :
#I decorate a frame
#Creating My Mosaic Decor
#DIY Home Decor Tutorials
#Mosaic Tutorials
How to complete this tutorial step by step?
Step 1
Arrange the tiles on the frame spacing them 1 to 2 mm apart, without fixing them in place to organize your creation…
Once you are satisfied with your layout, place a drop of mosaic glue under each tile to secure it to the base… Repeat the operation for each tile.
Let it harden for 2 hours.
Step 2
Using a spatula, spread white grout over the tiles, making sure to fill the gaps between each tessera. If you wish, you can tint your grout by adding a bit of dye to the mixture.
Step 3
Use a damp sponge to remove the excess grout.
Let it harden for 48 hours.
The products used:
The products used:


2,49€
Available from November 2026


3,99€
Available
Other tutorials on the theme "Mosaic Tutorials"
See all tutorials on "Mosaic Tutorials"


Customer review
Give your feedback
Mosaic Photo Frame
Be the first to share your review of this product.
Post a review