Your cart is empty.
Turtle and Wooden Mosaics
Turtle and Wooden Mosaics
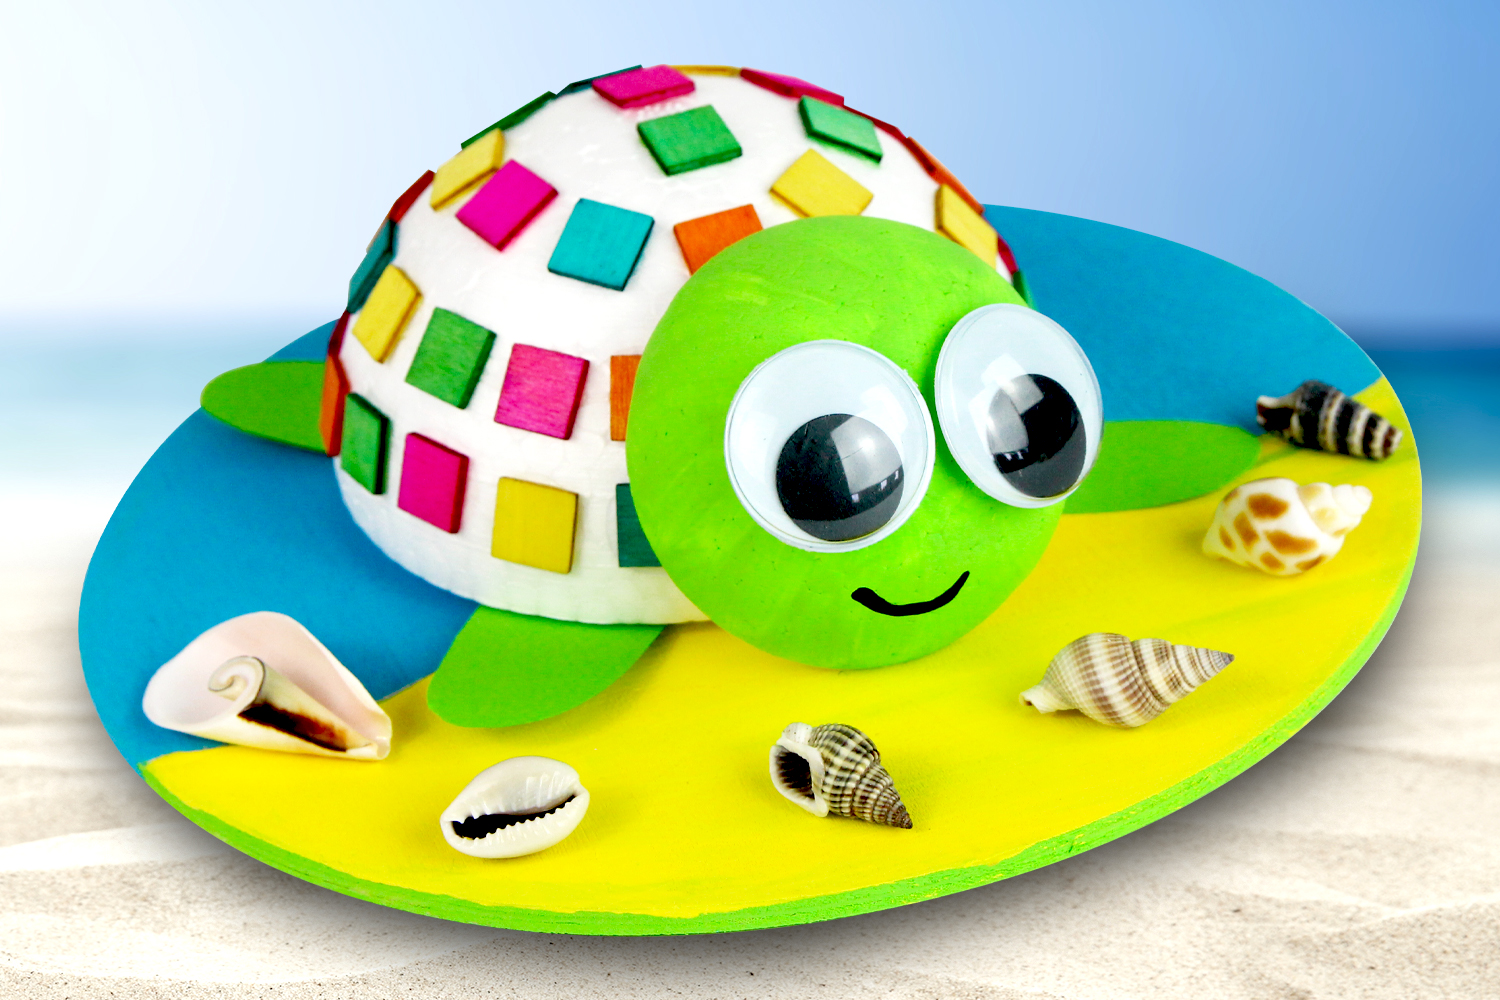
Discover a great creative activity to do with the kids for summer!
With styrofoam half-balls, wooden mosaics, paint, seashells, and a few accessories, children will have fun for hours making beautiful, colorful turtles.
An easy craft for children from the age of 5.
Thèmes de l'idéa créa :
#Mosaic Tutorials
#Animal Tutorials
#Funny Characters Tutorials
#Craft Tutorials
#Summer Tutorials
#Ocean Tutorials
How to complete this tutorial step by step?
Materials
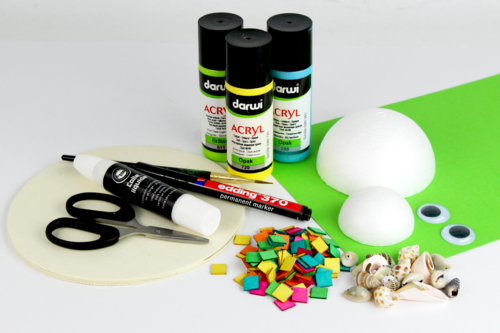
To carry out this activity, you will need:
- a round wooden base Ø 18 cm
- acrylic paint and a brush
- polystyrene half-balls
- colored wooden mosaics
- a strong green card
- 2 moving eyes Ø 2.5 cm
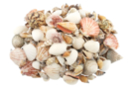
- shells
- white glue
- a pair of scissors
Step 1

Paint the wooden support with acrylic paint: one half blue representing the sea and one half yellow representing the sand.
Step 2
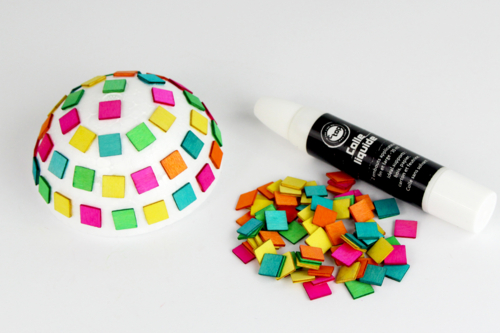
Take a half sphere of polystyrene Ø 10 cm and then glue colored wooden mosaics to create the turtle's shell.
Let the glue dry for about an hour.
Étape 3
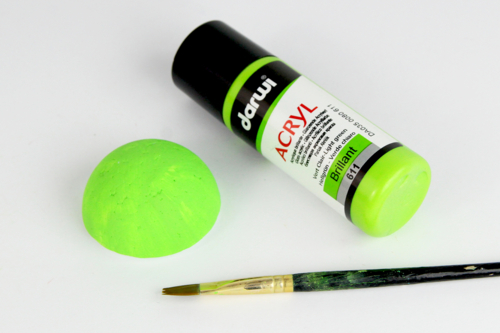
Paint a half-sphere Ø 6 cm with green paint to create the turtle's head.
Step 4
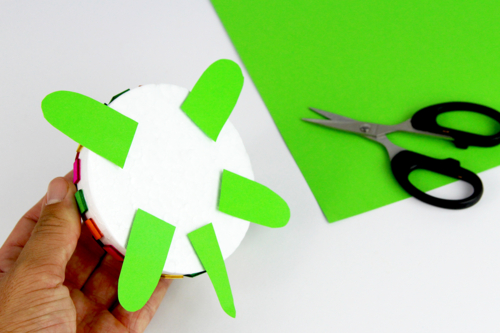
Cut the 4 legs and the tail of the turtle from a strong green cardstock and glue the 5 elements underneath the shell.
Step 5
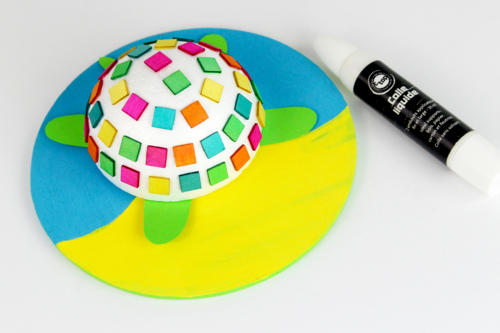
Glue the shell onto the wooden support.
Step 6
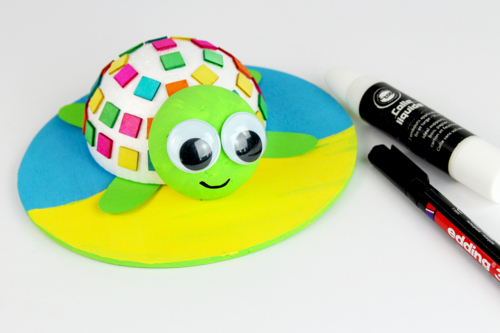
Glue 2 googly eyes Ø 2.5 cm and draw a smile with a black marker to finish the turtle's head.
Then glue the head onto the shell.
Step 7
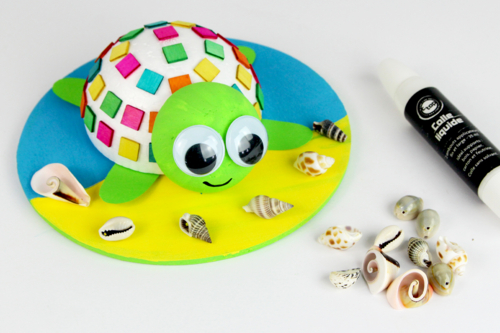
Glue a few small seashells onto the wooden support for a nice finish.
The products used:
The products used:


26,94€ (either 4,49 € / pot)
Available

2,99€ (either 1,00 € / pc)
Available


3,59€ (either 0,36 € / pc)
Available


Other tutorials on the theme "Mosaic Tutorials"
-


Glitter Easter Bells
C11130View 32085 time


-
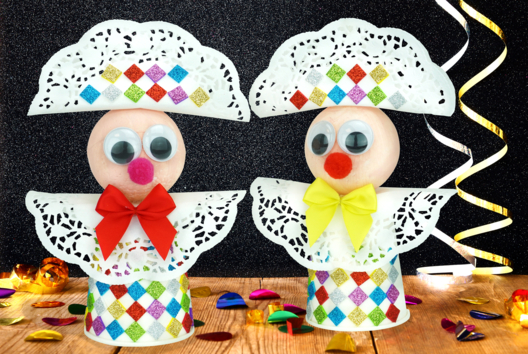
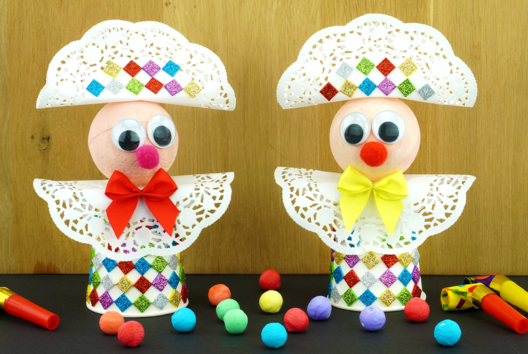
Harlequin with Paper Doilies
C11119View 22346 time

-
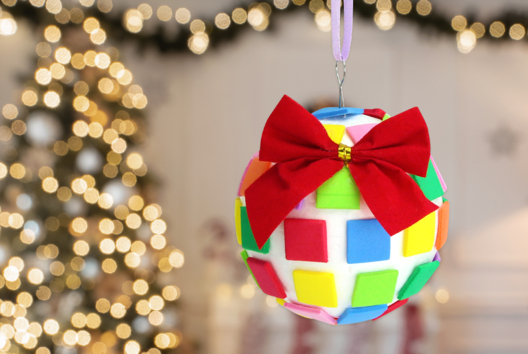
Christmas Mosaic Ball
C14315View 18070 time -
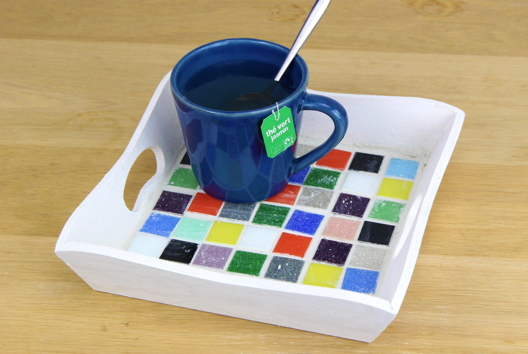
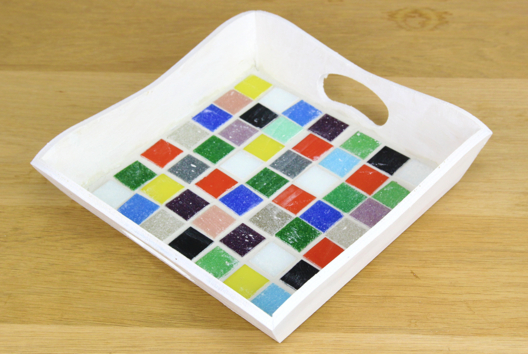
Mosaic Tray
C14122View 27237 time -
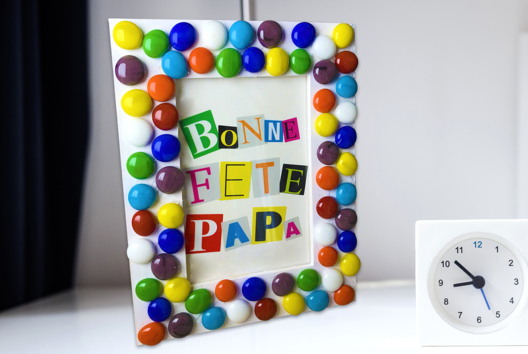
Mosaic Frame Father's Day
C14067View 15720 time -
Mosaic Trivet
C13979View 30410 time
Avis client
5.0/5
2 avis publiés
5
100%
4
0%
3
0%
2
0%
1
0%
Customer review
Magnifique idée
Je n'avais pas de rond en bois maos je l'ai fait avec une assiette en carton. Super. Les enfants ont adoré l'activité.
activité réalisé avec ma fille de 3 ans. Juste un peu long pour faire le collage au niveau de la carapace, sinon superbe activité