Your cart is empty.
3D Clown Picture
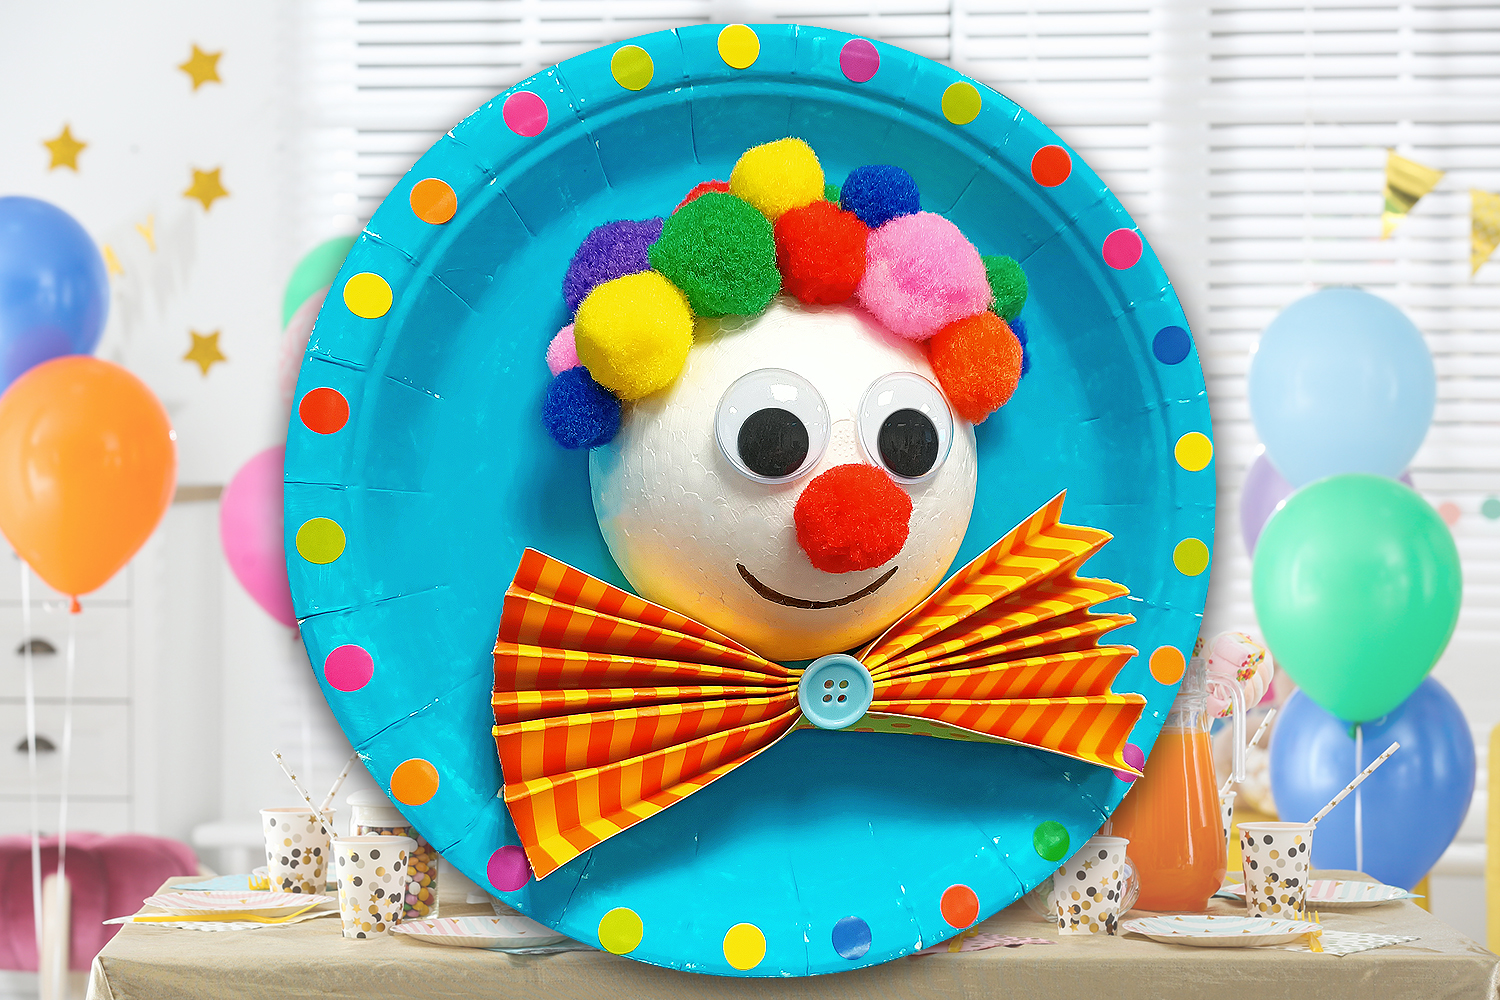
3D Clown Picture
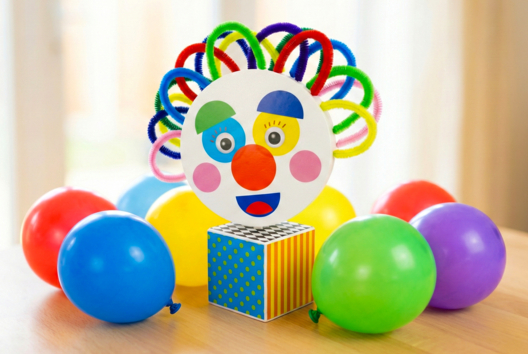
With simple materials, we will create a 3D clown picture today. So get out the paper plates, pom-poms, and stickers, and let's get started !
During this activity, children will learn to use a glue gun like the grown-ups, and they will be very proud of it !
Thèmes de l'idéa créa :
#Carnival Tutorials
#I Stick Stickers
#Board Tutorials
#Funny Characters Tutorials
#Craft Tutorials
How to complete this tutorial step by step?
Materials
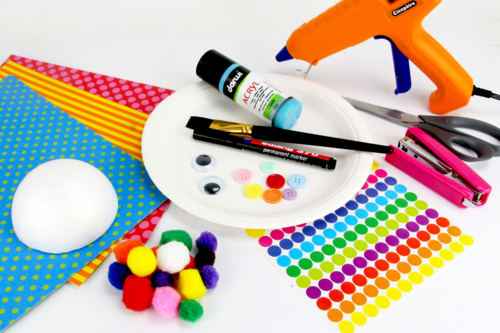
To make this cute clown picture, you will need:
- a white cardboard plate
- acrylic paint and a brush
- a half foam ball (Ø 9.5 cm)
- pom poms
- 2 movable eyes Ø 2.5 cm
- a sheet of patterned paper
- a plastic button
- round stickers
- a glue gun
- a pair of scissors
- a stapler
- a black marker
Step 1
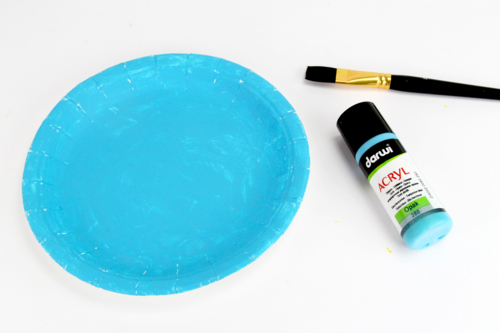
Paint the cardboard plate with acrylic paint.
Here, we used a turquoise blue.
Étape 2

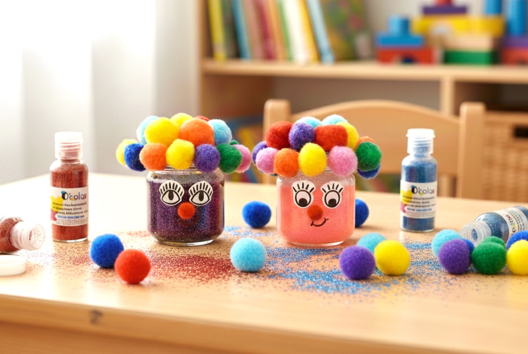
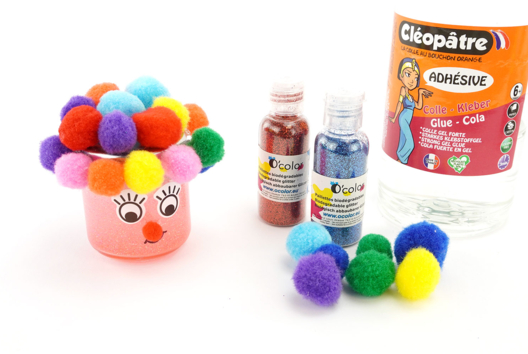
To create the clown's hair, glue pompoms onto a half-ball made of polystyrene Ø10 cm with a glue gun.
Also, glue a red pompom in the center of the half-ball to make the clown's nose.
Step 3
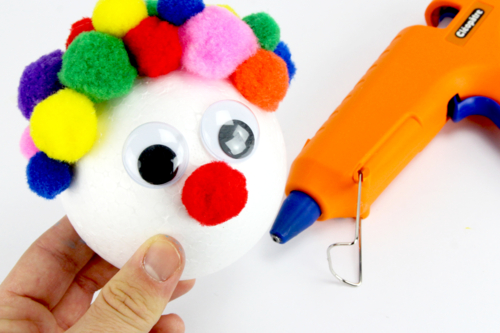
Glue 2 movable eyes Ø 2.5 cm.
Step 4
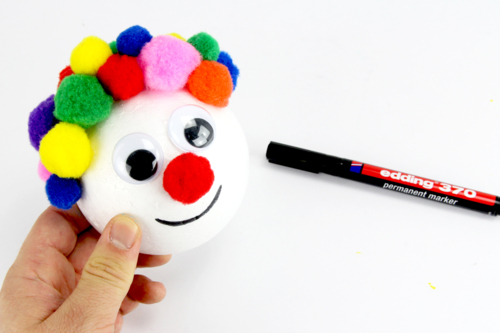
Draw a smile with a black marker.
Step 5
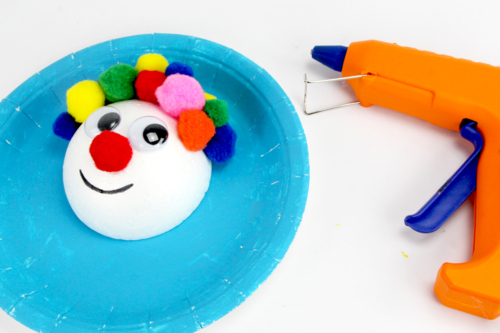
Stick the clown's head slightly above the center of the cardboard plate.
Step 6
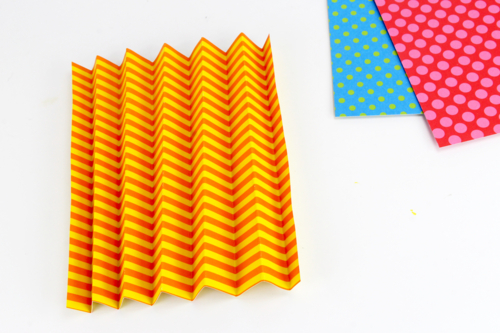
To make the clown's bow tie, fold a patterned A4 sheet of paper in an accordion style with intervals of about 3 cm.
Step 7
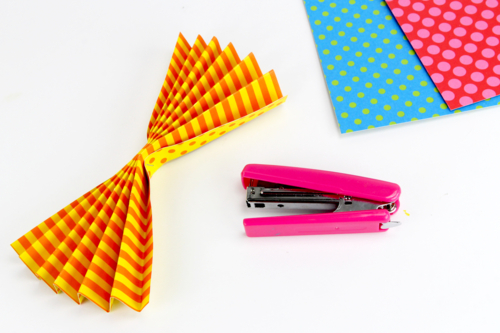
Staple in the center to maintain the shape of the bow tie.
Step 8
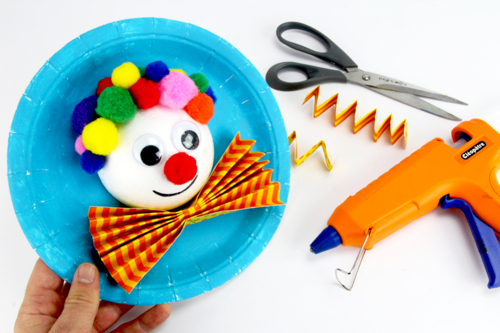
Trim the bow tie on each side with a pair of scissors so that it can fit into the cardboard plate.
Glue the bow tie underneath the clown's head with the glue gun.
Step 9
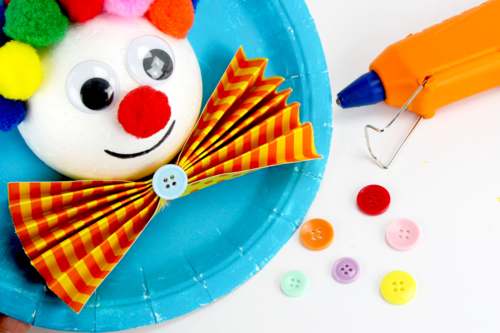
Glue a plastic button in the center of the bow tie for a nice finish.
Step 10
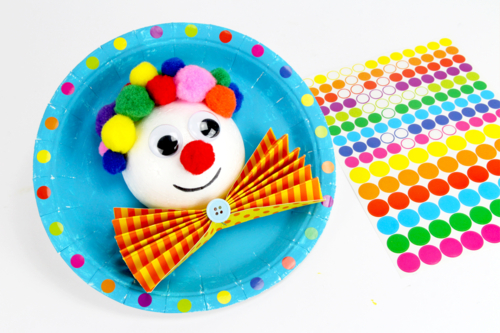
Decorate the edge of the plate with colored round stickers.
The products used:
The products used:


3,49€ (either 0,58 € / pc)
Available


2,99€ (either 1,00 € / pc)
Available

4,99€
Available

6,29€ (either 0,31 € / pc)
Available


Other tutorials on the theme "Carnival Tutorials"
-
Glitter Clown
C17673View 11031 time


-

Giant clown
C17661View 9212 time

-
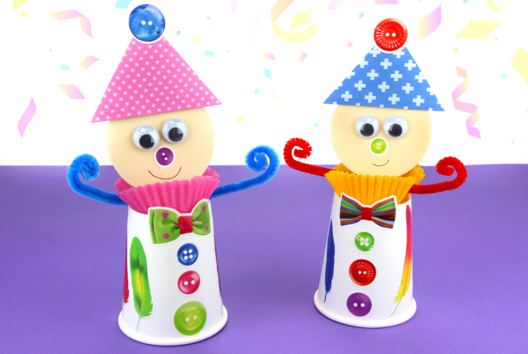
Cute Harlequin with a Paper Cup
C15075View 25279 time -
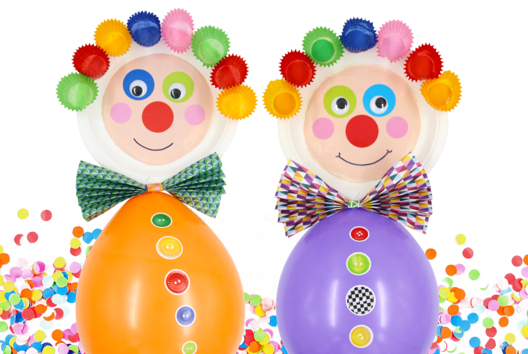
Giant Clown with a Balloon
C15072View 34808 time
-
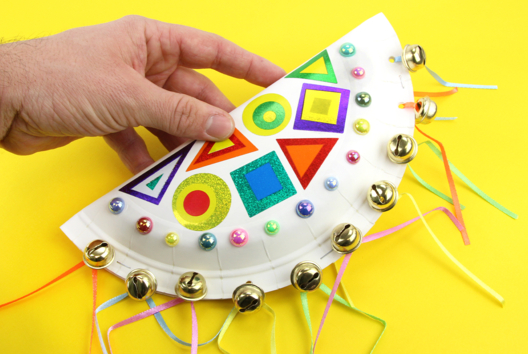
Jingle Tambourine with a Cardboard Plate
C15059View 72896 time
-
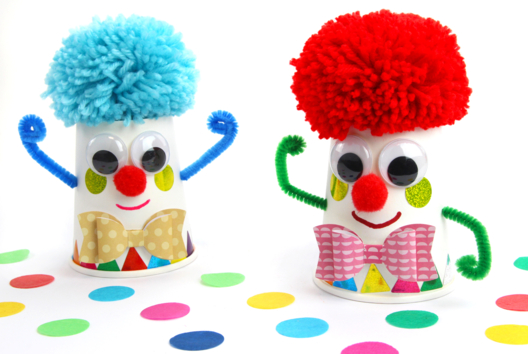
Funny Clown and Wool Wig
C15055View 31007 time