Your cart is empty.
Air-Drying Clay Photo Holder with Wooden Beads
Air-Drying Clay Photo Holder with Wooden Beads


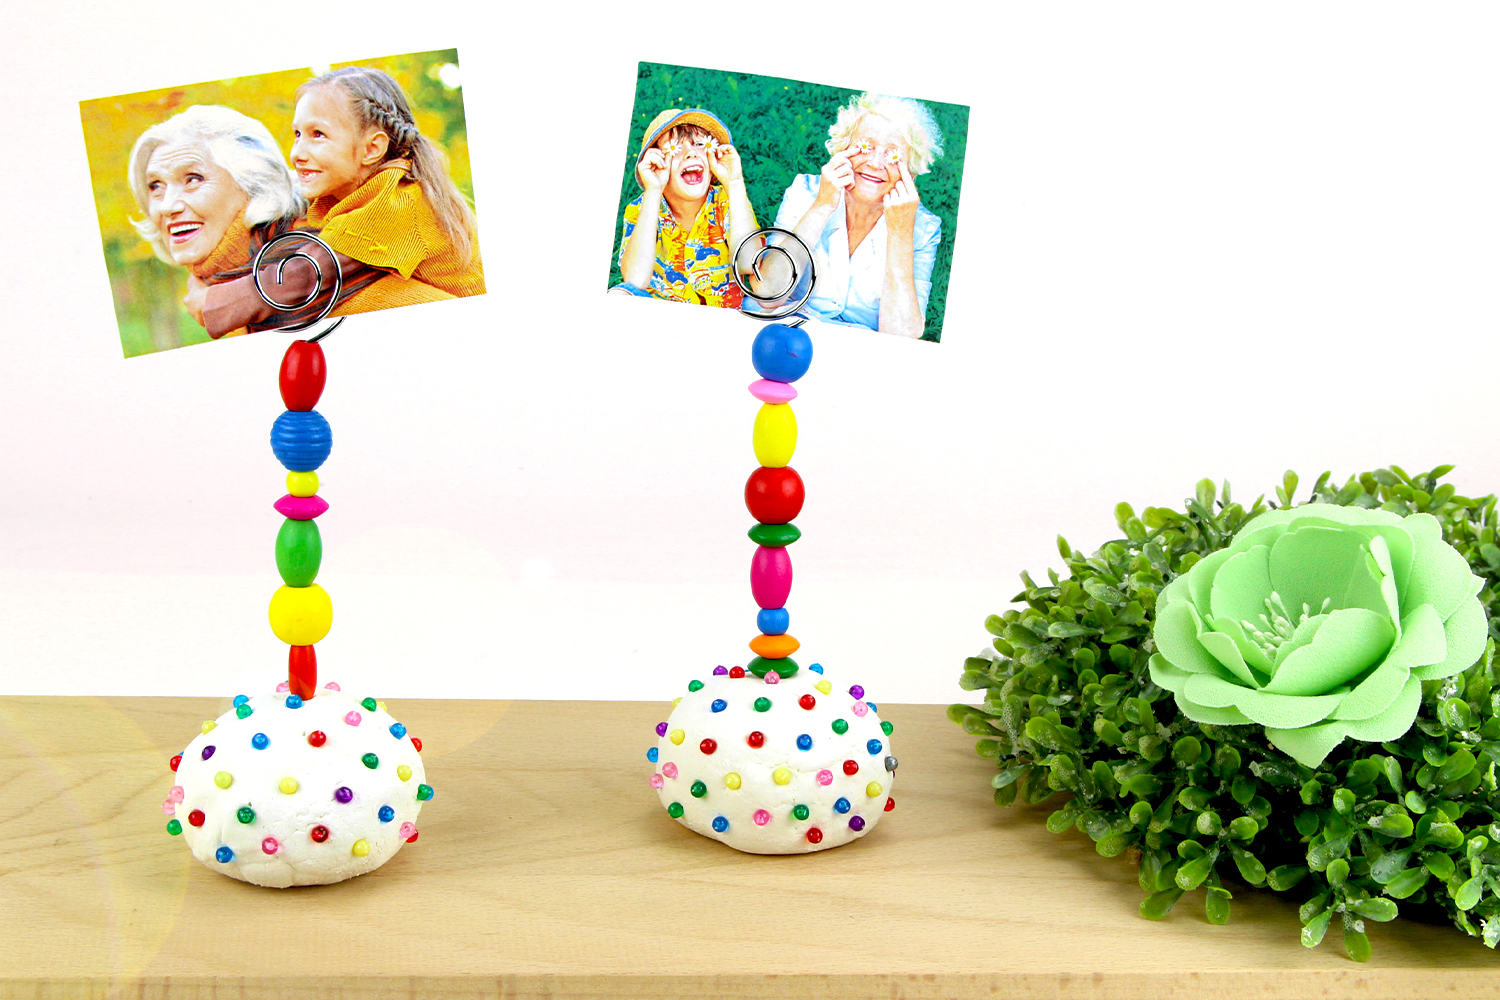
Discover our creative tutorial that will guide you in making beautiful photo holders with air-drying clay. This activity is suitable for all ages, from the youngest to the most experienced, and allows you to create personalized photo holders with a unique artistic touch.
Shape a ball of air-drying clay in the size of your choice. Ensure that the ball is large enough to support the photo clip. Once you have your ball of clay, take the plastic pins and insert them into the clay to create decorative patterns. You can unleash your creativity by experimenting with different designs and color combinations. Thread beads onto the metal rod, then gently insert it into the clay, making sure it is stable. Once your creation is complete, let it dry completely. The drying time may vary depending on the size of your photo holder, so follow the instructions on the packaging of your air-drying clay. If desired, you can also paint your creation with acrylic paint for an additional artistic touch. Once your photo holder is completely dry, insert your favorite photo into the photo clip.
And there you have it! You have created a stunning personalized photo holder that will add an artistic touch to your living space or serve as a unique gift for your loved ones. This activity is both fun and rewarding, allowing everyone to unleash their creativity while making a practical work of art. So, embark on this creative project right now!
How to complete this tutorial step by step?
Materials
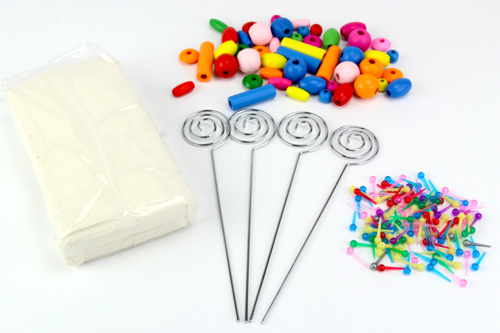
To make a nice photo holder, you need:
- white modeling clay
- a metal clip
- plastic push pins
- colorful wooden beads
Step 1
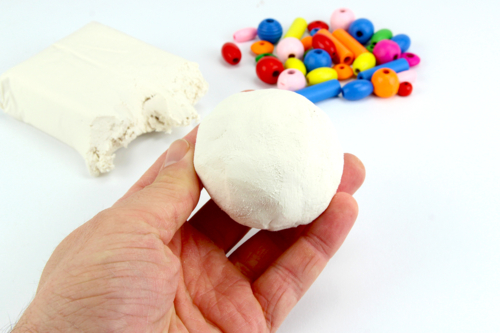
Make a ball with 1 log of 80 g of white modeling clay (approximately Ø 5 cm)
Note: with 1 kg of modeling clay, it will be possible to make about ten photo holders (5 cm diameter ball).
Step 2
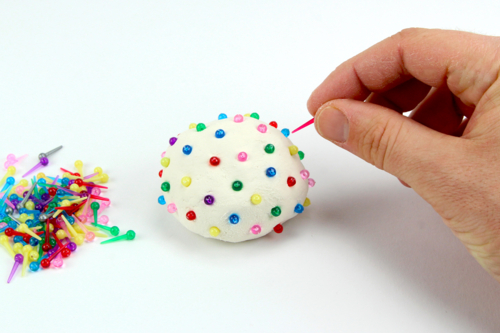
Flatten the modeling clay ball to create a stable base and then decorate the ball by sticking colorful plastic pins into the clay.
Step 3
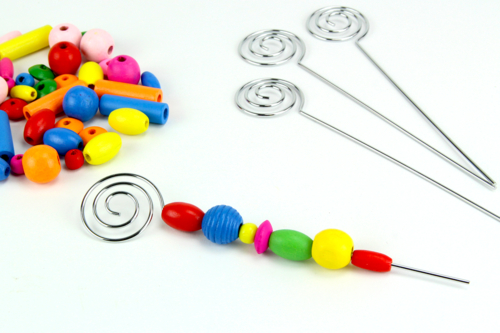
Thread colored beads onto the stem of the metal clip.
Leave about 3 cm of stem visible (this is the part that will be inserted into the dough).
Step 4
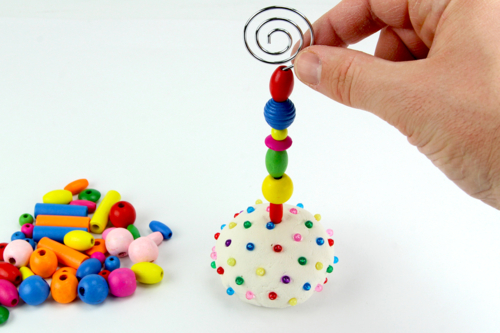
Insert the metal clip into the dough and let it dry for about 24 hours.
The products used:
The products used:


6,90€ (either 0,28 € / pc)
Available

20,70€ (either 0,21 € / pc)
Available
Other tutorials on the theme "Mother's Day Tutorials"
-


Heart frame Father's Day
C17797View 6693 time


-
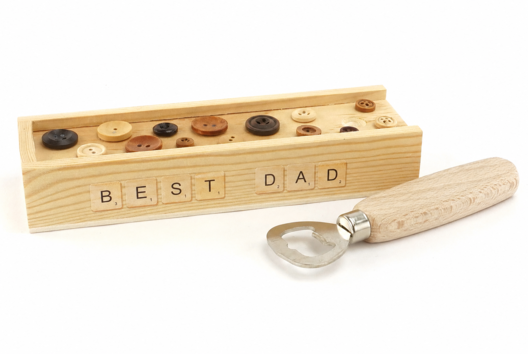
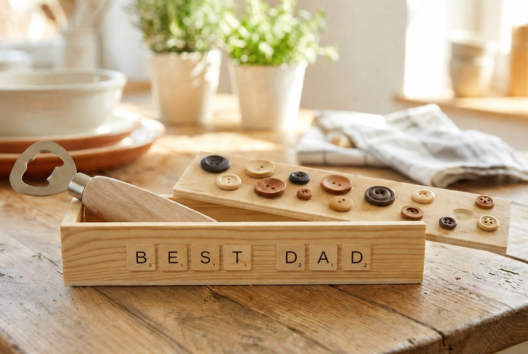
Bottle Opener Set
C17389View 3972 time
-
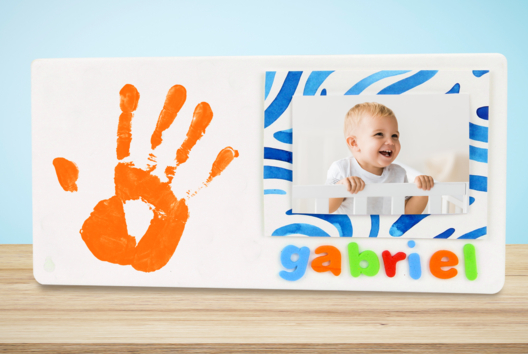
Handprint Frame
C14643View 47137 time
-

Butterfly Frame
C14641View 19222 time
-
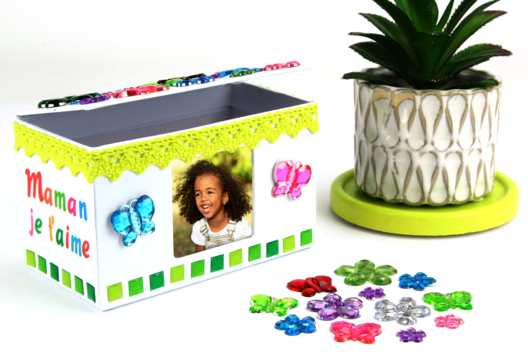
Jewelry Box with Photo Frame
C14624View 19998 time
-
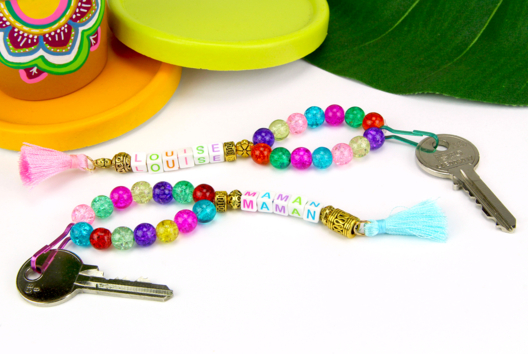
Personalized Keychains for Mother's Day
C14614View 33467 time

-
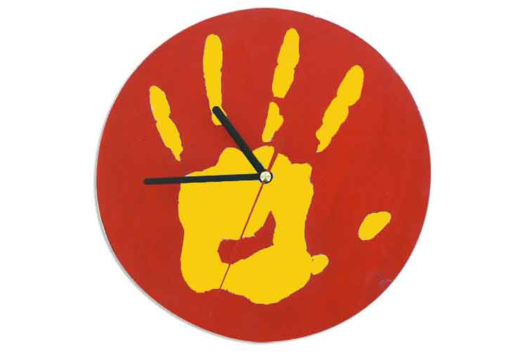
Handprint Clock
C8391View 22193 time
-

Notepad with Round Memo Pad
C8357View 5390 time

-
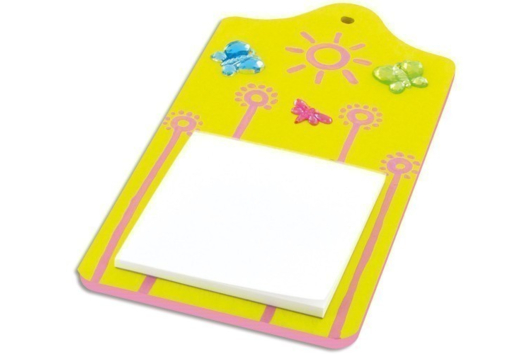
Decorative Thinking Board with Square Block
C8355View 8339 time
-
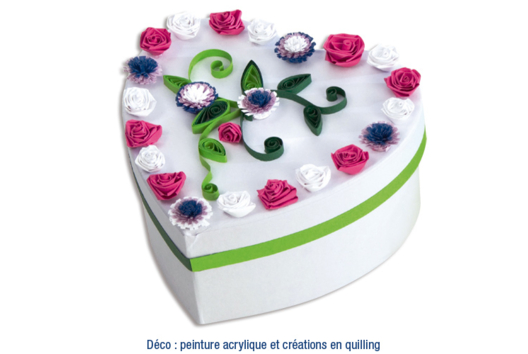
Heart Box in Quilling
C8350View 10492 time
Vos créations inspirées par ce tuto
Nat.W
4 Your comments:
Avis client
5.0/5
1 avis publié
5
100%
4
0%
3
0%
2
0%
1
0%
Customer review
Facile et sympa
Petite activité qui a bien occupée ma fille de 3 ans 1/2. Rendu très sympa. Pressée de pouvoir les offres à l'occasion de la fête des mamies