Your cart is empty.
Back-to-school bus made from wooden sticks
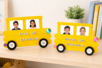

Back-to-school bus made from wooden sticks
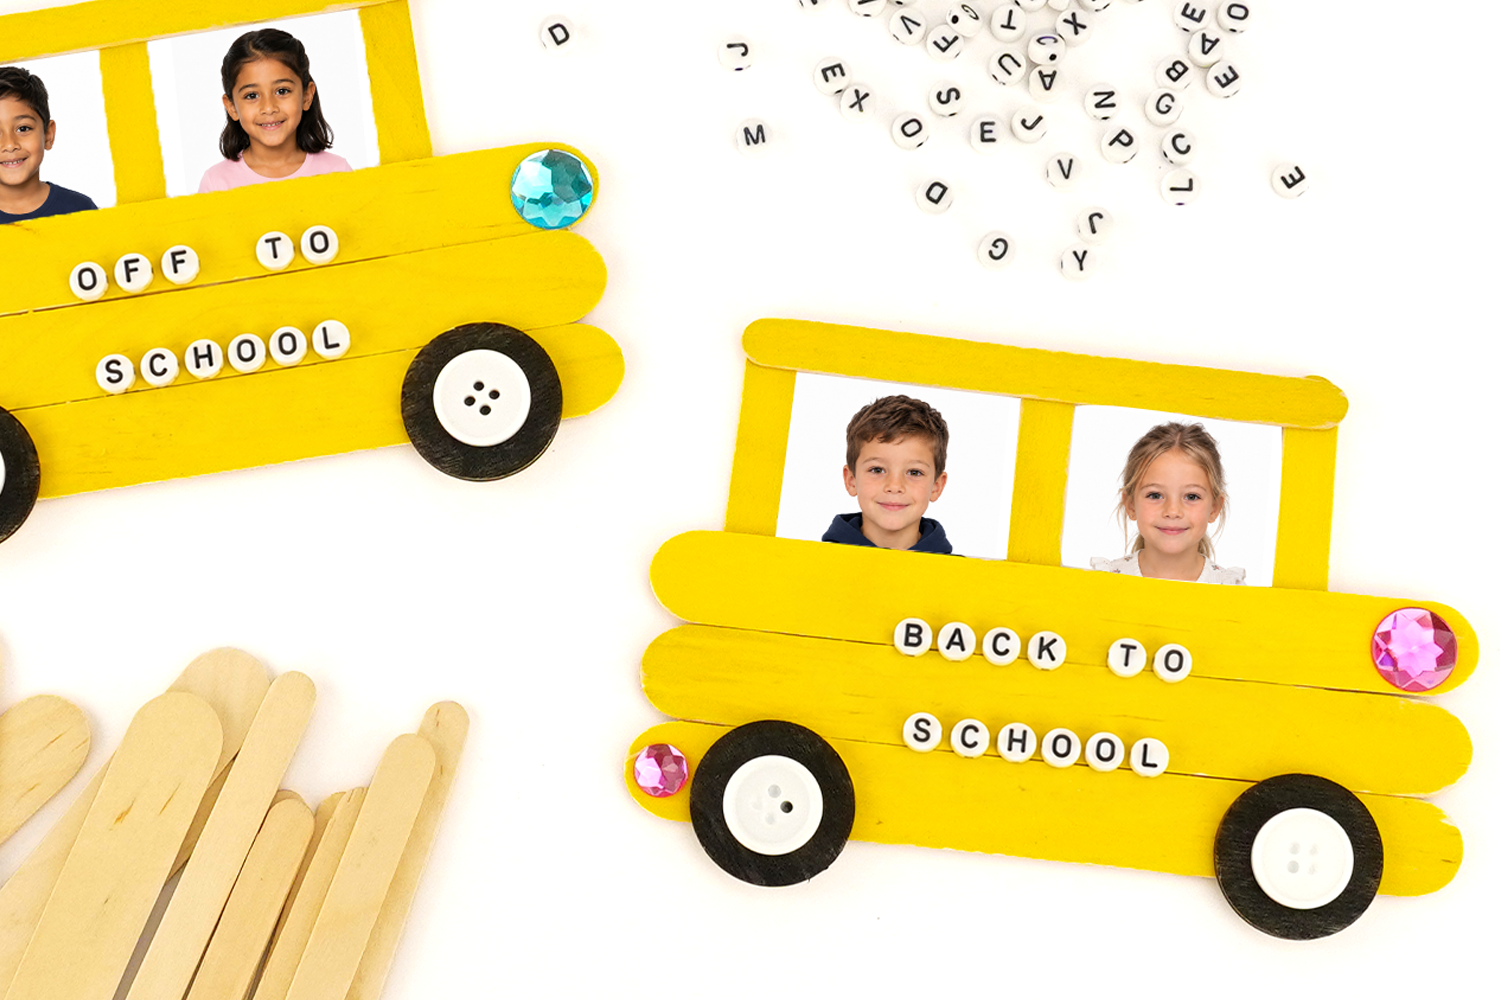
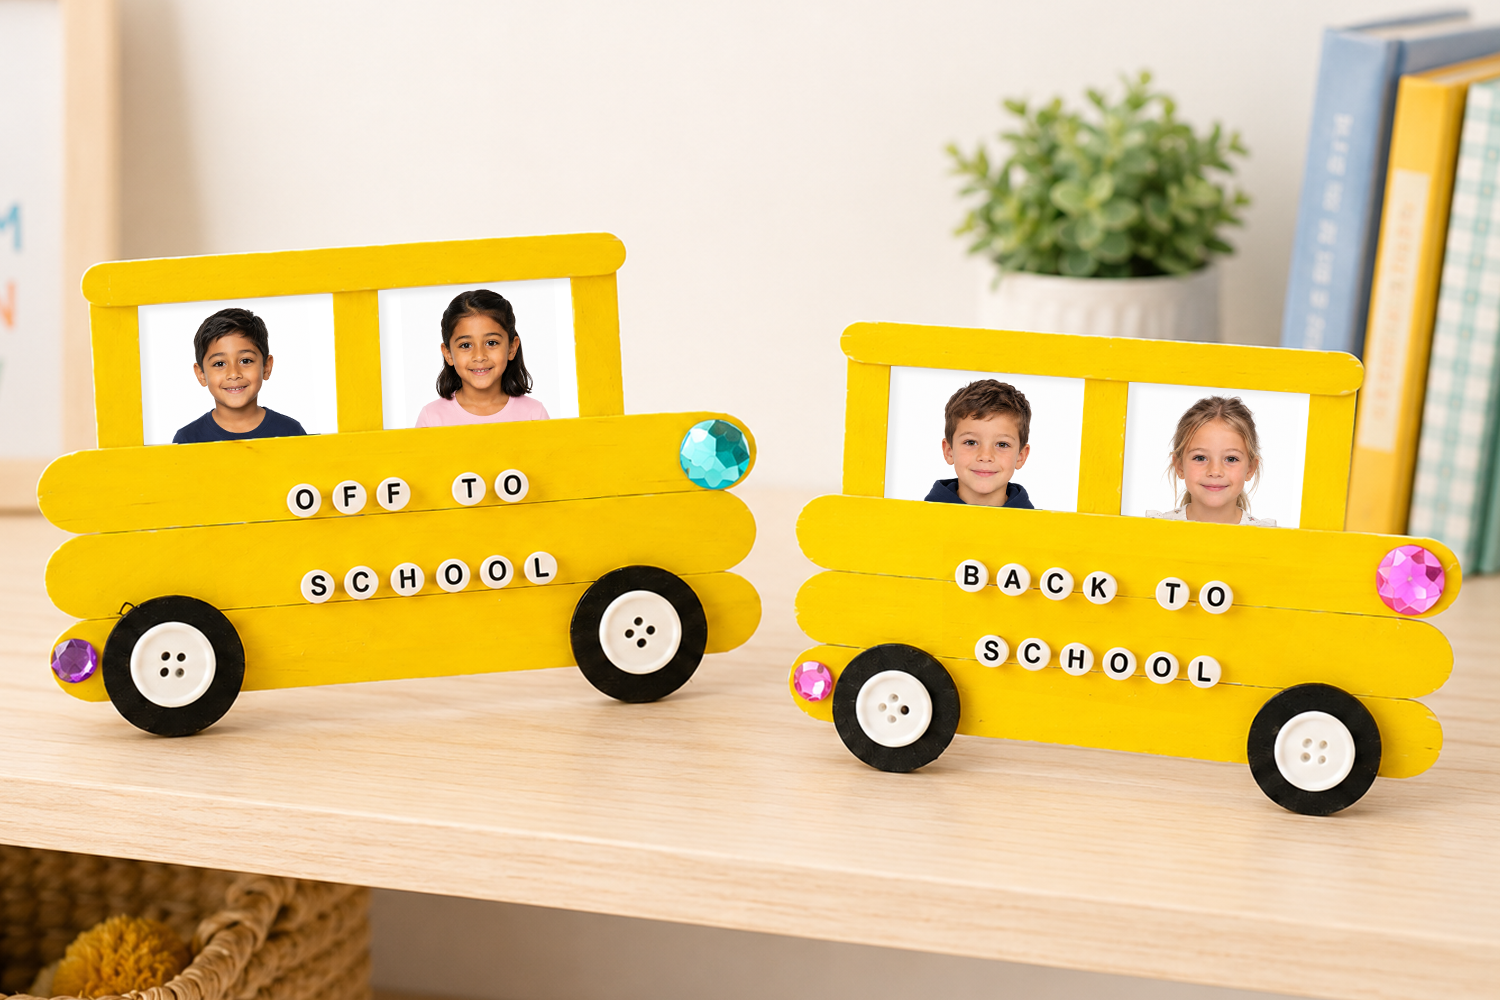
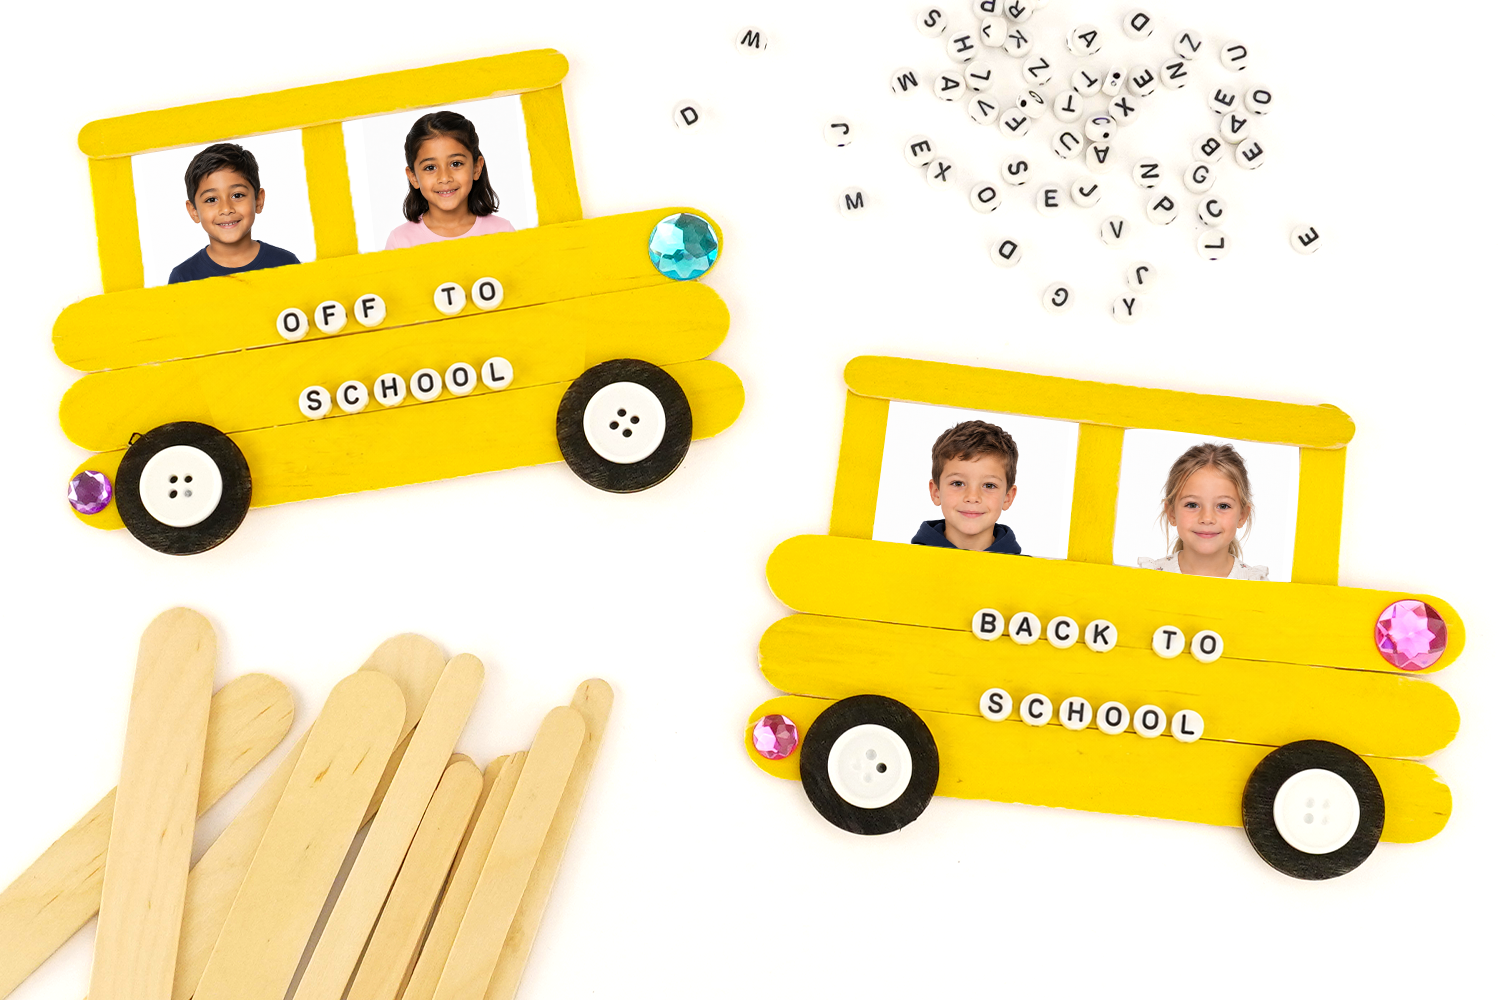
With a few wooden sticks, two photos of children, and some creative accessories, create an adorable personalized school bus for back-to-school! This easy craft activity allows you to create a lovely keepsake for the start of the school year, decorated with alphabet beads, buttons, and rhinestones. This little wooden bus with photos is perfect for capturing the first days of school while providing children with a fun painting, gluing, and personalization activity.
Why we love this activity?
- A lovely back-to-school keepsake: The children's photos transform this school bus into a unique creation to keep or gift.
- A simple and fun activity: Painting, gluing, and decorating allow children to easily create their own bus with back-to-school creative materials.
- 100% customizable: Add alphabet beads to write "BACK TO SCHOOL", "OFF TO SCHOOL", or even the children's names.
How to complete this tutorial step by step?
Materials:
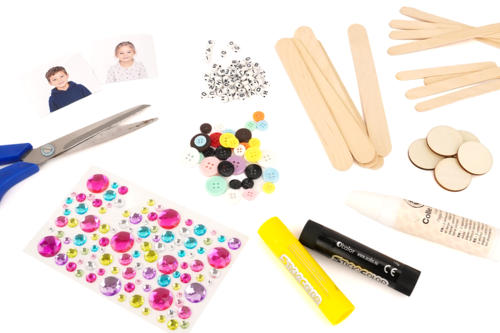
To carry out this activity, you will need:
- 7 wooden sticks: 3 of 15 cm, 3 of 9.3 cm, and 1 of 11.4 cm
- 2 wooden pegs of Ø 3 cm
- 2 gouache paints (yellow and black)
- white and black alphabet beads
- 2 white buttons
- round adhesive rhinestones
- 2 photos of children approximately 4.5 x 4.5 cm
- white glue
- a pair of scissors
Step 1:
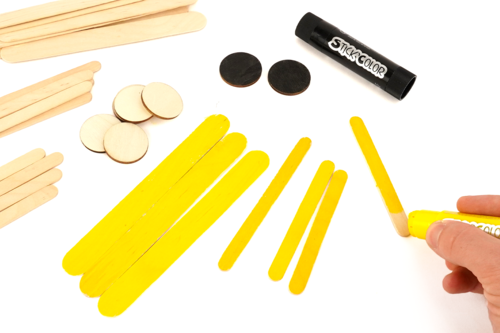
Using the gouache paints, color the 3 wooden sticks of 15 cm, the 3 wooden sticks of 9.3 cm, and the stick of 11.4 cm in yellow. Also, color the 2 wooden pegs in black.
Step 2:
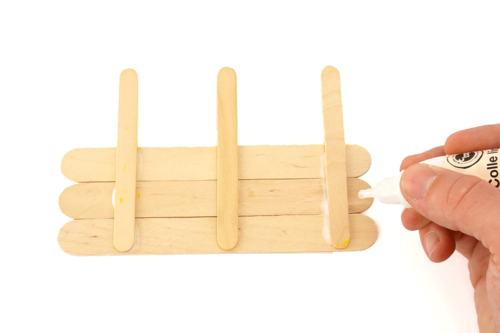
Turn the sticks over, then align the 3 yellow sticks of 15 cm horizontally. Assemble them with white glue by attaching the 3 sticks of 9.3 cm vertically at the back.
Step 3:
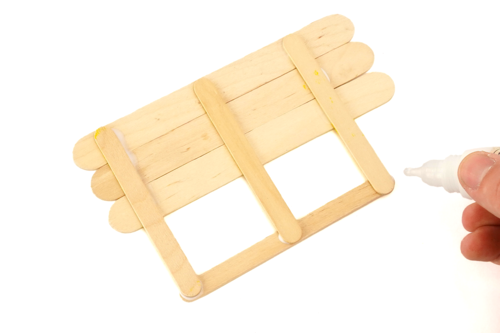
Complete the bus structure by gluing the stick of 11.4 cm horizontally on the uprights to form the frame that will hold the two photos.
Step 4:
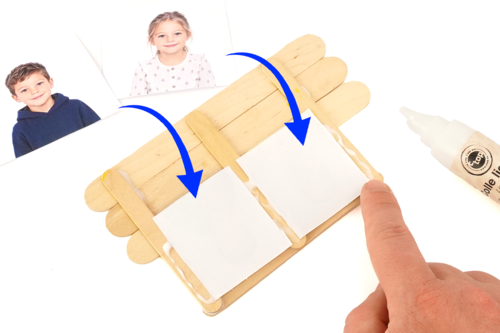
Cut the 2 photos to the correct size, then glue them to the back of the frame, ensuring that the faces are clearly visible through the two windows of the bus.
Step 5:
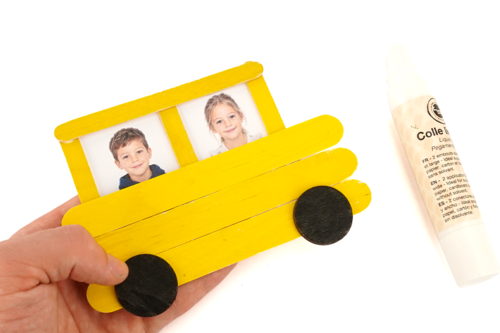
Turn the bus over, then glue the 2 black pegs to the bottom to form the wheels.
Step 6:
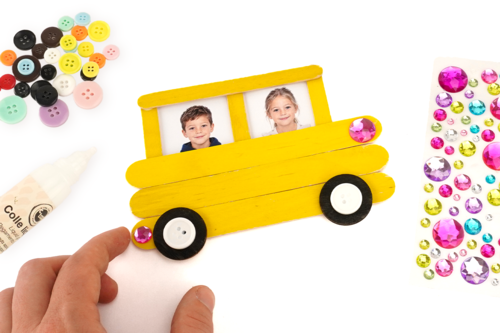
Glue a white button in the center of each wheel, then add some round adhesive rhinestones to the front of the bus to represent the headlights.
Step 7:
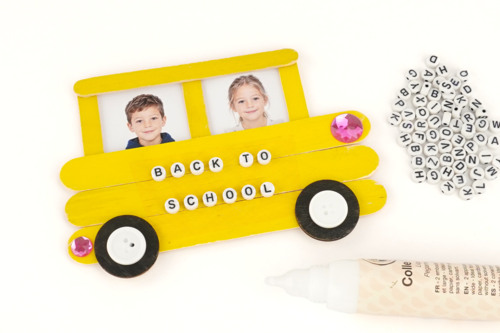
Finally, glue alphabet beads onto the yellow sticks to compose a small message, for example: "BACK TO SCHOOL" or "OFF TO SCHOOL".
The products used:
The products used:


1,79€ (either 0,18 € / pc)
Available

9,99€ (either 0,83 € / pc)
Available

2,99€
Available



Other tutorials on the theme "Back to School Tutorials"
-
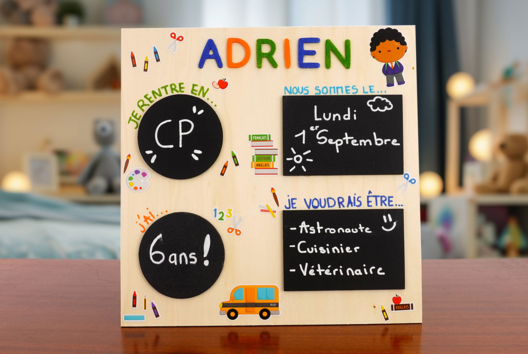
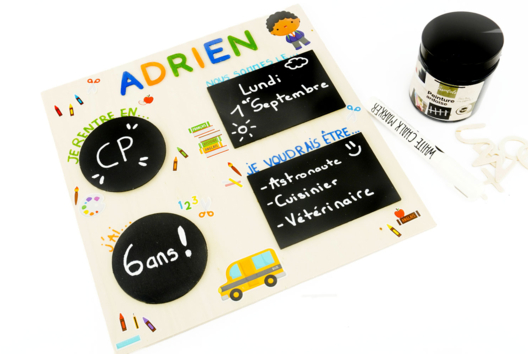
Personalized Back-to-School Sign
C17300View 6452 time


-
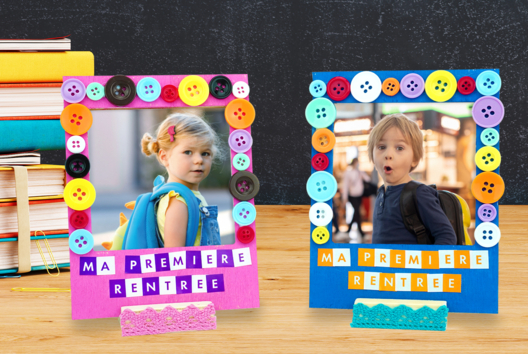
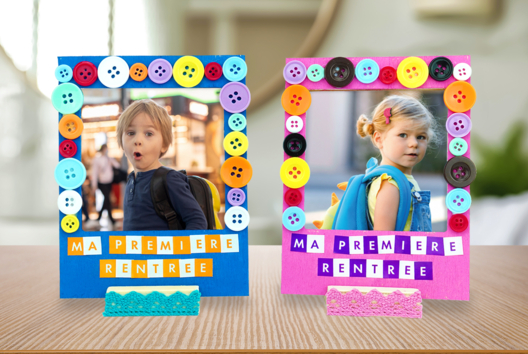
Souvenir Frame "My First Day"
C10976View 14892 time

Customer review
Give your feedback
Back-to-school bus made from wooden sticks
Be the first to share your review of this product.
Post a review