Your cart is empty.
Christmas Chalet with Sticks


Christmas Chalet with Sticks


During this fun Christmas activity, children will use wooden craft sticks, solid gouache sticks, and stickers to create a beautiful chalet that they can hang on the tree!
An easy craft, suitable from the age of 3.
How to complete this tutorial step by step?
Materials
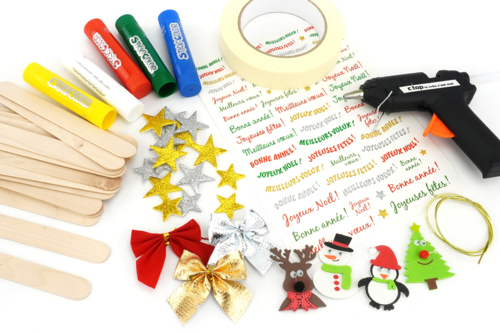
To make a lovely Christmas chalet, you will need:
- 9 large wooden sticks (15.5 cm)
- solid poster paint sticks
- Christmas character stickers
- star stickers
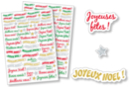
- festive message stickers
- adhesive rhinestone strips
- a large fabric bow
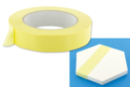
- masking tape
- a glue gun
Step 1
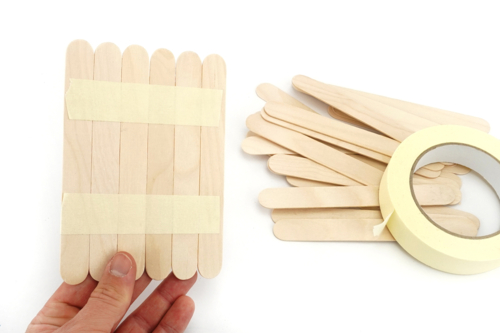
Align 6 large wooden sticks and then secure them using 2 pieces of adhesive tape.
Step 2
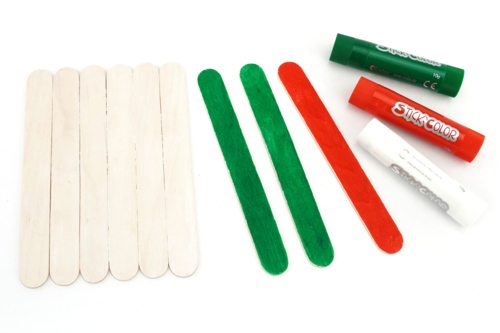
Decorate the 6 aligned sticks with the white poster paint to create a nice patina on the wood.
Color two wooden sticks with green poster paint and one stick with red poster paint.
Note: solid poster paint dries very quickly!
Step 3
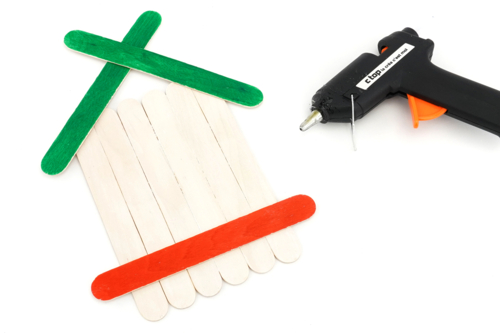
Glue the 2 green sticks together with a glue gun to create the roof of the chalet.
Attach the red stick perpendicularly to the white sticks approximately 2 cm from the edge.
Step 4
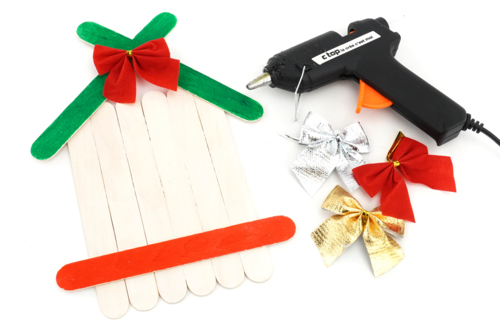
Glue a large fabric bow on the roof of the cabin.
Step 5

Stick 3 small Christmas characters on top of the red stick.
Step 6
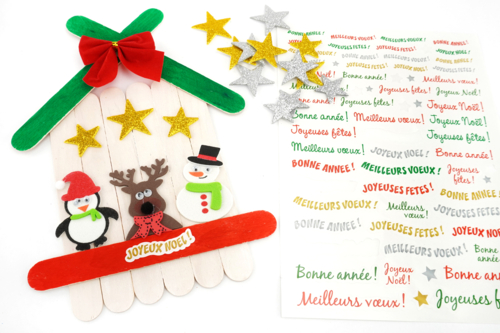
Finish the decoration by gluing some stars above the characters and adding a small Christmas message using a sticker to attach to the red stick.
Step 7

Cut a piece of string and then attach it to the 2 sticks of the roof so you can hang your creation on the Christmas tree!
Step 8
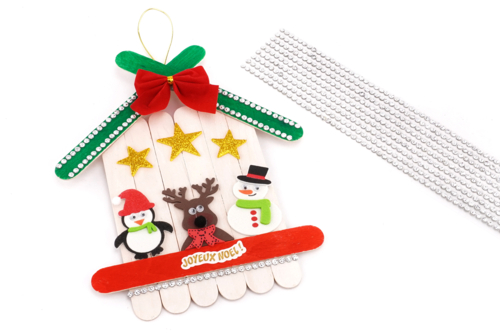
Bonus step for fans of rhinestones and all things shiny: add the finishing touch to your cabin by decorating it with adhesive rhinestones!
The products used:
The products used:


9,99€ (either 0,83 € / pc)
Available


3,99€
Available

3,49€
Available


Other tutorials on the theme "Christmas Tutorials"
-
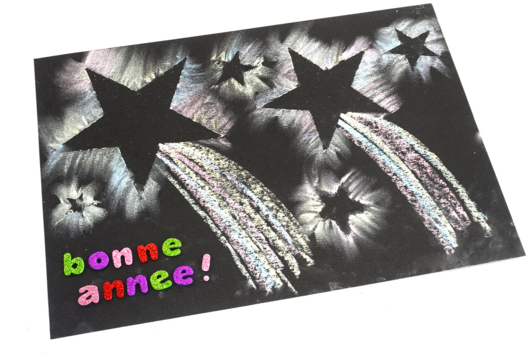
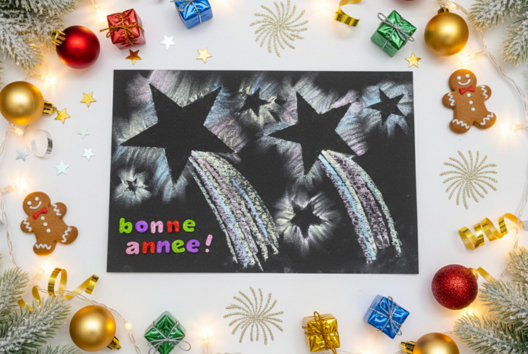
Chalkboard "Happy New Year"
C17575View 3119 time


-


Pipe Cleaner Christmas Tree
C17464View 5012 time


-


Christmas Characters Filled with Glitter
C15443View 52626 time
-
Snowman Painting
C15426View 14386 time
-
Christmas Lantern
C15425View 44894 time
-
3D Christmas Tree Card (Easy Folding)
C15416View 90904 time