Your cart is empty.
Chalkboard "Happy New Year"
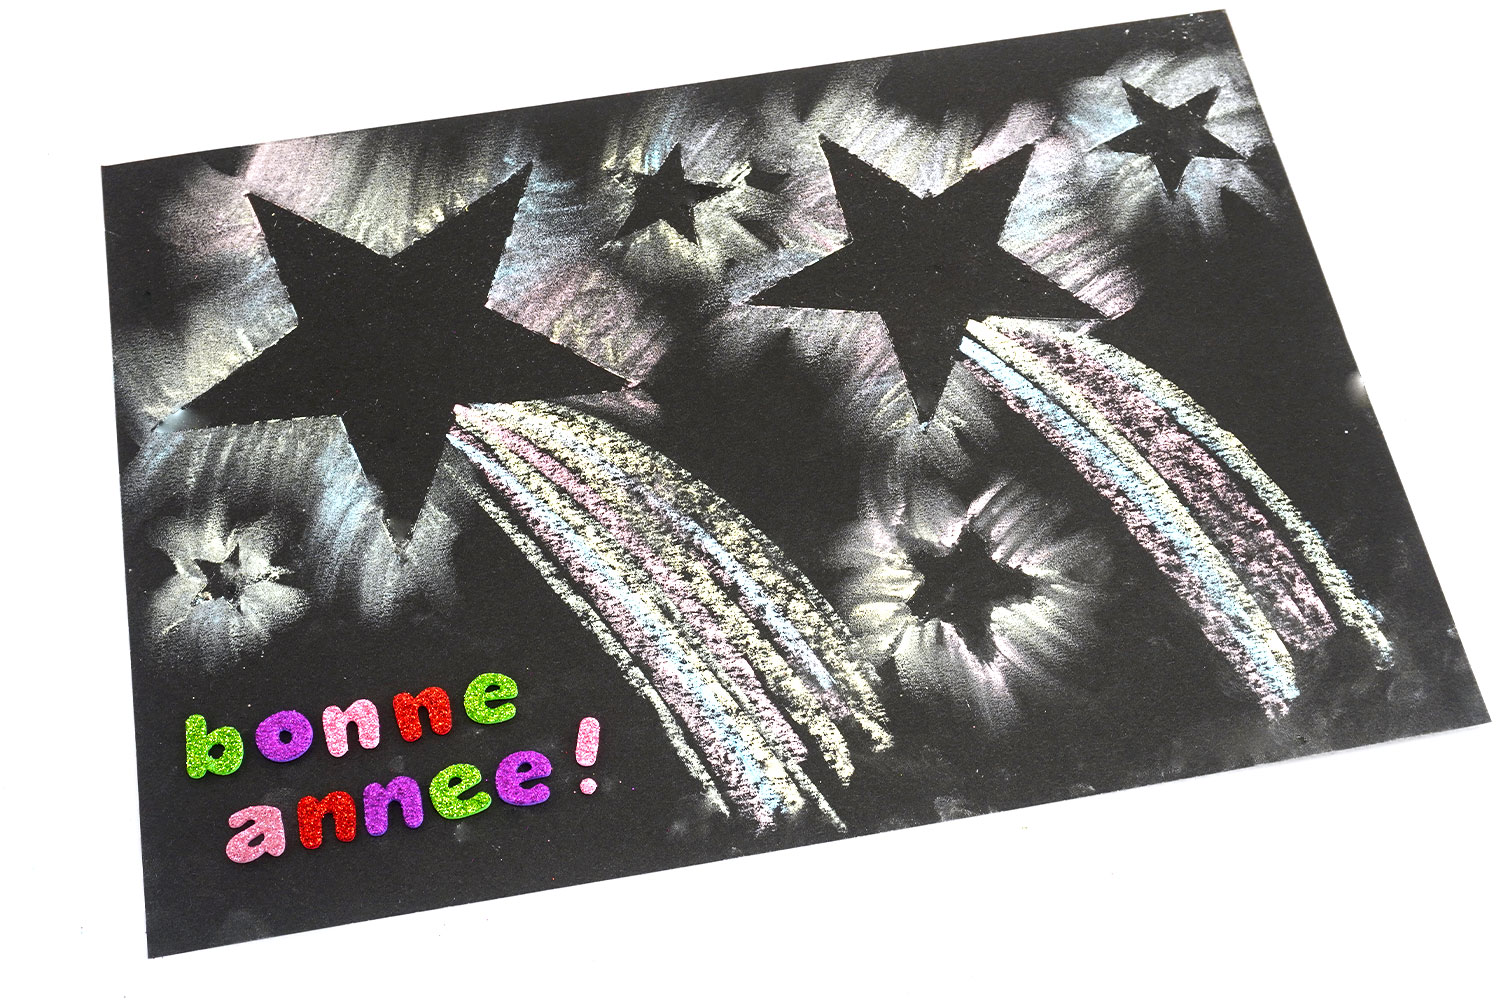
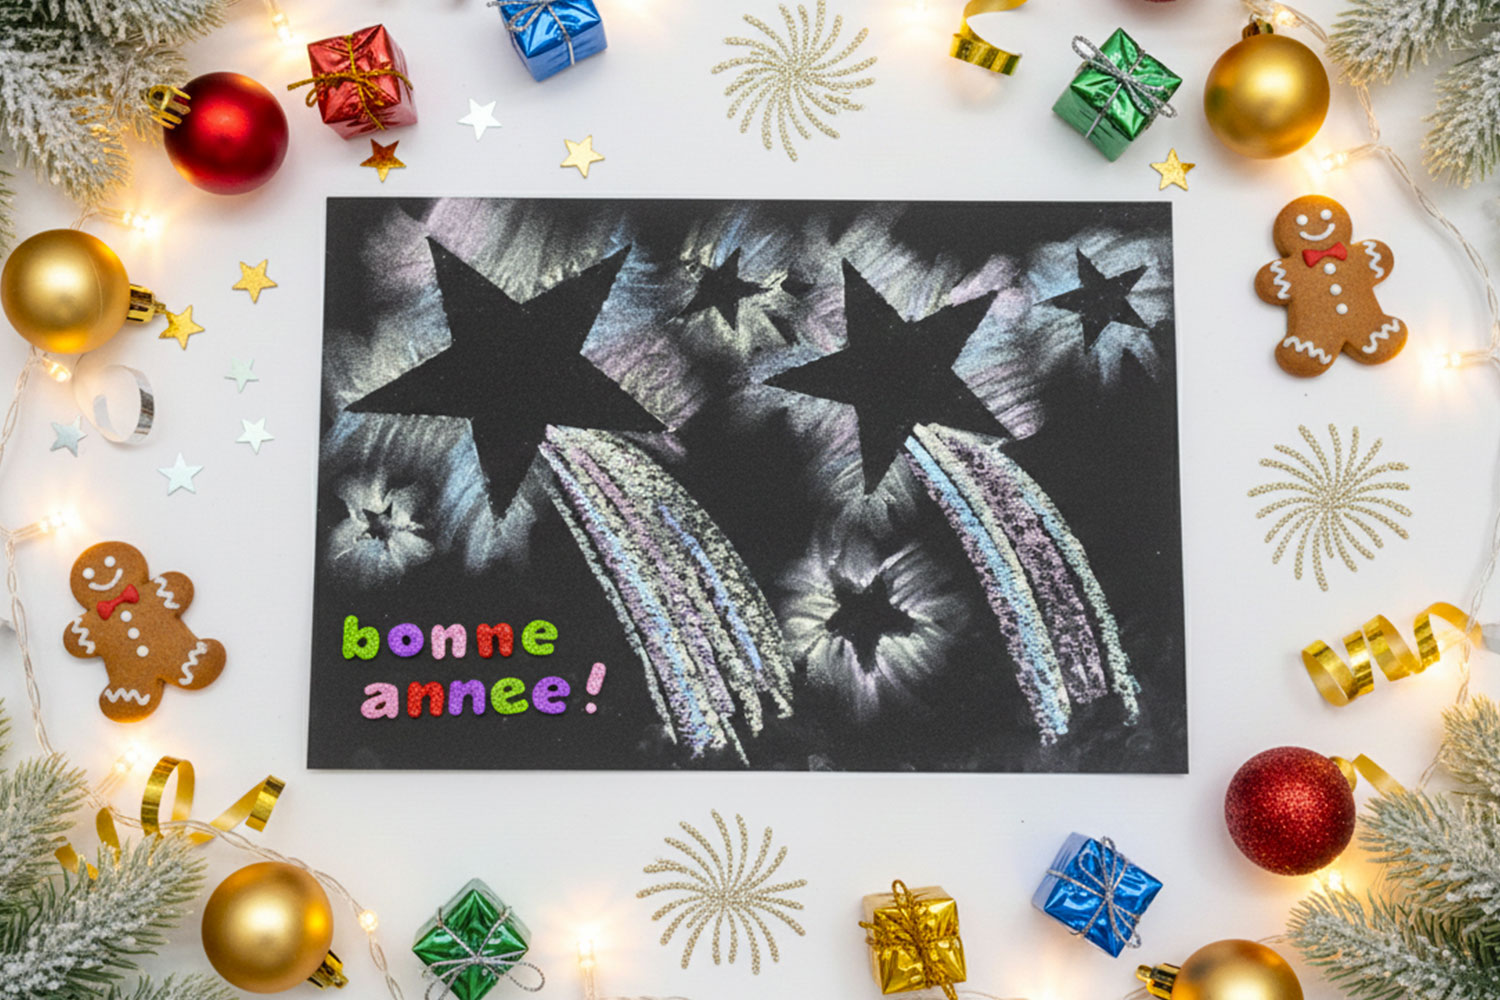

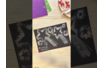

Chalkboard "Happy New Year"


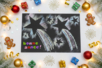
Learn to create a magical effect with colored chalks, star stencils, and some creative accessories like glitter letter stickers.
An arts and crafts activity foryear-end celebrations ideal for children.
Follow each simple step to draw, blend, and secure your artwork for an amazing result!
How to complete this tutorial step by step?
Materials:
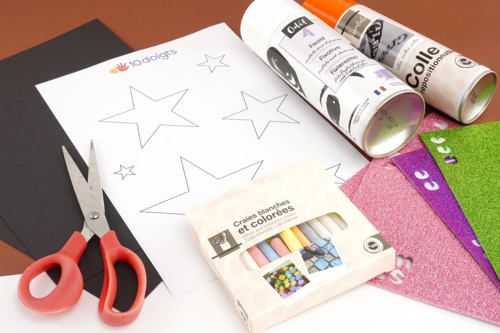
To make chalk stars, you will need:
- Chalks
- Star templates to print right here
- A sheet of thick black paper
- Repositionable glue
- A pair of scissors
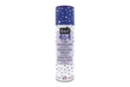
- A fixative spray for pencils, charcoal, and pastels
- Glitter rubber letter stickers
Step 1:
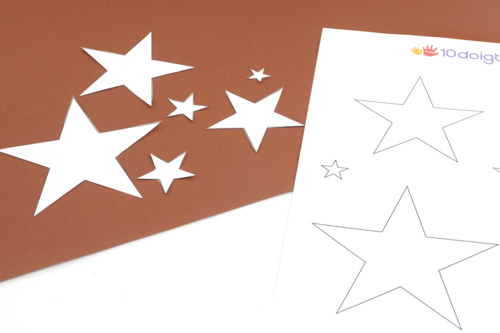
To begin, cut out the star shapes you wish to use in your drawing.
Step 2:

Glue the stars onto the black sheet using repositionable glue.
Step 3:

Draw lines with chalks of different colors around the stars.
Step 4:

Remove the stars from the sheet.
Then gently spread the chalk with your finger around the stars.
Step 5:

Fix the chalk with a fixative spray for charcoal.
Upon application, the colors will darken slightly, then lighten again as they dry.
Step 6:
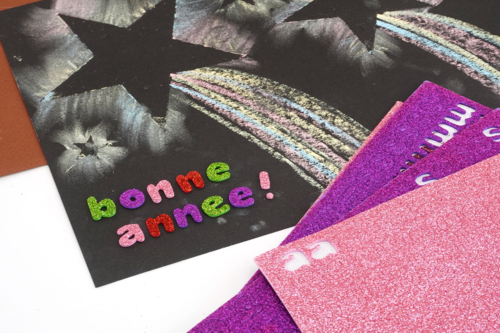
Add the phrase ‘happy new year’ with the glittery foam letter stickers.
The products used:
The products used:
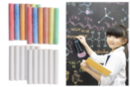
Chalks (12 white and 12 colors) - Set of 24
Réf. 30014 - Product sheet
1,49€ (either 0,06 € / pc)
Available

3,59€ (either 0,36 € / pc)
Available


Other tutorials on the theme "Christmas Tutorials"
-
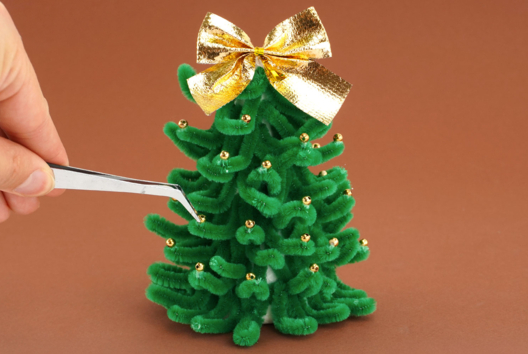
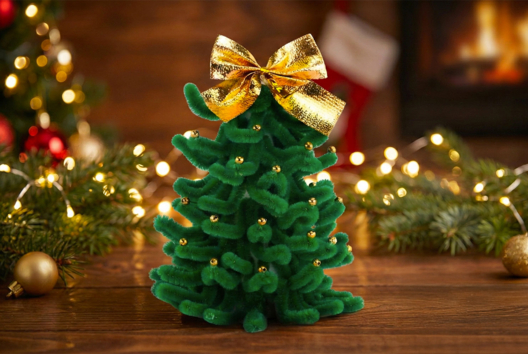
Pipe Cleaner Christmas Tree
C17464View 4918 time


-
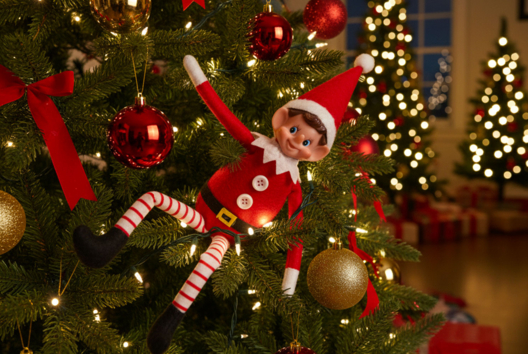
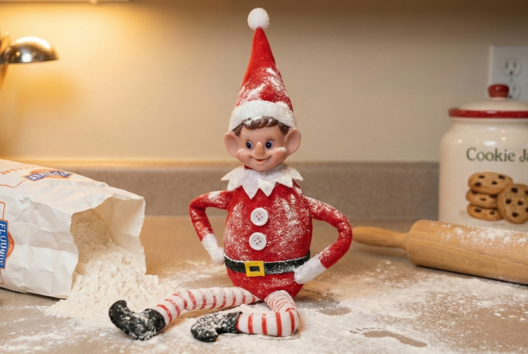
Prank Ideas for the Mischievous Elf
C17446View 18002 time


-
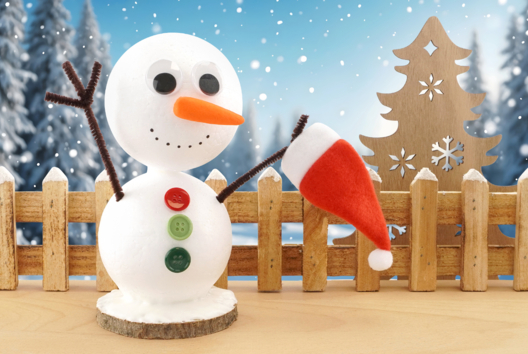
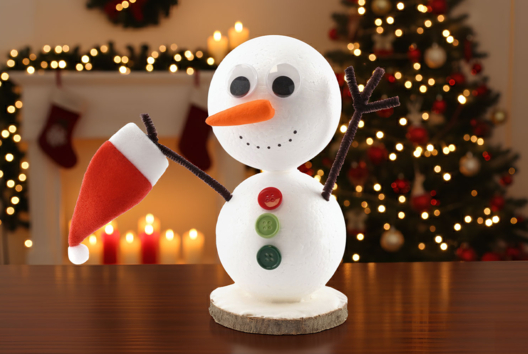
Snowman with Styrofoam Balls
C17009View 16512 time
-
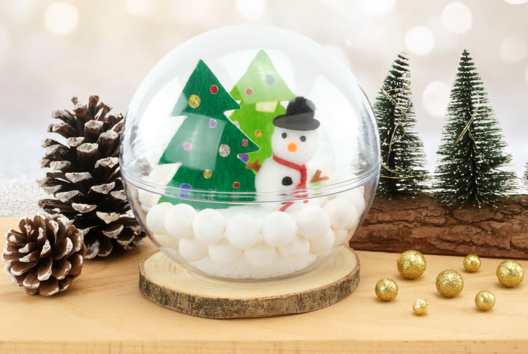
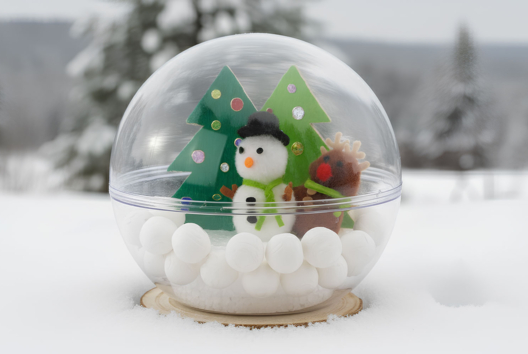
Snow Globe
C16632View 30119 time
-

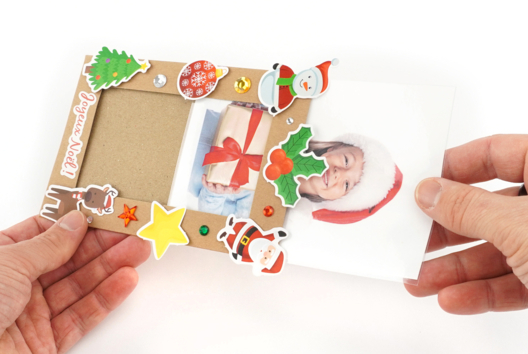
Small Christmas Frame
C16627View 23156 time
-
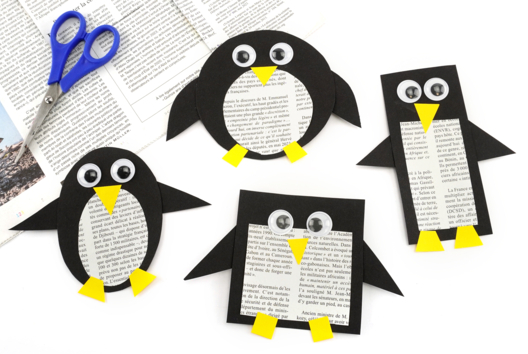
Little Newspaper Penguins
C16932View 19870 time
-
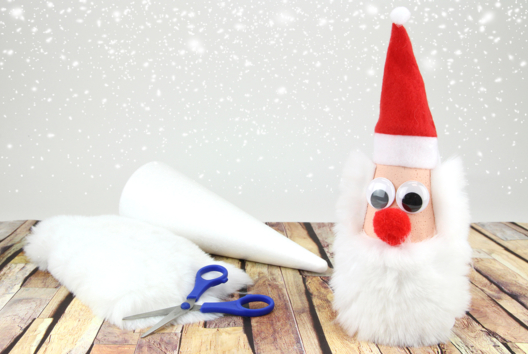
Santa Claus and His Soft Beard
C14933View 20119 time
-
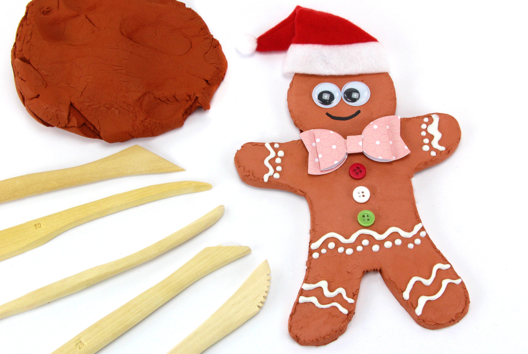
Gingerbread Man (modeling dough)
C14862View 36344 time
-
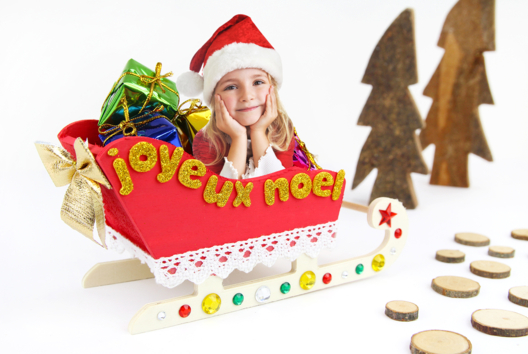
Customizable Christmas Sleigh with a Photo
C14844View 22585 time
-
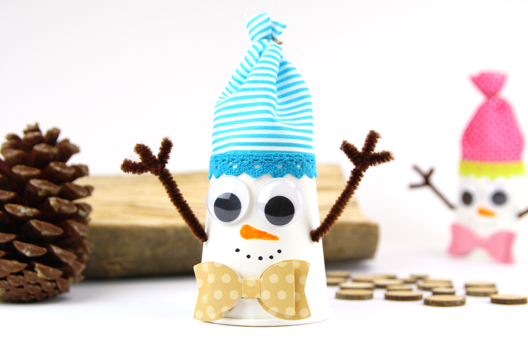
Snowman with a Cup
C14842View 30267 time
Customer review
Give your feedback
Chalkboard "Happy New Year"
Be the first to share your review of this product.
Post a review