Your cart is empty.
Hanging Easter Chickens
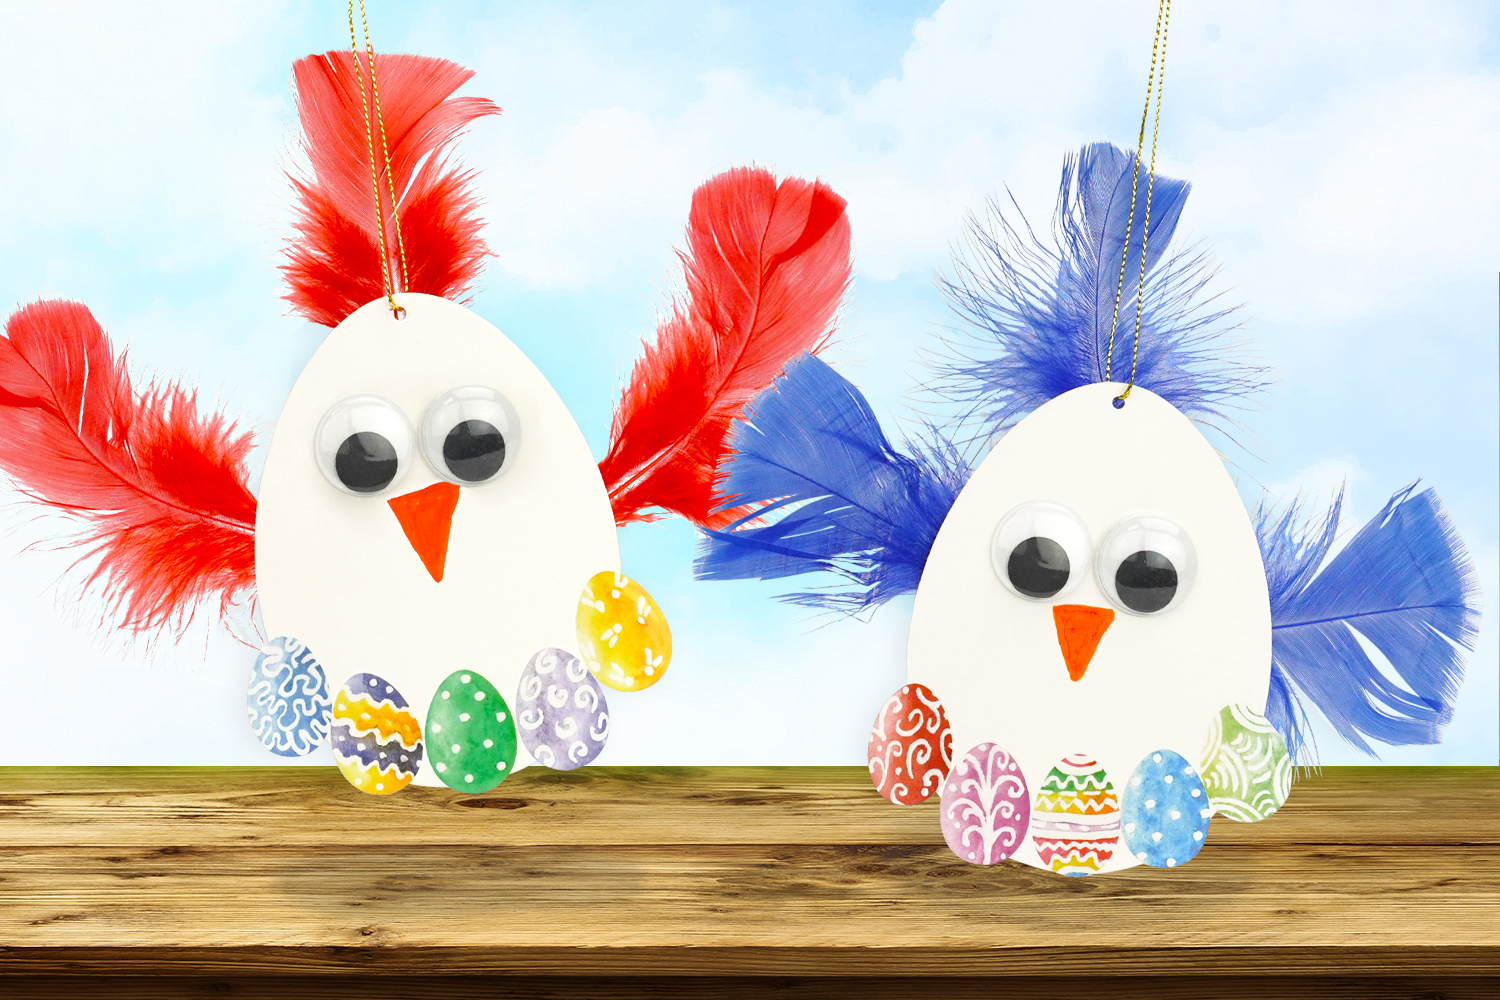
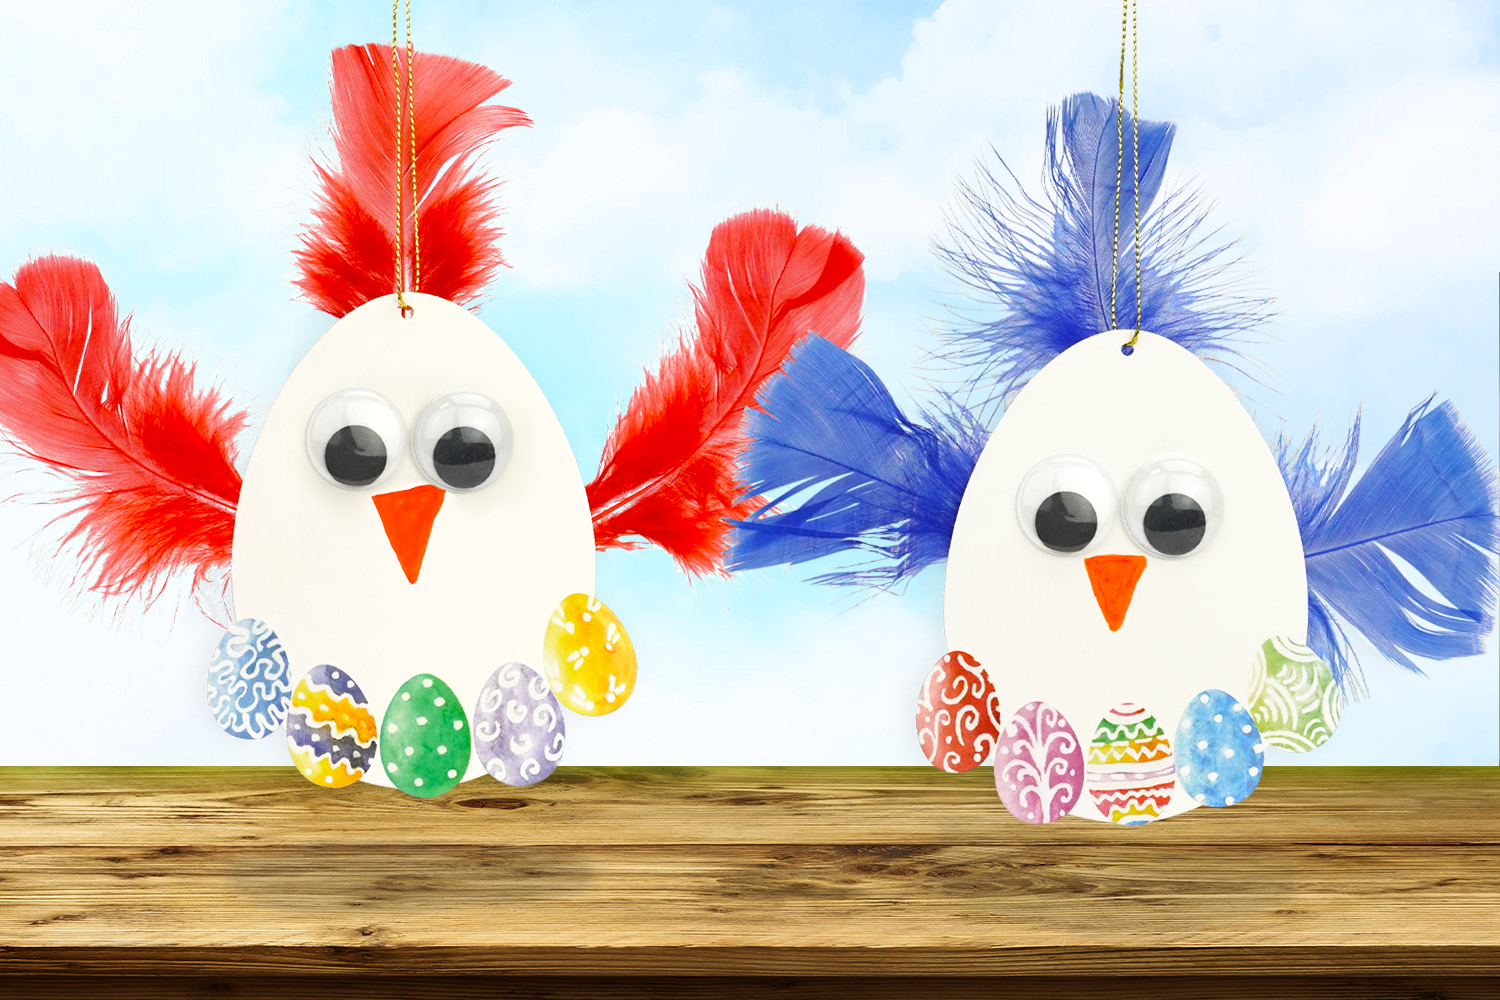

Hanging Easter Chickens


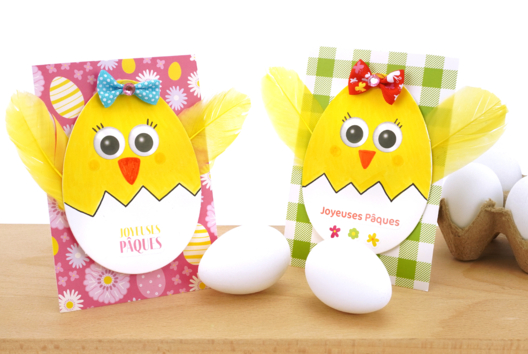
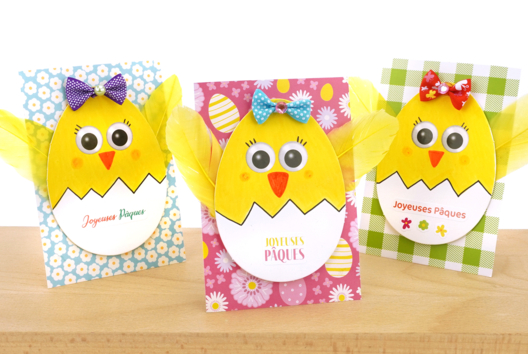
In this easy Easter activity, perfect for little artists, we will transform white cardboard eggs into beautiful colorful Easter chickens.
A creative craft that combines cutting and gluing, ideal for developing children's fine motor skills and creativity.
Get ready to share a moment of creative bonding, where each creation, unique in its own way, will bring a touch of cheer and originality to your Easter decorations!
How to complete this tutorial step by step?
Materials:
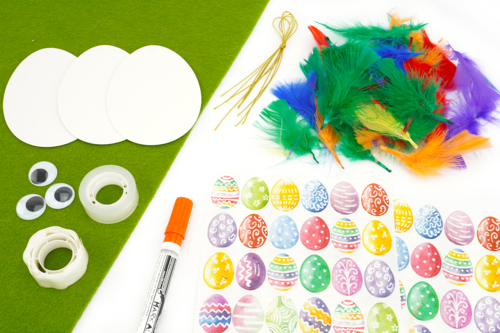
For this activity you will need :
- white cardboard eggs (12 cm)
- colored feathers
- Easter egg stickers
- googly eyes Ø 2.5 cm
- an orange marker
- adhesive dots
- adhesive tape
Step 1:
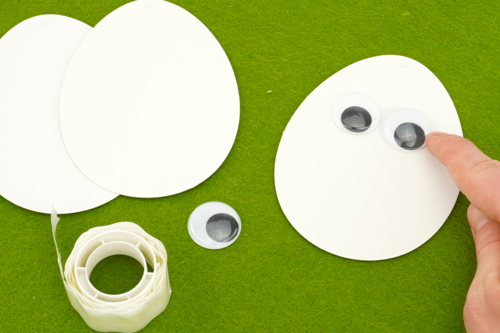
To get started, stick two Ø 2.5 cm googly eyes onto the cardboard egg with adhesive dots.
Step 2:
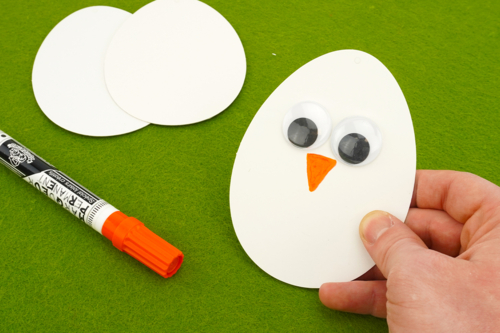
Next, draw the beak of the chicken with an orange marker.
Step 3:
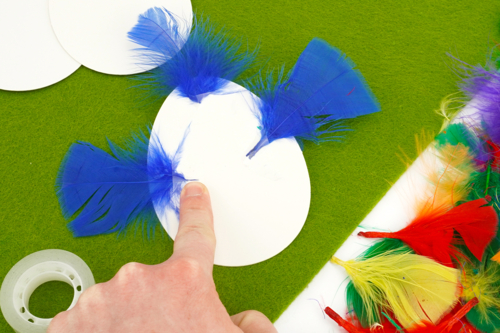
On the back of the egg, stick 3 colored feathers using tape to create the wings and the hen's comb.
Step 4:
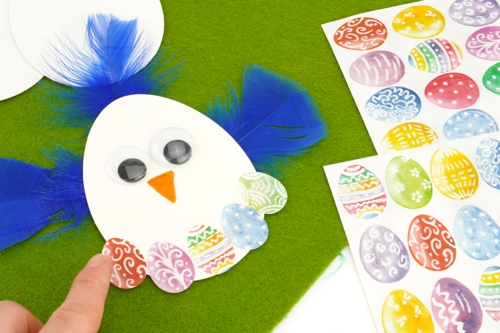
Stick some Easter egg-shaped stickers on the bottom part of the egg.
Step 5:
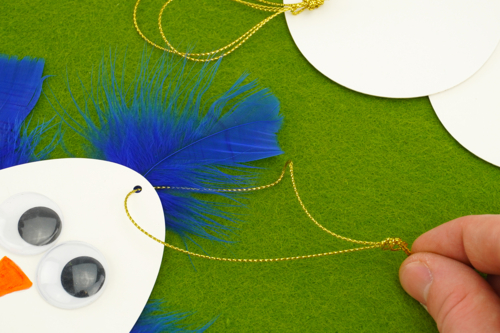
And finally, attach a golden cord (included with the eggs) if you wish to hang the chicken.
The products used:
The products used:


2,49€
Available


2,99€ (either 0,25 € / pc)
Available
Other tutorials on the theme "Easter Tutorials"
-

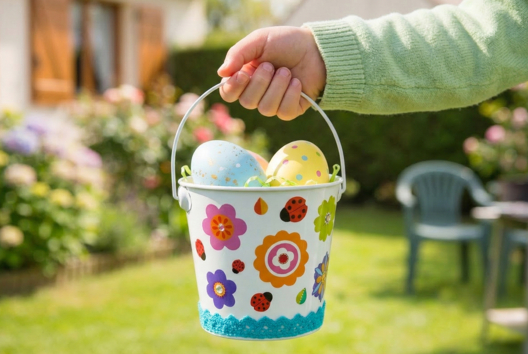
Bucket for collecting Easter eggs
C17732View 6192 time


-
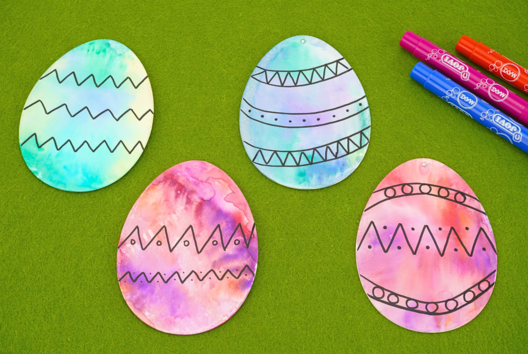

Watercolor Easter Eggs
C11103View 20786 time
-
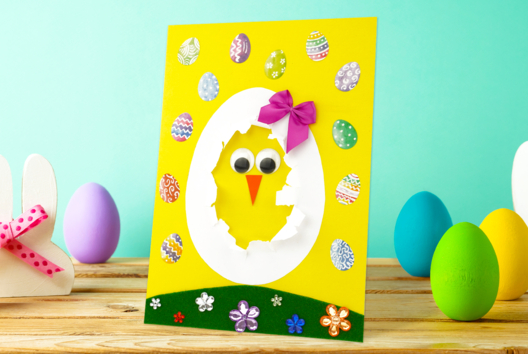
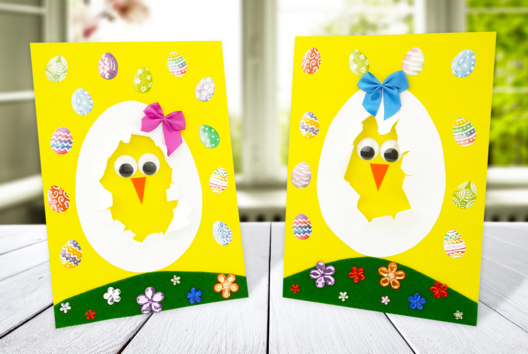
Easter Chick in Its Broken Egg
C9532View 13647 time
-
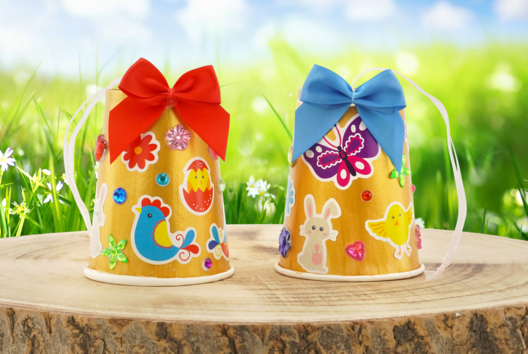
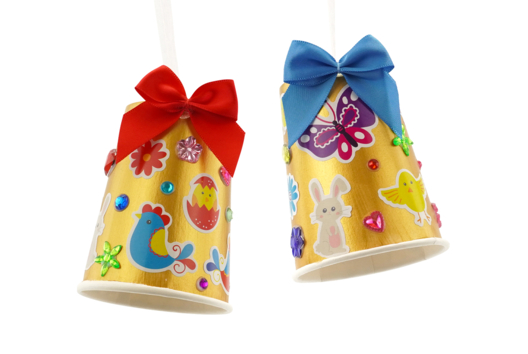
Easter Bells with Cups
C10953View 37841 time
-
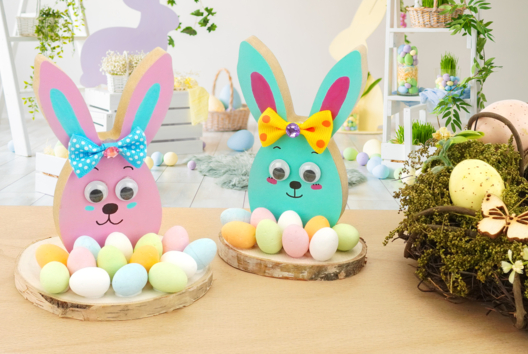

Rabbits and Mini Easter Eggs
C10932View 22602 time
-
Easter Chick Small Canvases
C10893View 20941 time
Customer review
Give your feedback
Hanging Easter Chickens
Be the first to share your review of this product.
Post a review