Your cart is empty.
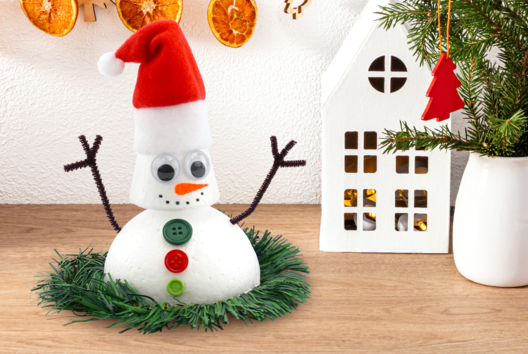
Melting Snowman
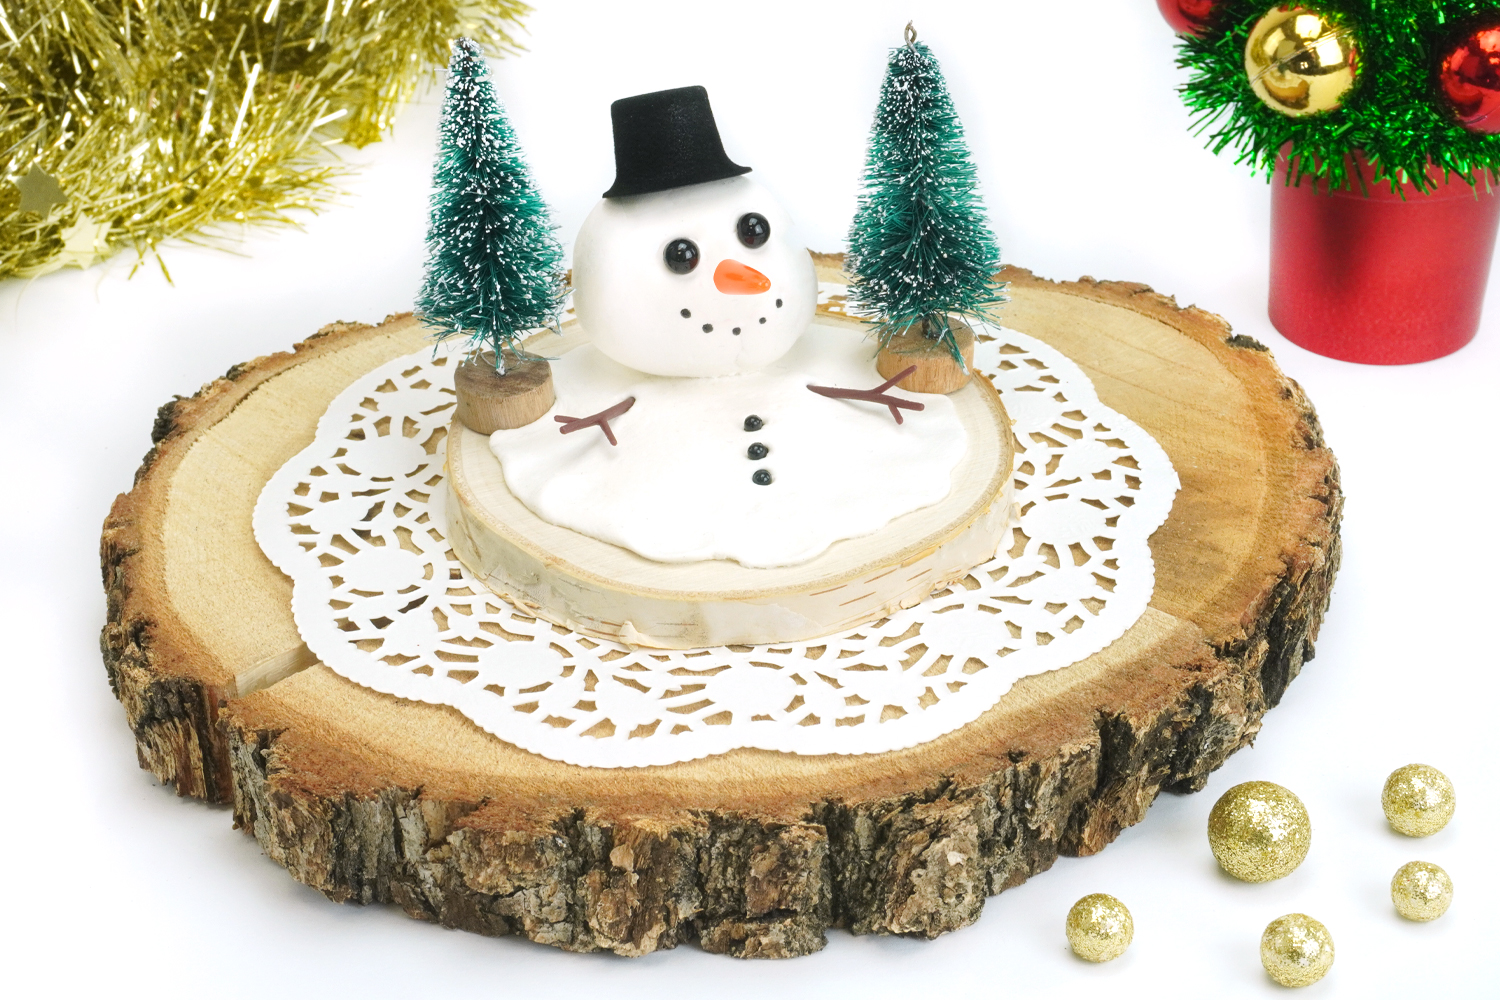


Melting Snowman


Want to engage in a fun and original Christmas activity with the kids?
This tutorial shows you how to create a funny melting snowman using just modeling dough, a wooden log, and some accessories.
The kids will love it!
How to complete this tutorial step by step?
Materials
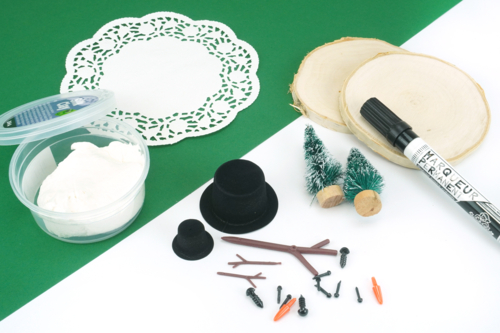
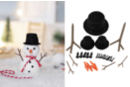
To make a melting snowman, you will need:
- a wooden log
- white soft clay
Note: a 40g pot allows you to create 2 snowmen.
- decorative accessories
- small decorative Christmas trees
- a black marker
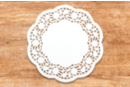
- a paper lace doily
Step 1
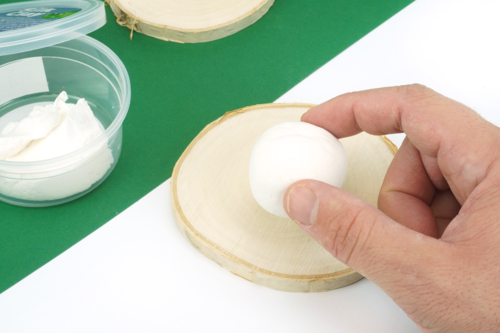
Shape a ball with about 1/4 of the white modeling clay from the jar.
Step 2
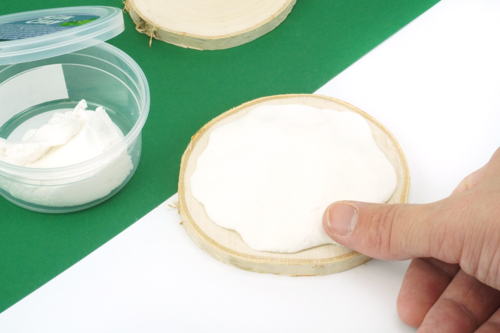
Flatten the ball of modeling dough in the center of a wooden dowel and then spread it with your thumb to the edges to create the melted body of the snowman.
Étape 3
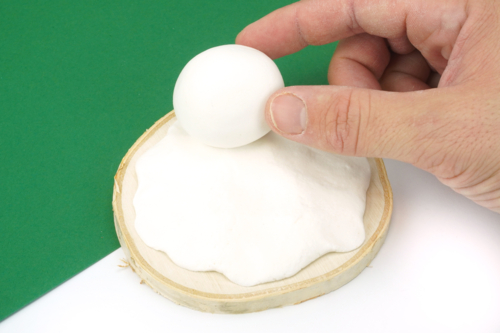
Shape a ball of modeling dough similar to the first one and place it as shown in the photo to form the snowman's head.
Step 4
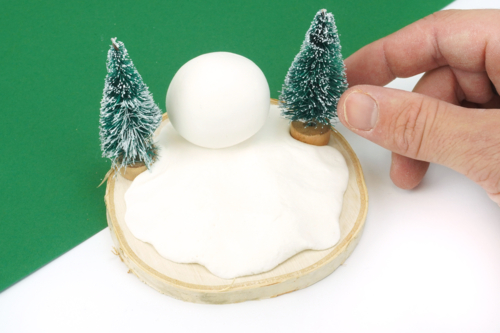
Push 2 small decorative fir trees into the modeling dough, on either side of the snowman's head.
Step 5

Insert the accessories into the modeling dough (hat, eyes, nose, buttons, branches).
Step 6
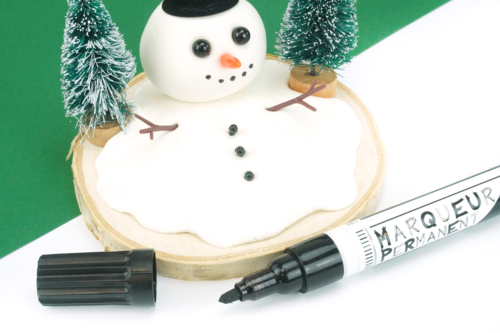
Draw the snowman's mouth with a black marker.
Step 7
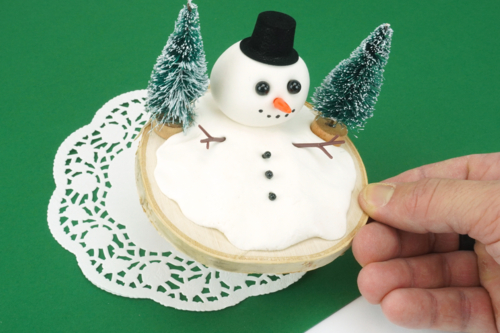
For a lovely finish, place your creation on a paper lace doily. This will elegantly highlight the wooden base.
The products used:
The products used:

Wooden Discs Ø 8 to 11 cm - 6 Pieces
Réf. 36020 - Product sheet
5,96€ (either 0,99 € / pc)
Available


Snowy Decorative Christmas Trees - 5 Pieces
Réf. 46386 - Product sheet
2,99€ (either 0,60 € / pc)
Available

Other tutorials on the theme "Christmas Tutorials"
-


Chalkboard "Happy New Year"
C17575View 3080 time


-


Pipe Cleaner Christmas Tree
C17464View 4977 time


-
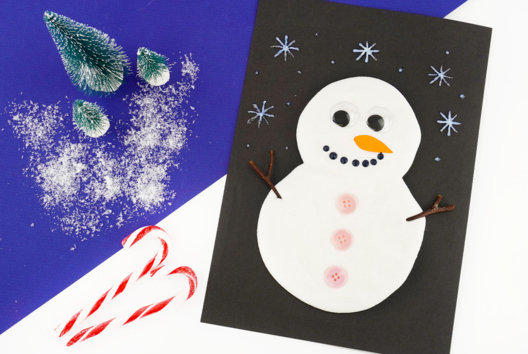
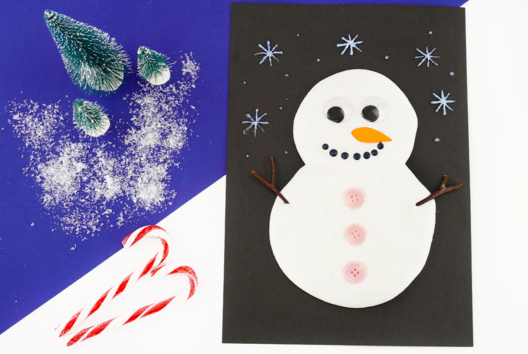
Snowman with Puffy Paint
C11162View 32235 time
-
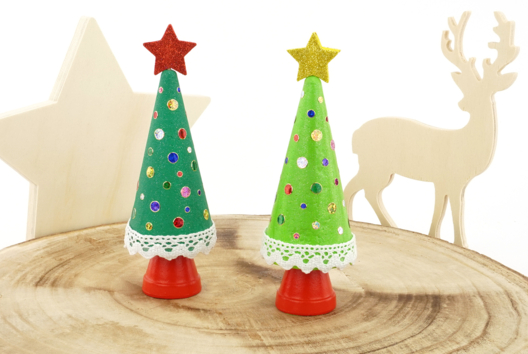
Mini Christmas Trees
C11034View 16870 time
-


Garlanded Snowman
C11048View 13935 time
-

Gelato the Funny Snowman
C11035View 17059 time
Très jolie création