Your cart is empty.
Modeling Clay Fruits


Modeling Clay Fruits


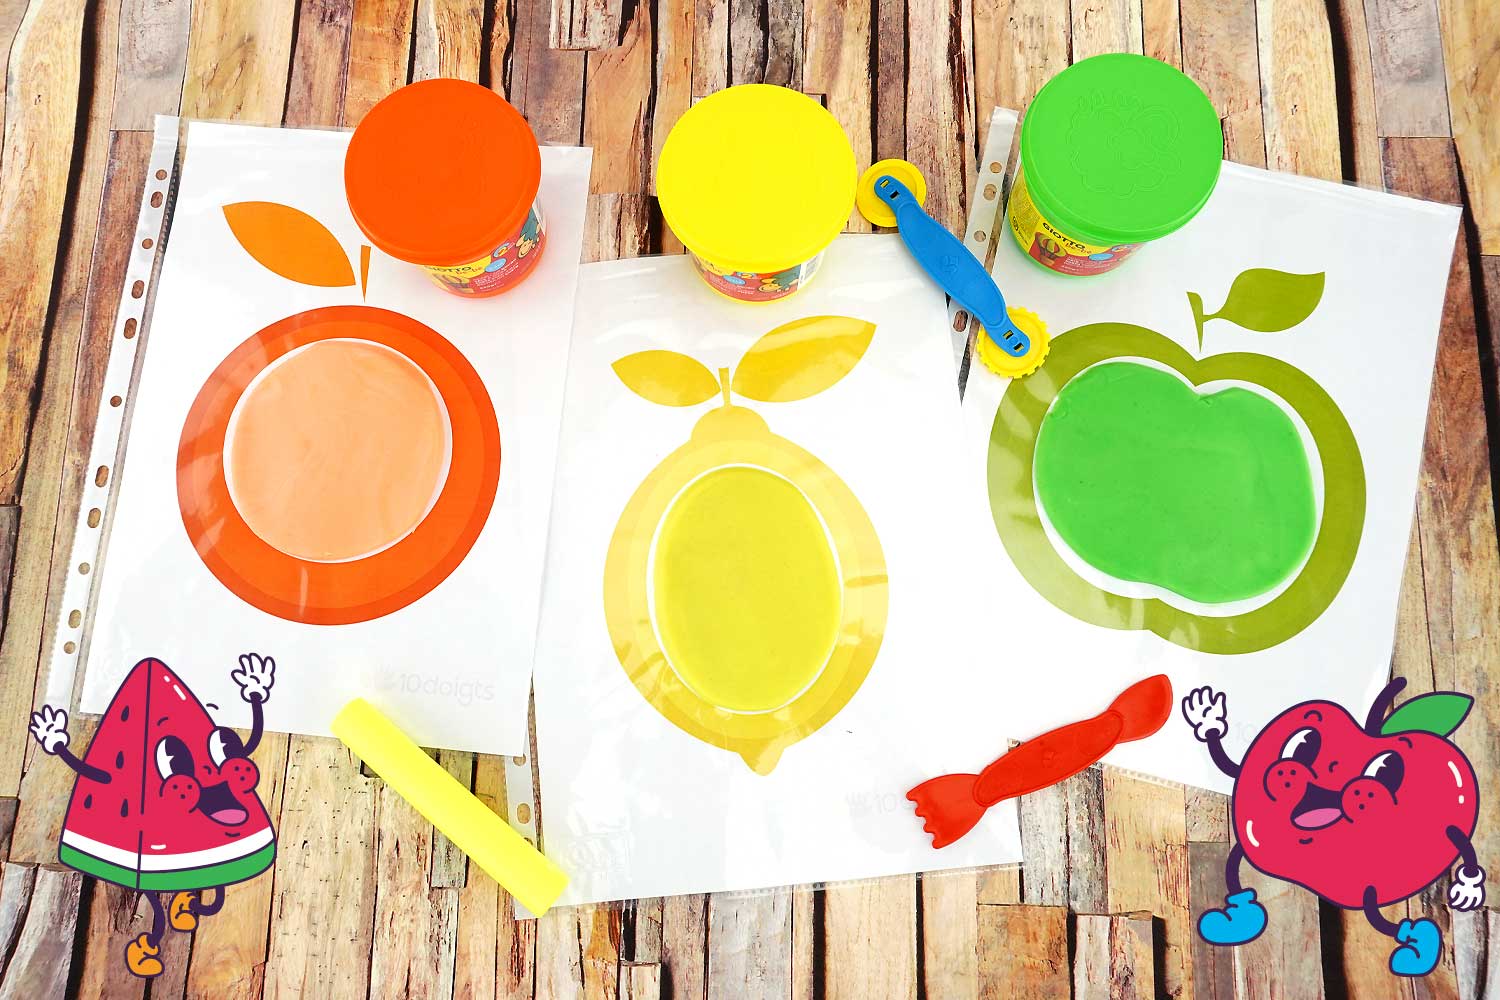
Today, we are going to have fun with an engaging and enjoyable tutorial designed for children under three years old. This activity involves printable fruit-themed sheets and modeling clay, perfect for strengthening those little fingers!
These materials are not only great for improving fine motor skills, but they also stimulate imagination.
Here’s what you need to get started:
- Download and print our special fruit-themed sheets.
- Gather your colored modeling clay.
Encourage the children at first to name all the fruits and recognize the colors of each one.
Once the sheets are printed and placed in the pockets, take your modeling clay. It’s time to mold, create, and imagine!
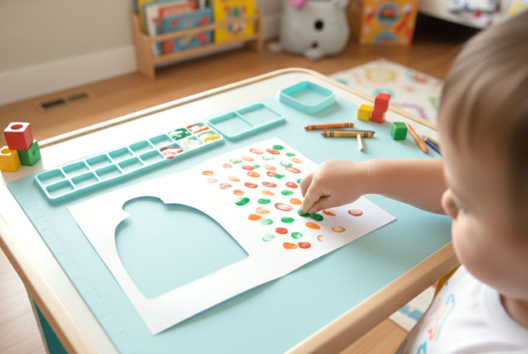
Now, it’s time for the game ‘I Squeeze’! With the help of an adult, or on their own, use your fingers to ‘squeeze’ your modeling clay fruits onto the printed designs. Children will feel the modeling clay pressing under their fingers. This helps strengthen little fingers and improve fine motor skills for the little ones!
Don’t worry if your modeling clay fruits don’t look exactly like those on the sheet. Every piece you create is special, and the goal is to have fun!
And parents, don’t forget to supervise this activity to ensure safety while your little ones have fun with their modeling clay fruits.
Thèmes de l'idéa créa :
#Crafts for Under 3 Years
#Learn Colors
#Preschool
#Montessori
#Modeling Tutorials
How to complete this tutorial step by step?
Materials
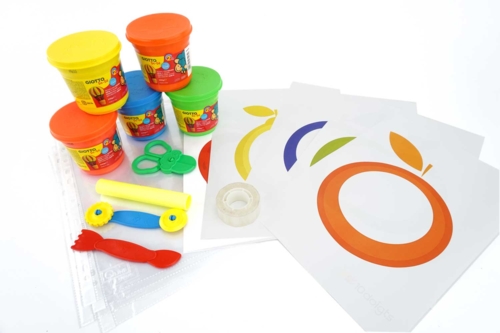
For this activity, you will need:
1- Giotto Baby modeling kit (5 pots of colored modeling dough + tools for modeling for babies)
2- 5 plastic pouches
3- adhesive
4- Fruit templates (to print from the main visual)
Step 1
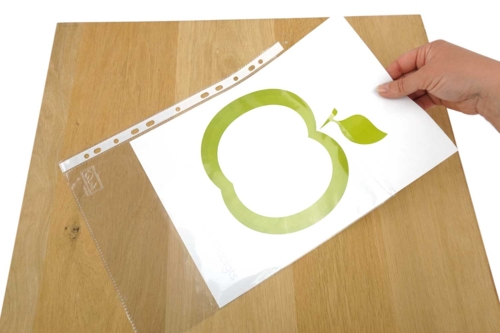
Slide each printed sheet into a plastic sleeve.
Step 2
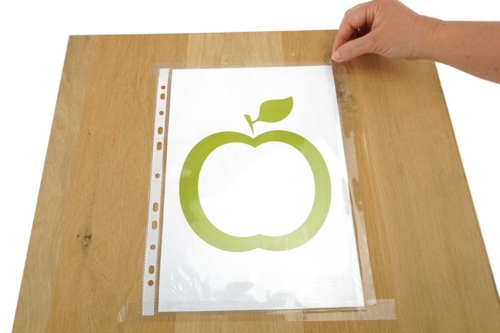
Attach the pocket to the table using adhesive.
Make sure to glue all 4 sides so that it doesn't move during the activity.
Step 3
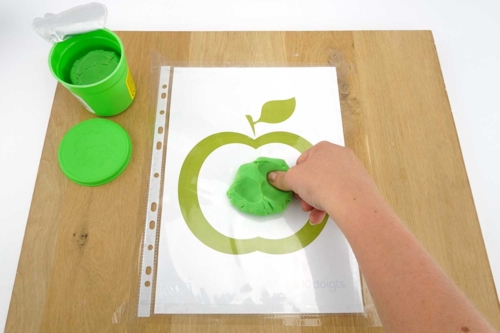
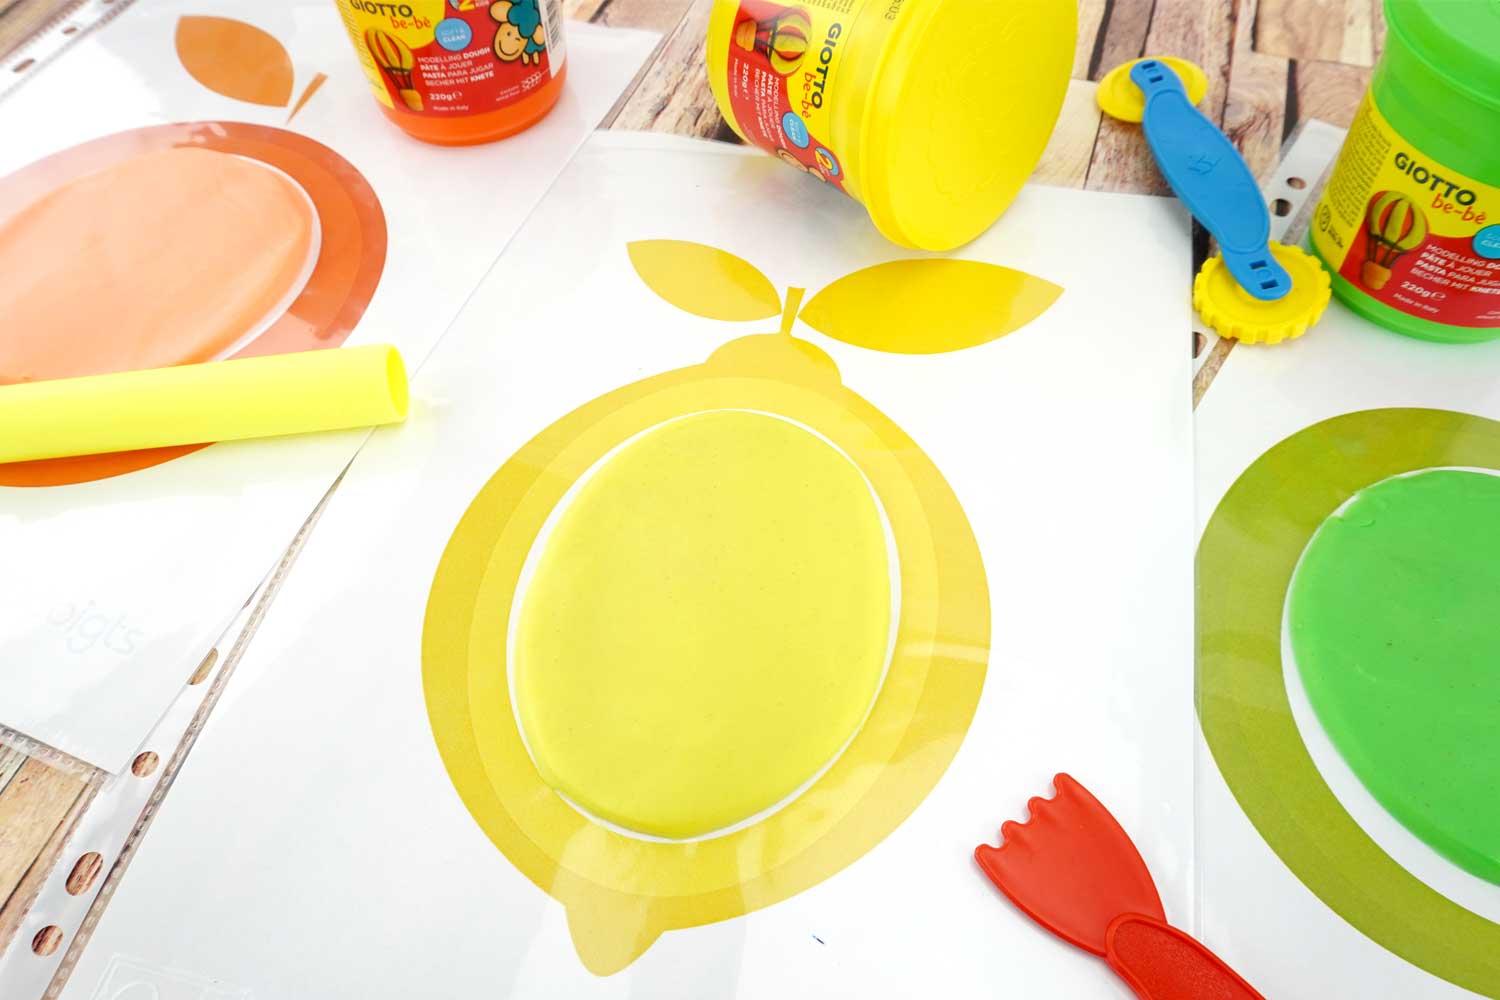
Choose the clay that matches the color of the represented fruit. Make a ball and place it in the center of the fruit.
Step 4
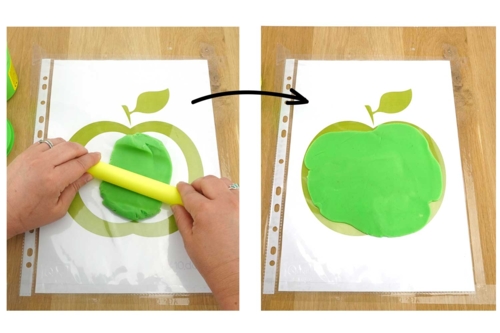
The goal is to fill the entire white area with modeling clay.
For this, there are 2 solutions:
- either the child pushes the clay with their fingers and fills the white area by spreading the clay directly with their hand.
- Or, they can use the roller (included in the kit) to spread the clay.
Step 5
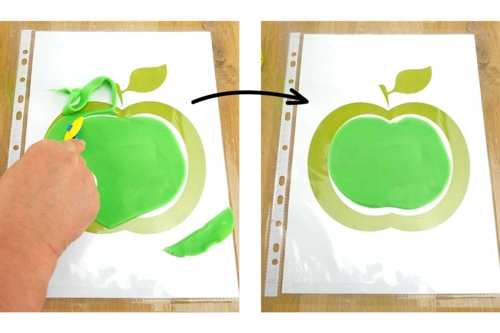
Once the dough is rolled out, you can use the tool of your choice to neatly cut the dough if you wish, following the cutting shape of the template.
It's finished!
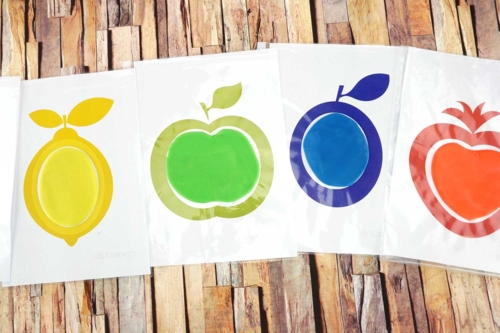
There are 5 fruits to download here to continue the activity with other colors and shapes.
The products used:
The products used:

31,45€
Available


1,99€ (either 0,10 € / pc)
Available
Other tutorials on the theme "Crafts for Under 3 Years"
-
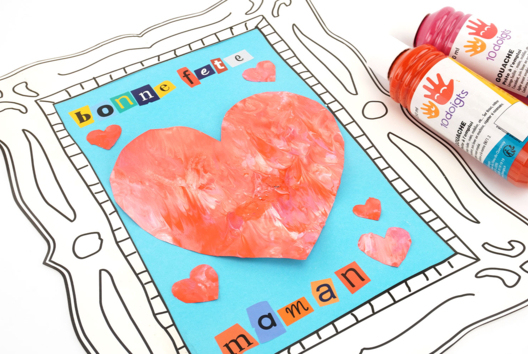
Clean Paint Heart
C17685View 8327 time


-
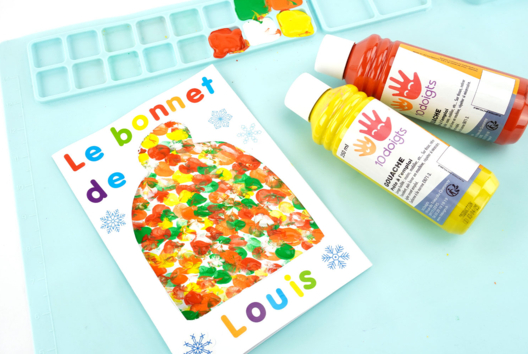
Finger Painting - Winter Hat Card
C17657View 3978 time
-

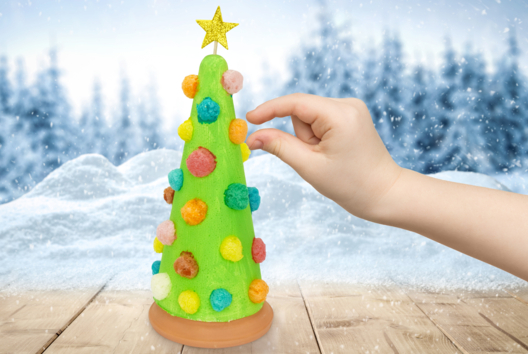
Christmas Tree with Corn Flakes
C11305View 56507 time

-
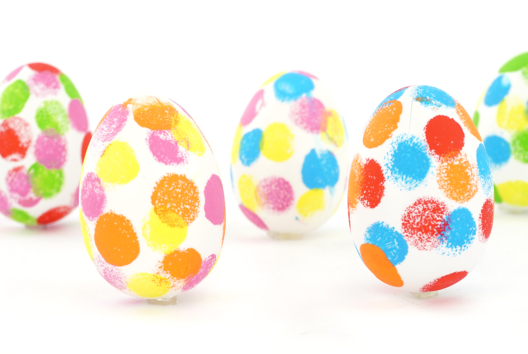
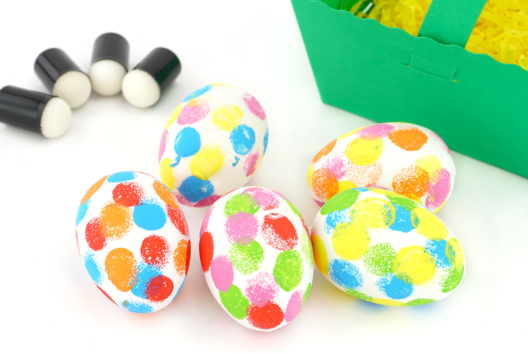
Decorating Easter Eggs with Finger Stamps
C11197View 38322 time
-

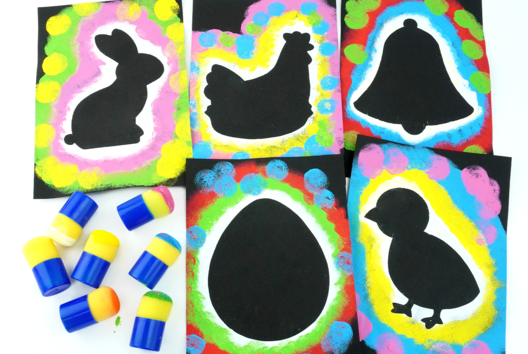
Easter Silhouettes with Paint
C11139View 56466 time
-
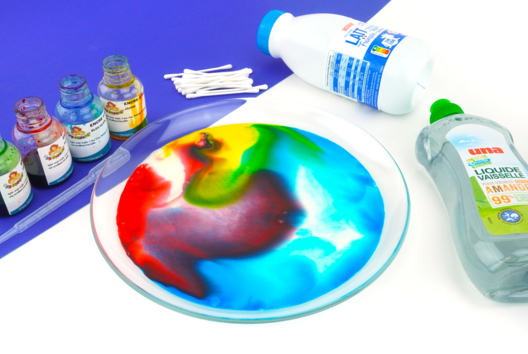
Magic Milk - Easy Experiment for Kids
C15549View 50329 time
Les fruits imprimables sont assez grands donc l’enfant devine très bien le fruit. Cloé 2 ans et demi apprend les couleurs et mets en application en posant la pâte à modeler sur le fruit en question.