Your cart is empty.
Perler Bead Keychains

Perler Bead Keychains


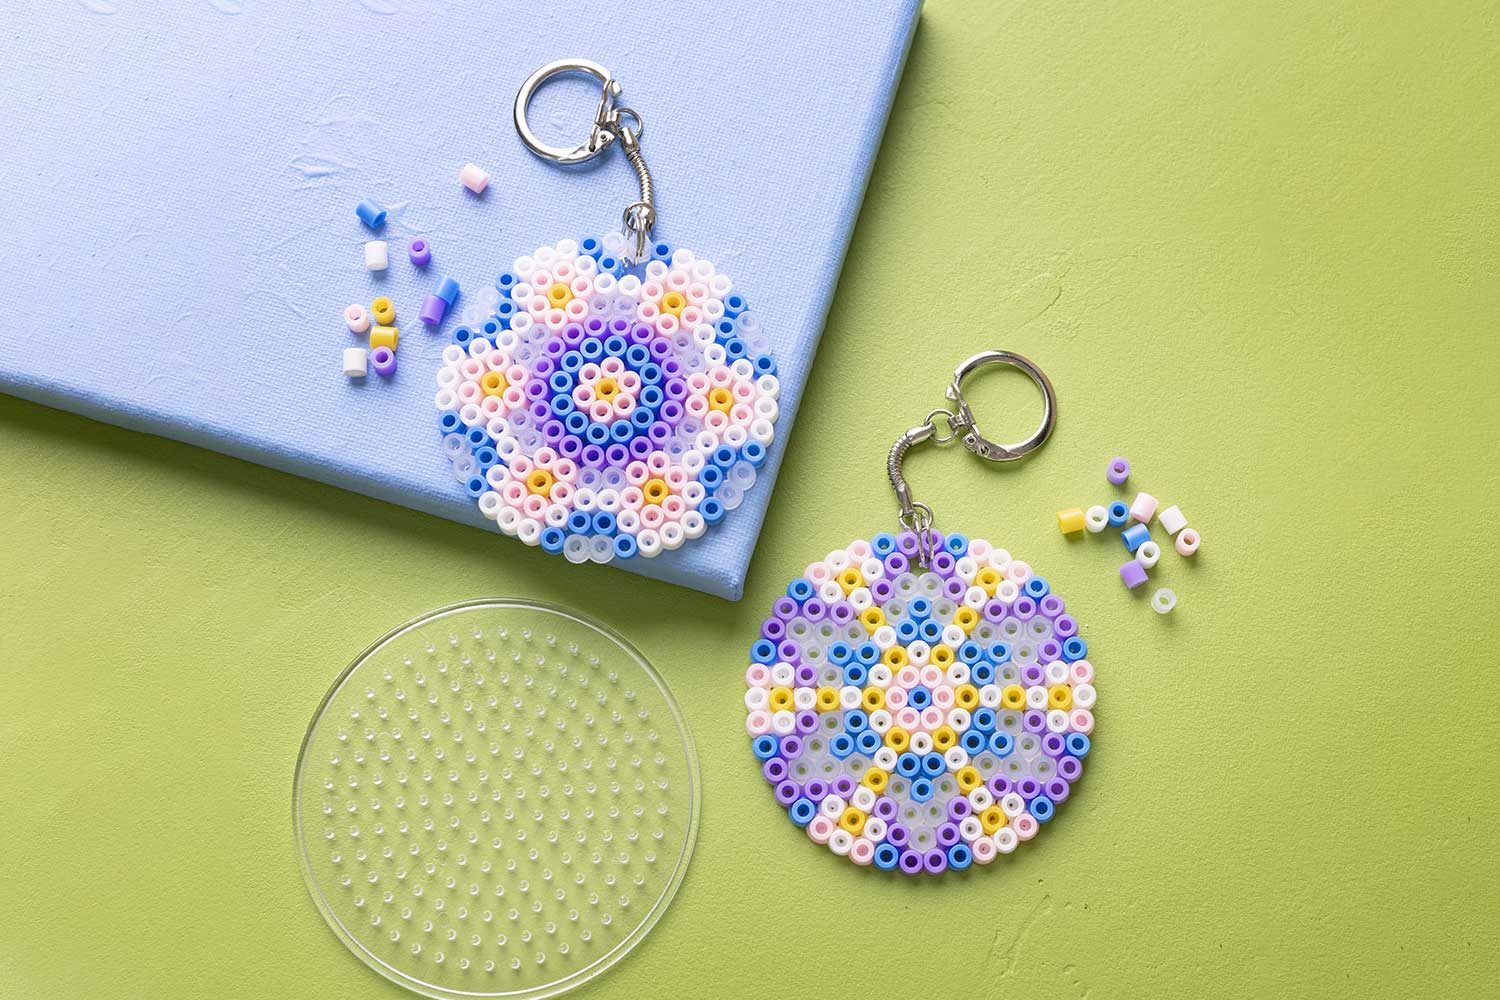
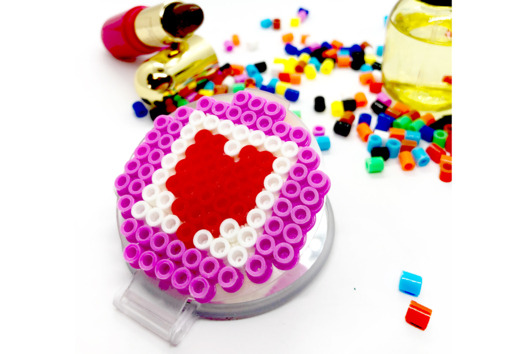
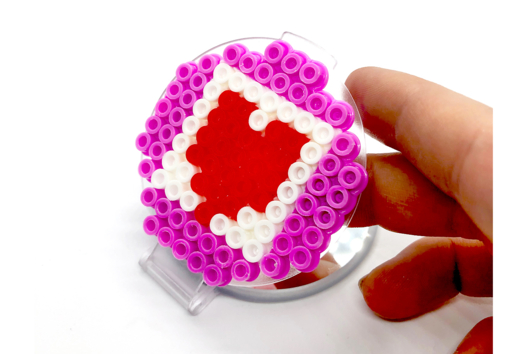
Follow this original tutorial to create all sorts of perler bead keychains! Download the template (under the main photo) or imagine your own designs! Here, we used a mix of pastel beads, along with translucent and opaque white beads to enhance the colors.
Perler beads work quite simply:
-
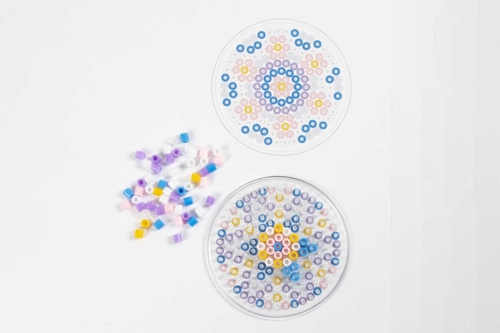
Placing the beads: The beads are small colored plastic balls that you place on a pegboard. The board has small pegs that hold the beads in place, allowing you to create patterns or drawings using different colors.
-
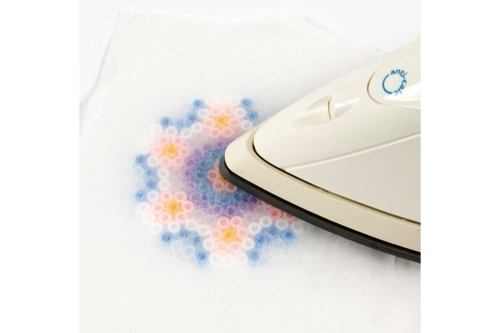
Fusing the beads: Once the pattern is complete, you need to melt the beads so they stick together. To do this, cover the beads with a sheet of parchment paper. Then, an adult uses an iron on a medium heat setting to heat the beads. The heat slightly melts the plastic beads, causing them to stick together and form a single solid piece.
-
Cooling: After ironing the beads, let the creation cool. Once cooled, you can remove your creation from the board. It is now solid and can be used as a decoration, keychain, coaster, or any other object you have imagined!
How to complete this tutorial step by step?
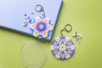
Step 2
Ask an adult to melt the beads using an iron set to medium heat.
Important: Remember to place baking paper over your creation to protect the beads.
Step 3
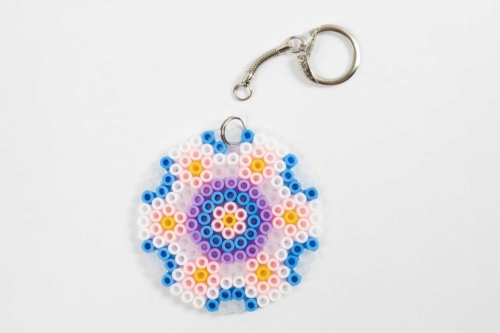
Once the beads have cooled, take a small metal ring and pass it through the hole of the beads, then attach the keychain to this ring.
The products used:
The products used:


Pegboards for Fuse bead, 8 cm - 5 pieces
Réf. 16298 - Product sheet
4,99€ (either 1,00 € / pc)
Available

2,99€
Available


1,99€
Available
Other tutorials on the theme "Fuse Beads Tutorials"
-
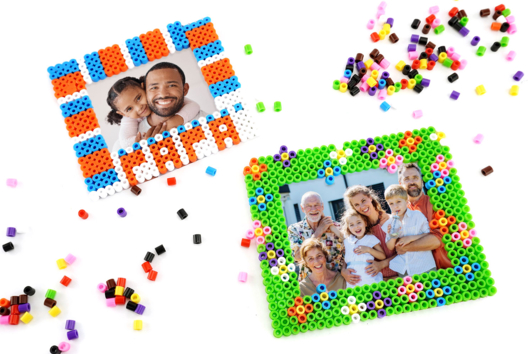
Perler Bead Ironing Frame - Parent's Day Gift
C17132View 10013 time


-
Ironing Beads Mirror
C13437View 9874 time
Customer review
Give your feedback
Perler Bead Keychains
Be the first to share your review of this product.
Post a review