Your cart is empty.
Round Clock to Decorate with Stickers and Gems

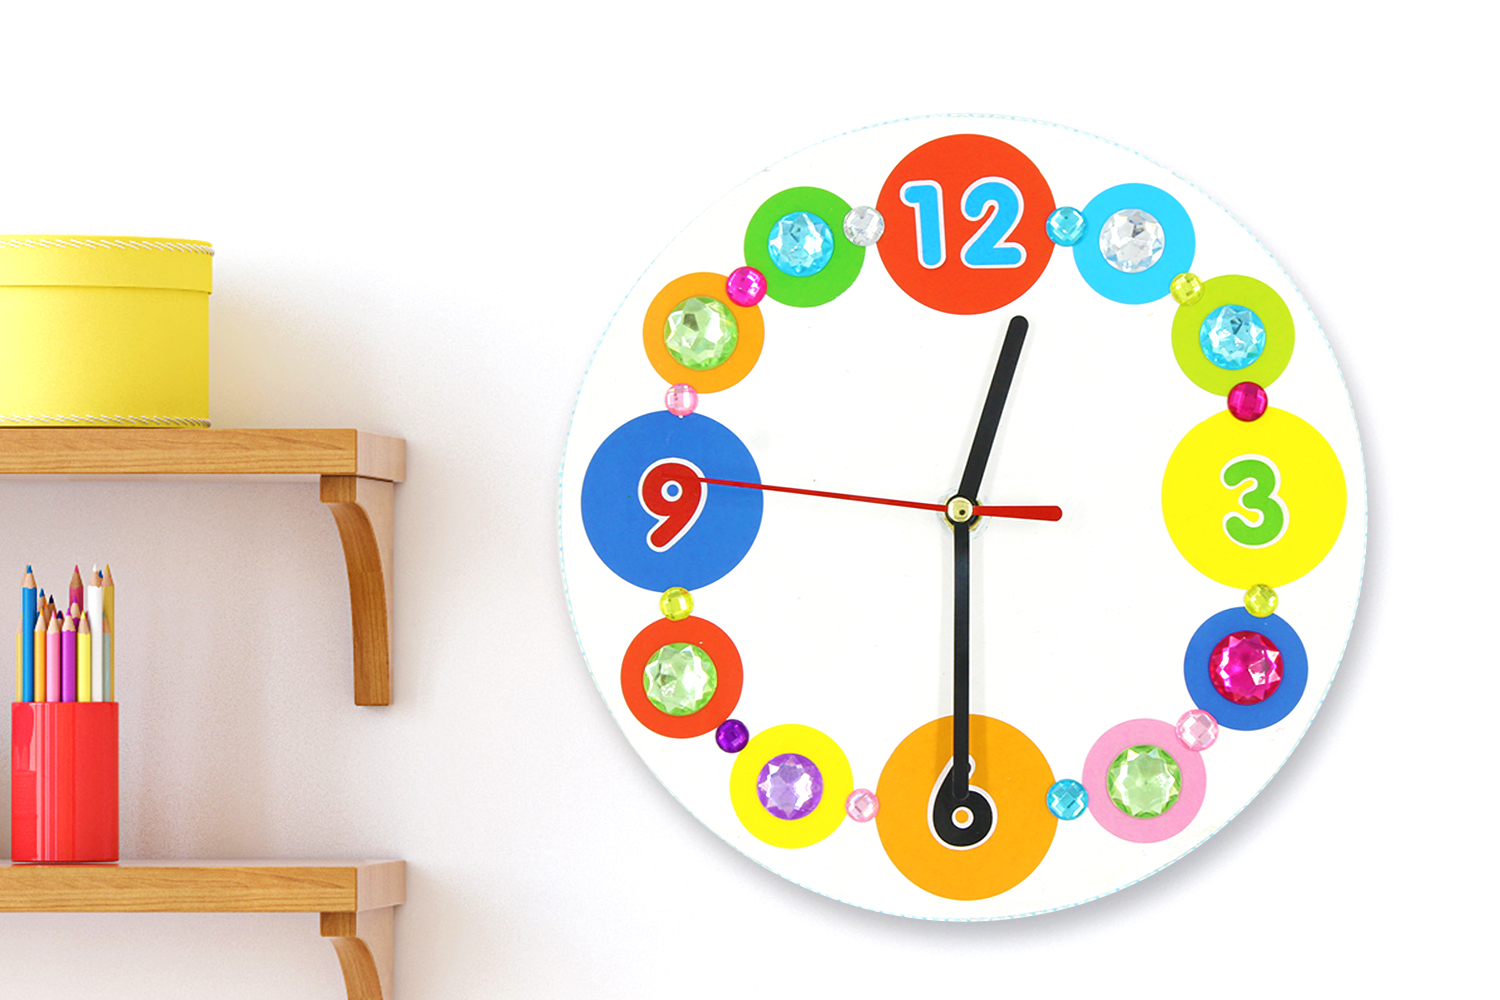

Round Clock to Decorate with Stickers and Gems
In this creative workshop, children will enjoy decorating their first clock using paint, stickers, and gems!
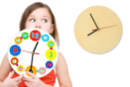
At the end of the activity, they will have a beautiful colored clock that they can proudly hang in their rooms.
Thèmes de l'idéa créa :
#Preschool
#I am learning to tell the time
#DIY Home Decor Tutorials
#Montessori
#Clocks
How to complete this tutorial step by step?
Materials:
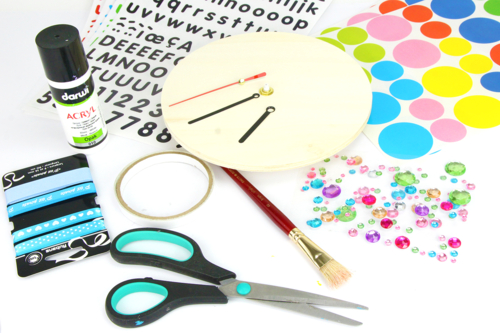
For this activity you will need:
- A round wooden clock (delivered with its mechanism)
- Acrylic paint and a brush
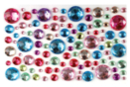
- Adhesive rhinestones
- Large round stickers
- Number stickers
- Satin ribbon
- Double-sided adhesive, 1 cm wide
- A pair of scissors
Step 1:
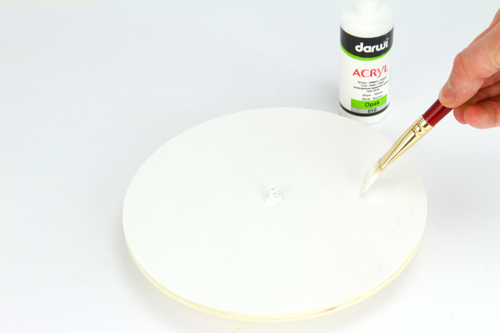
Paint the clock with white acrylic paint.
Once the paint is dry, apply a second coat to achieve a more opaque white.
Step 2:
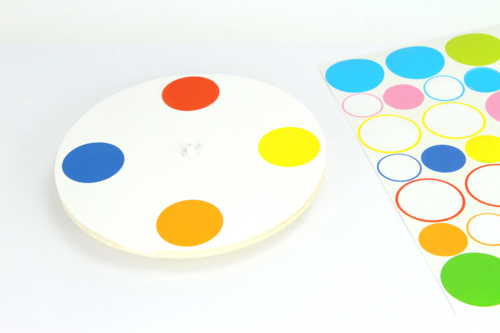
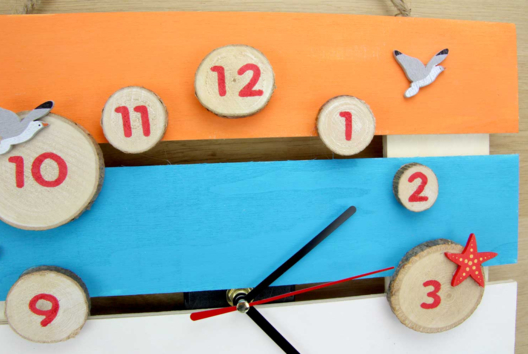
Once the second coat of paint is dry, stick 4 colored stickers of Ø 4.5 cm to the 4 "ends".
Step 3:
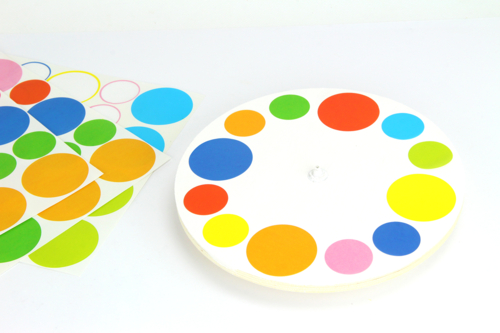
Always varying the colors, stick 2 stickers of Ø 3 cm between the large stickers.
Step 4:
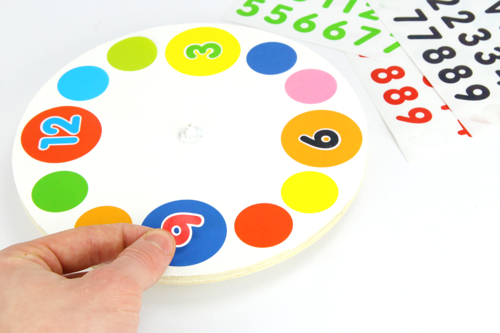
Then stick the number stickers 3, 6, 9, and 12 in the center of the large round stickers.
Step 5:

Complete the clock decoration by sticking on adhesive rhinestones.
Step 6:
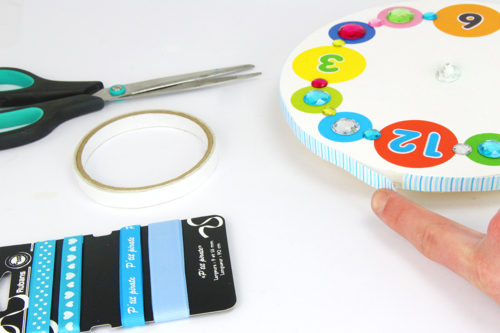
For a beautiful finish, stick double-sided adhesive on the edge of the clock and then attach a pretty ribbon on top.
Step 7:
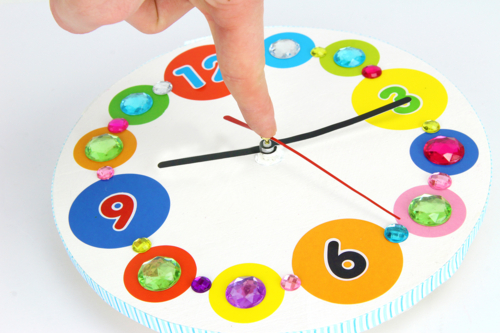
Finally, fix the hands starting with the short hand, then the long hand, and finally the second hand.
Press firmly and then insert a battery at the back of the clock before hanging it on the wall!
The products used:
The products used:


2,99€ (either 1,00 € / pc)
Available


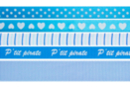
Blue tonal ribbons - Set of 5
Réf. 13985 - Product sheet
1,99€ 2,45 € (either 0,40 € / pc)
Available


Other tutorials on the theme "Clocks"
See all tutorials on "Clocks"


Vos créations inspirées par ce tuto
Customer review
Give your feedback
Round Clock to Decorate with Stickers and Gems
Be the first to share your review of this product.
Post a review