Your cart is empty.


How to complete this tutorial step by step?
Step 1

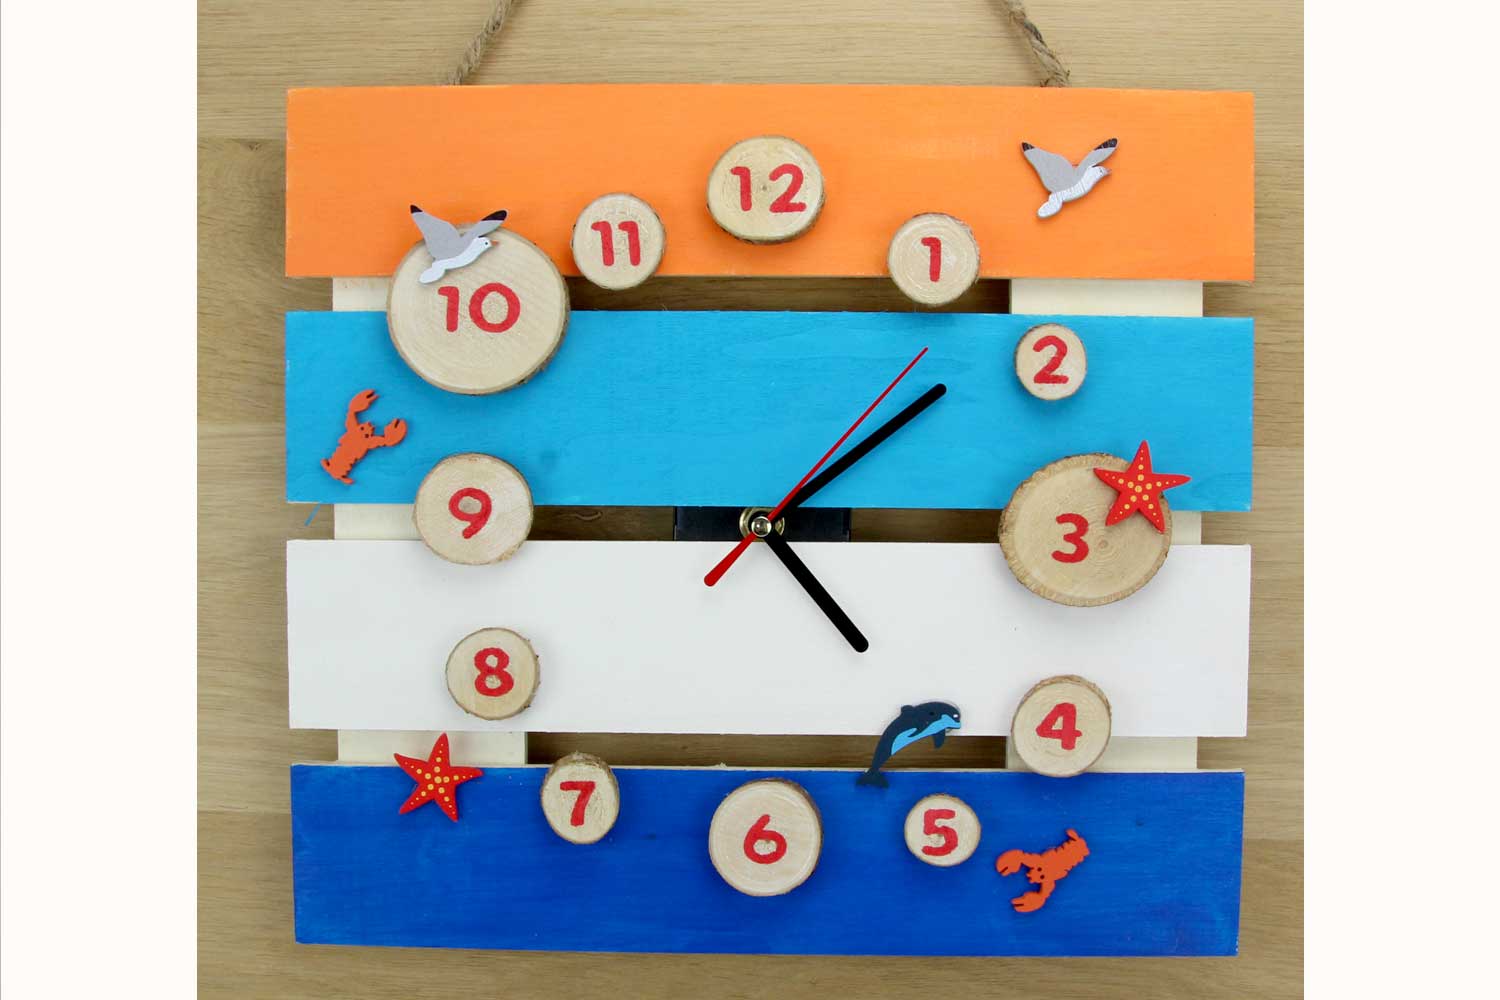
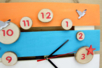
Paint the wooden support with acrylic paint as follows: one orange stripe, one light blue stripe, one white stripe, and finally the last stripe in dark blue.
Step 2
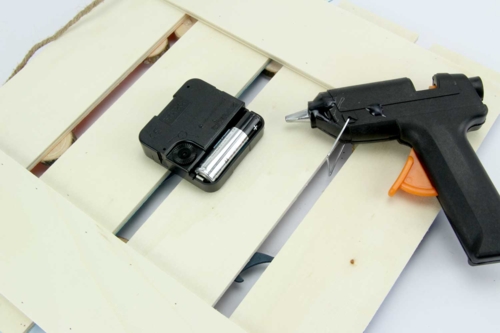
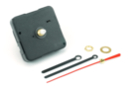
Attach the clock mechanism to the back of the support with the glue gun. Then slot the hands into the mechanism.
Step 3
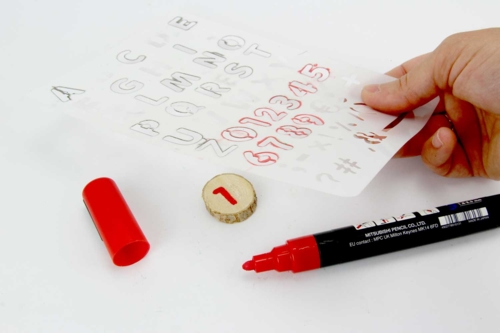
On each log, write the numbers from 1 to 12 using the red marker and the stencil that contains the numbers.
Step 4
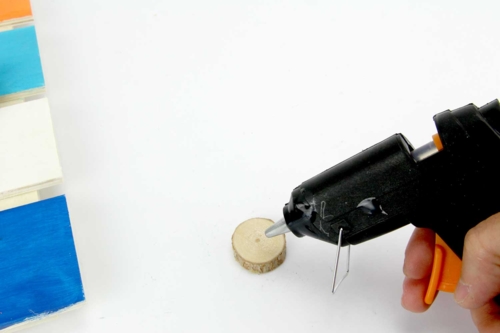
Flip each wooden piece over and, one by one, glue them onto the wooden base.
Tip: before gluing each piece, ensure that the intended placement does not obstruct the movement of the minute hand or second hand .
Step 5
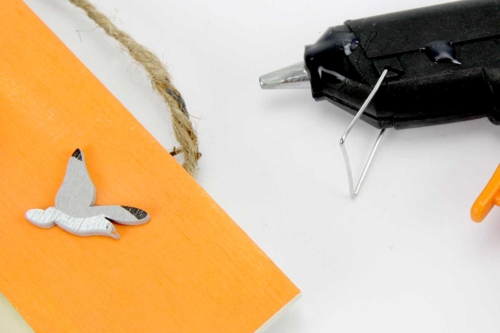
Finally, use the glue gun to stick the painted wooden decorative elements.
The products used:
The products used:

Quartz Clock Mechanisms - 4 Pieces
Réf. 06512 - See the full range
11,96€ (either 2,99 € / pc)
Available


Stencils for card making - 8 sheets
Réf. 38016 - Product sheet
2,99€ 4,99 € (either 0,37 € / pc)
Available

12,99€ (either 1,08 € / pc)
Available

4,99€
Available

1,39€
Available
Other tutorials on the theme "Clocks"
-

Round Clock to Decorate with Stickers and Gems
C13947View 19172 time -

Handprint Clock
C8391View 22394 time
Customer review
Give your feedback
Seaside Clock
Be the first to share your review of this product.
Post a review