Your cart is empty.
Salt Dough: Easy Recipe


Salt Dough: Easy Recipe
How to make salt dough? Here is a simple recipe to remember by heart!
Salt dough remains a timeless activity because it is very easy to make, economical, and you likely have all the necessary ingredients in your cupboards. A last-minute activity to keep the kids occupied? Salt dough is here to save you!
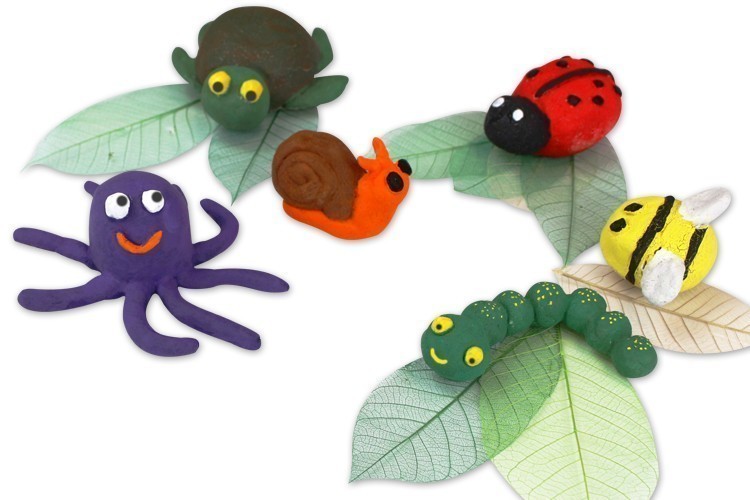
The children will love making it, shaping it, and turning it into small objects, animals, or characters!
Discover the recipe in video format by clicking on the VIDEO tab below the main photo.
How to complete this tutorial step by step?
Step 1
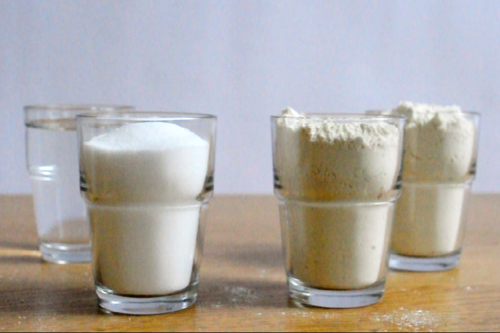
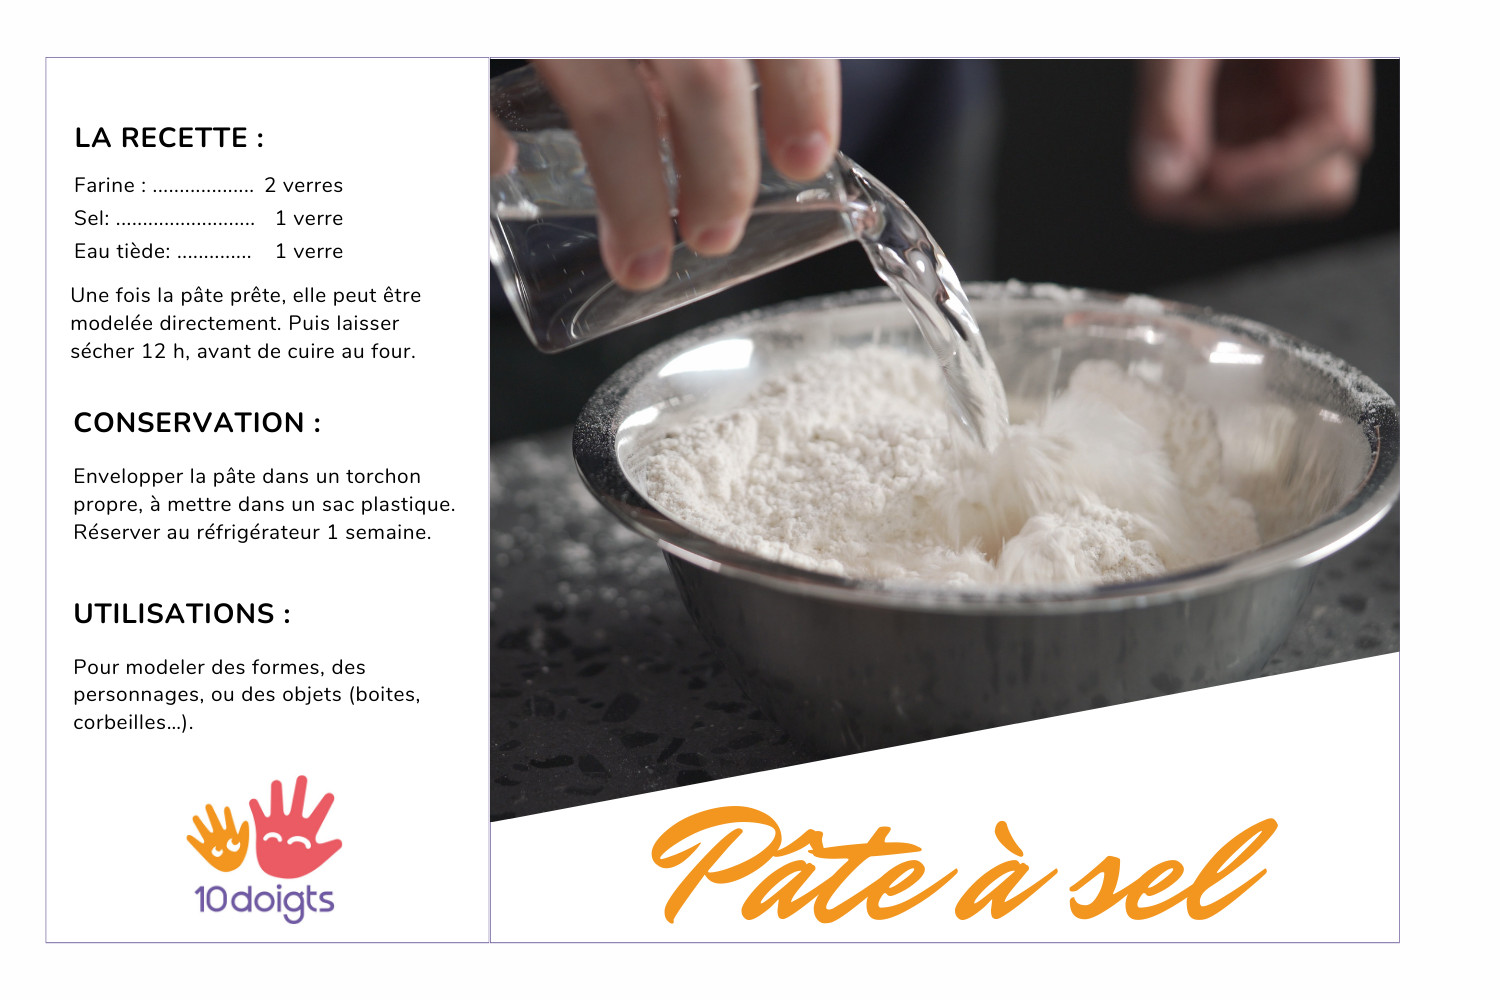
Ingredients and tools for making the dough:
- 2 cups of flour
- 1 cup of salt
- 1 cup of warm water
- a mixing bowl
- an oven
To decorate the salt dough after baking:
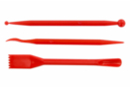
- acrylic paint
- paintbrush
For storing leftover dough:
- freezer bag or airtight container
Step 2
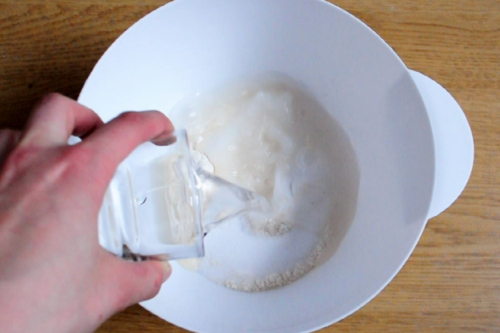
Pour into a mixing bowl 2 cups of flour and 1 cup of fine salt.
Then add 1 cup of warm water (to be added all at once).
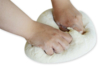
Step 3
Knead the mixture with your hands until you get a soft dough that doesn’t stick to your fingers.
If the dough is too crumbly, gradually add a little warm water and knead until it regains its softness.
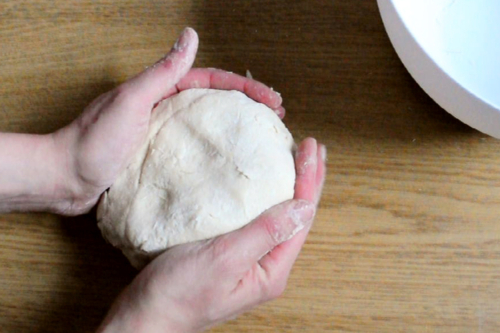
Step 4
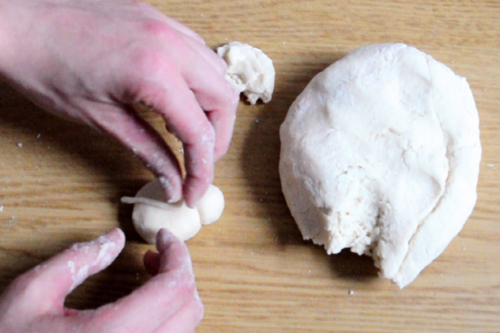
The dough is ready to use right away and can be shaped to create objects, characters, animals, ...
Once your small salt dough objects are created, it is preferable to let them dry for 12 hours before baking them in the oven.
You can store the leftover salt dough for about a week; to do this, place it in a freezer bag (or airtight container) and keep it in the refrigerator. To reuse the leftover dough, we recommend taking it out of the refrigerator about half an hour before starting your creative workshop.
Step 5
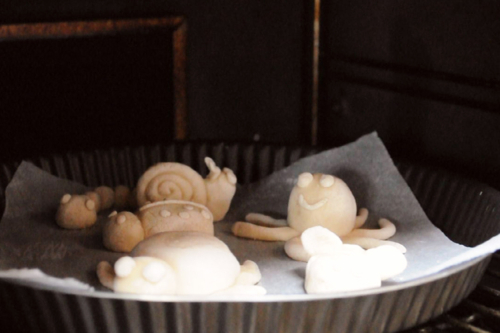
After 12 hours of drying, place your items in the oven (without preheating) and cook them between 75°C and 100°C:
- for about 1 hour for smaller items
- for about 2 hours for slightly larger items
Since cooking time may vary depending on the size of your items, it's best to regularly check the baking of your salt dough items and remove them from the oven once they are hard.
Step 6
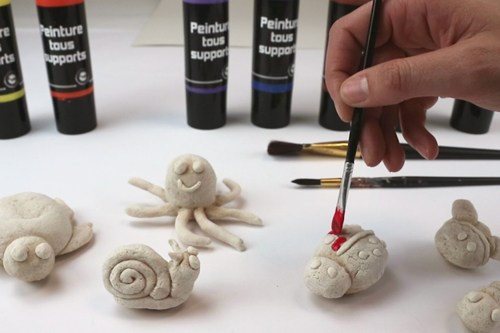
Once your salt dough creations are baked, you can decorate them using acrylic paint and a brush to achieve lovely bright colors.
Step 7
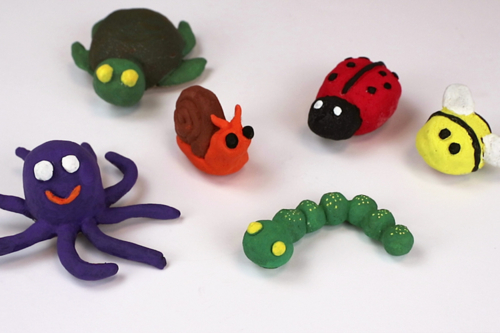
Varnish the creations once the paint is dry.
With salt dough, the possibilities for creation are endless, so let your imagination run wild!
The products used:
The products used:


26,94€ (either 4,49 € / pot)
Available

2,99€ (either 1,00 € / pc)
Available

Other tutorials on the theme "Modeling Tutorials"
-
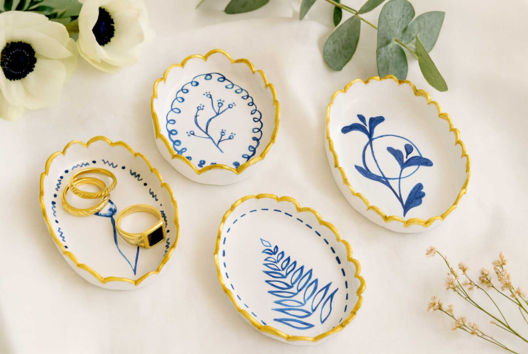
Porcelain Effect Bowls
C17290View 6155 time


-


Embossed Metal Christmas Ornaments
C17434View 17714 time

-
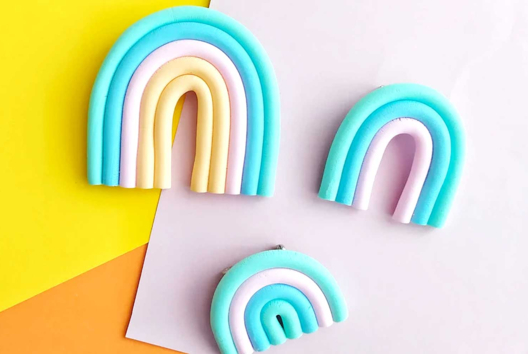

Rainbow Brooch
C13355View 9710 time -

Photo Holder in Modeling Clay and Beads
C13436View 81590 time -


Christmas Ornaments in Modeling Clay
C14863View 18917 time


-

Footprint Snowman
C14819View 13434 time -

Heart-Shaped Modeling Clay Earrings
C10920View 8849 time
-
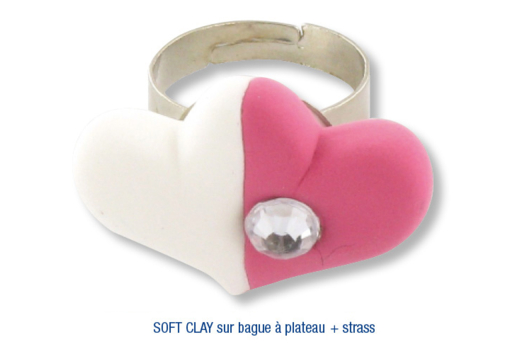
Decorated Ring with SOFT CLAY Modeling Dough
C10919View 6288 time
-
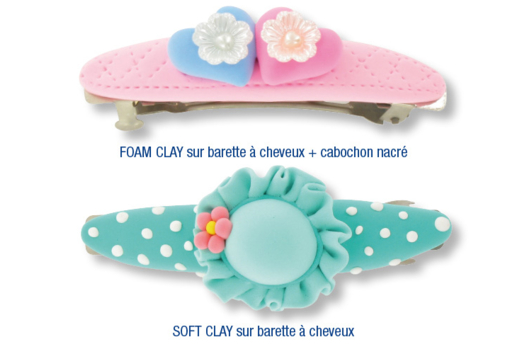
Hair Clips with Modeling Clay
C10918View 7068 time
-
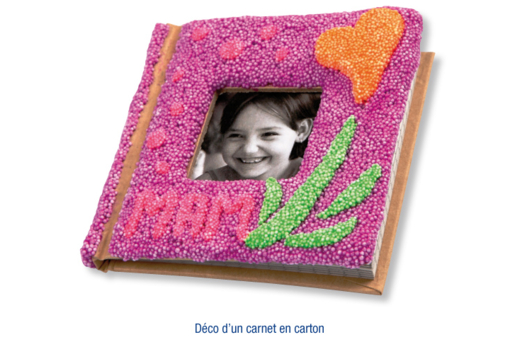
Cardboard Notebook Covered in FOAM CLAY
C10899View 4076 time
Avis client
5.0/5
4 avis publiés
5
100%
4
0%
3
0%
2
0%
1
0%
Customer review
Super
Bon équilibre des proportions. La pâte se travaille bien. Combien de temps de cuisson et quel thermostat
Nickel
Bien
bien
Vraiment bien occupe mais long