Your cart is empty.
DIY Checkers Game
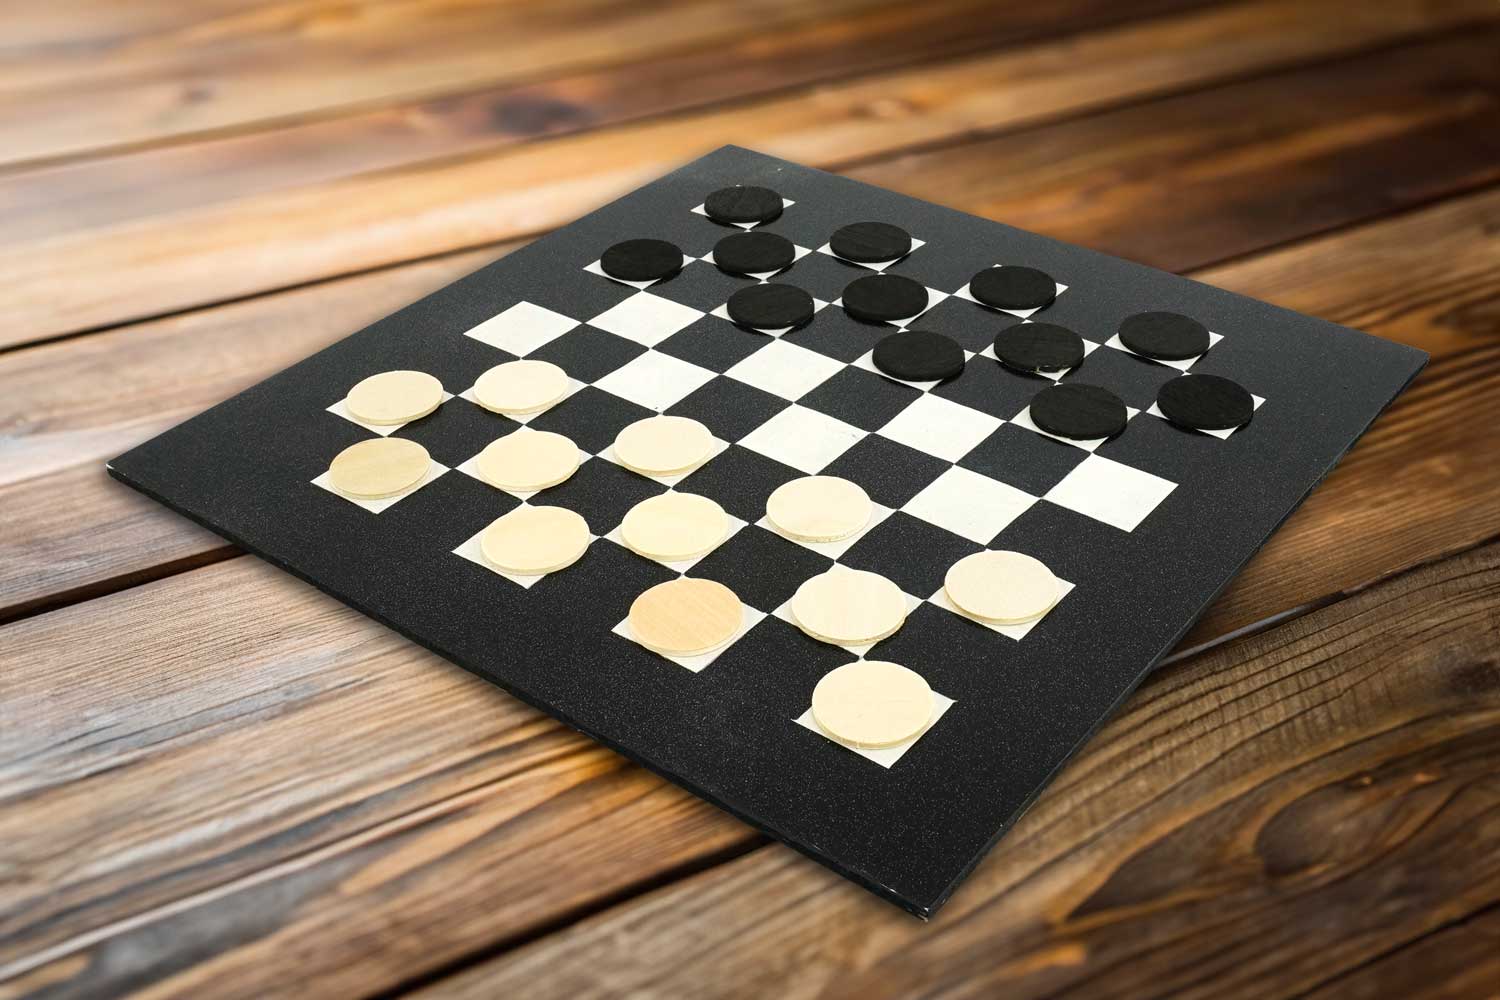
DIY Checkers Game


Discover how to make your own checkers board with our detailed tutorial. Checkers, a timeless classic, is played on a square board of 64 (or 100) alternating black and white squares, where two opponents face off by moving their pieces diagonally in an attempt to capture or block the opponent's pieces.
This step-by-step guide explains how to create a customized board and offers tips for painting your pieces. Perfect for beginners as well as experienced players, this tutorial makes checkers more accessible and fun.
How to Play Checkers:
- Place your pieces on the board: the first piece on the bottom left square (black square), then the other pieces follow on the black squares.
- The white pieces start the game.
- Pieces move diagonally one square at a time toward the opponent's camp. A capture occurs when a piece can jump over an opposing piece that is on an adjacent diagonal square, landing on a free square just behind it. This movement allows you to capture the opposing piece.
- A piece can capture both forward and backward.
- When a piece reaches the opponent's last row, it becomes a king. This super piece is the only one that can move in all diagonal directions.
It is customary to stack two pieces to represent a king.
- A player loses the game of checkers when all their pieces are captured or blocked, meaning they cannot move or make a capture.
Good luck!
How to complete this tutorial step by step?
Step 1

Apply 2 coats of gesso on the square surface. This will give you a nice white base to start with!
This primer creates a smooth and slightly textured surface that enhances the adherence of the paint and prevents excessive paint absorption by the surface.
Step 2
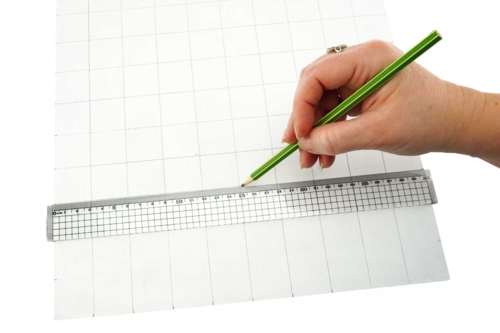
To draw the game grid on the board, start by taking a pencil to mark reference points on the four sides of the board at intervals of 3 cm. Then use a clear ruler to draw the grid lines.
Step 3
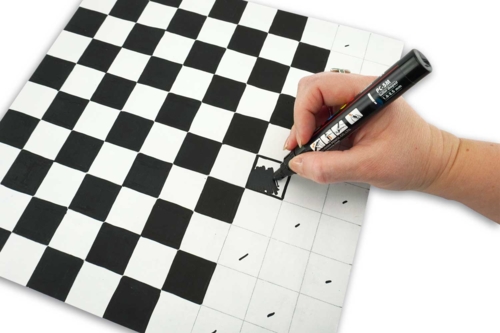
Using the black marker, paint every other square black.
Tip: make a black dot on the squares to be colored to keep track of your progress!
Step 4
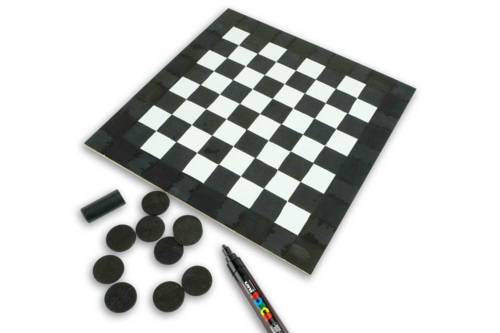
You have the option to paint the edge of the board in black to create a 64-square game (8 by 8), which is quicker and easier for children, or to leave it without an edge for a 100-square game. Both options work well!
Next, you will simply need to paint half of your pieces black using a marker (20 pieces for a 100-square game, or 12 for a 64-square game).
Once this step is completed, your game is ready and play can begin!
The products used:
The products used:


1,39€
Available

5,19€ (either 0,13 € / pc)
Available from August 2026

Other tutorials on the theme "Games Tutorials"
-
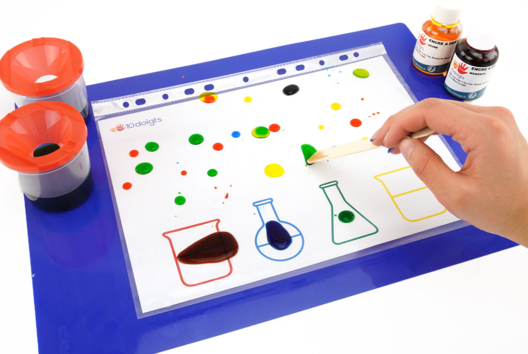

Oil and Colored Water Experience
C17689View 2526 time


-
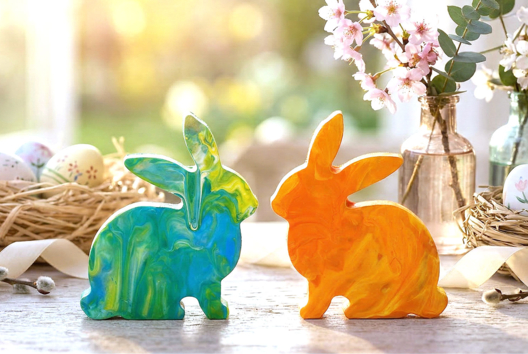
Marbled Wooden Rabbit - Mess-Free Painting
C17733View 9648 time

-

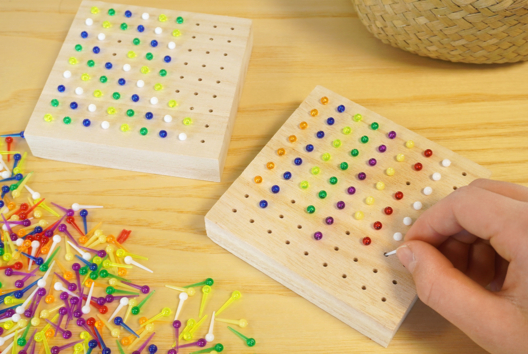
Multi-Activity Learning Board - Montessori
C11185View 19245 time -
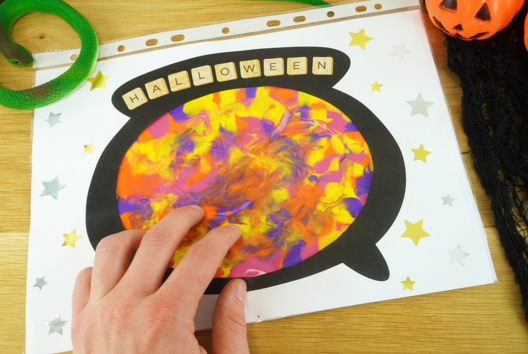
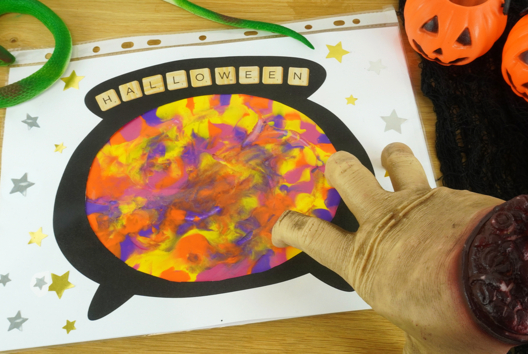
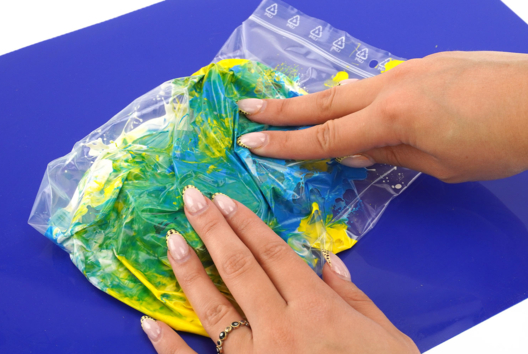
Clean Paint: Magic Cauldron
C11219View 82028 time

-
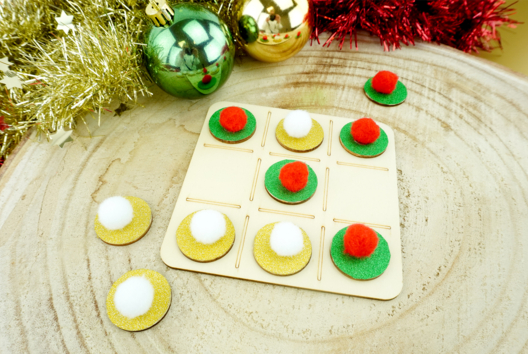

Mind Game: Tic-Tac-Toe
C11210View 12535 time
-
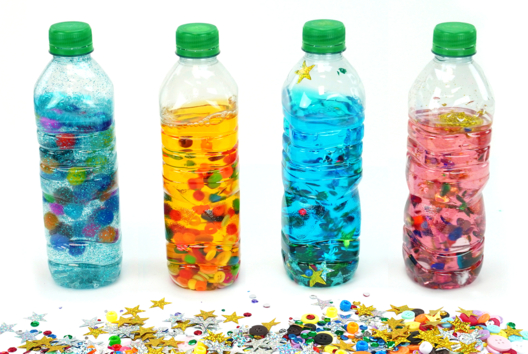

4 ideas for making a sensory bottle
C8275View 97787 time
Customer review
Give your feedback
DIY Checkers Game
Be the first to share your review of this product.
Post a review