Your cart is empty.
Butterfly Puppet with a Wooden Spoon
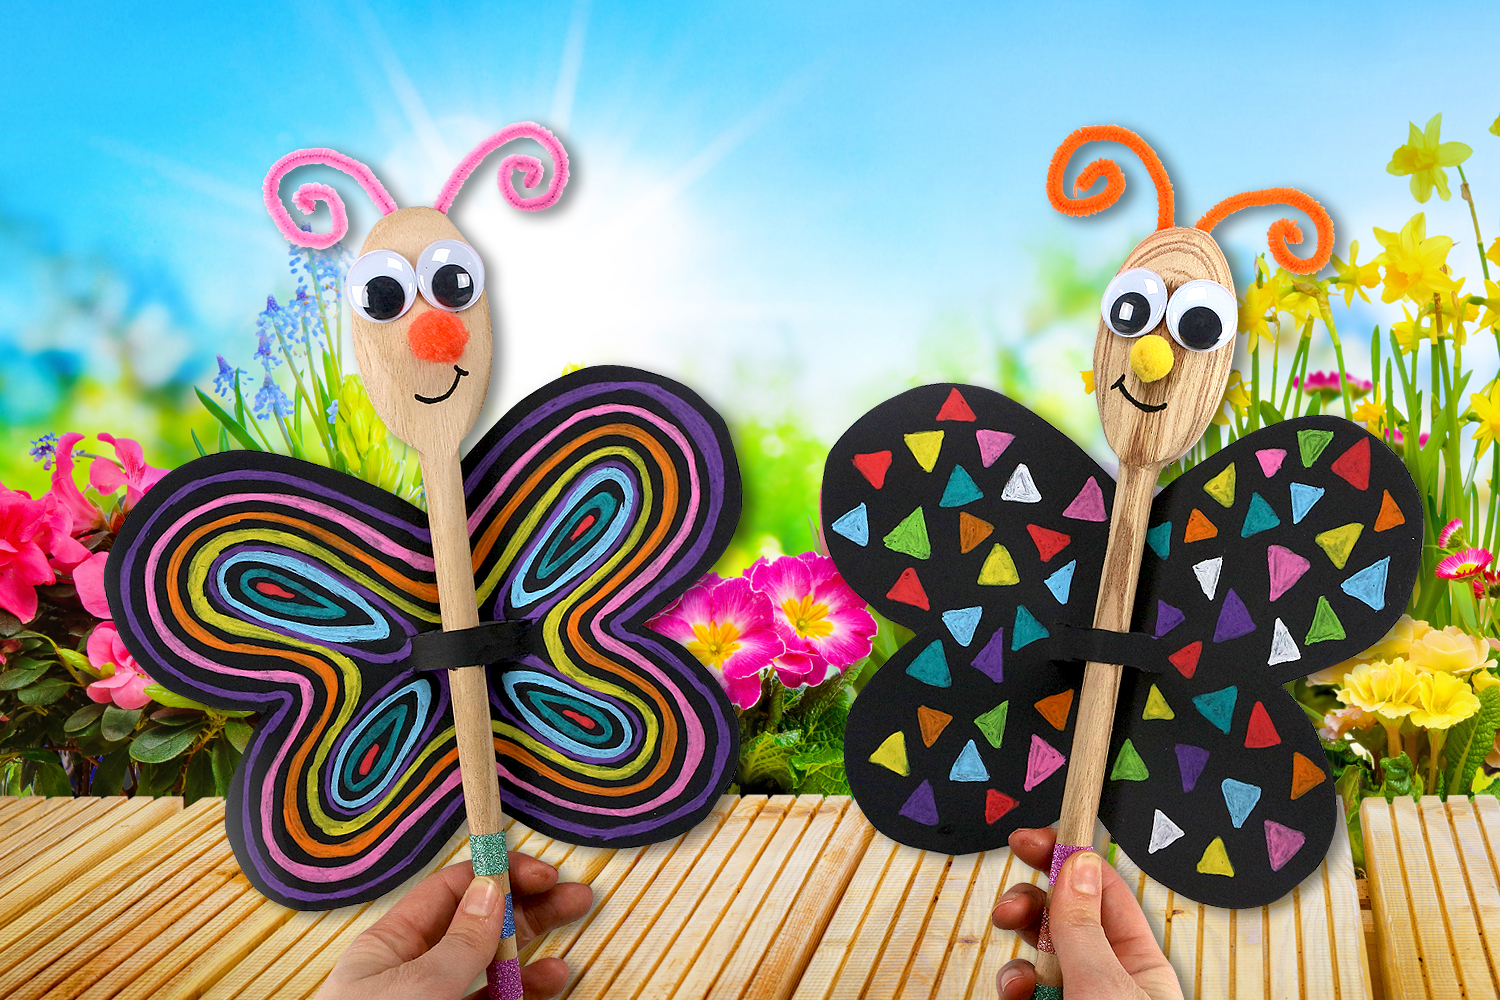

Butterfly Puppet with a Wooden Spoon
Discover how to turn a wooden spoon into a beautiful butterfly puppet with shimmering colors! A simple craft for children that will provide hours of fun with the puppet they create.
To watch the video tutorial, click on "VIDEO" below the main photo.
How to complete this tutorial step by step?
Etape 1.
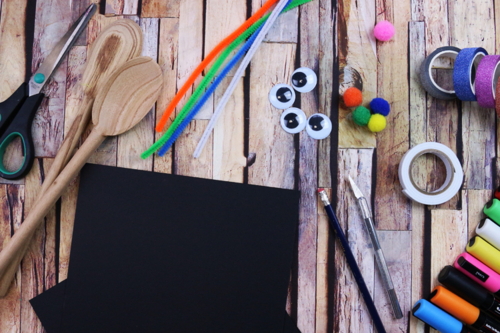
To make a butterfly puppet, you will need:
- a large wooden spoon
- a piece of thick black cardstock in A4 size (300 g/m²)
- 2 movable eyes Ø 2.5 cm
- a colored chenille measuring 30 cm
- a colored pom-pom
- glittery masking tape
- POSCA markers
- double-sided adhesive foam
- a pair of scissors
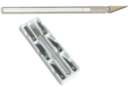
- a precision cutter
Etape 2.
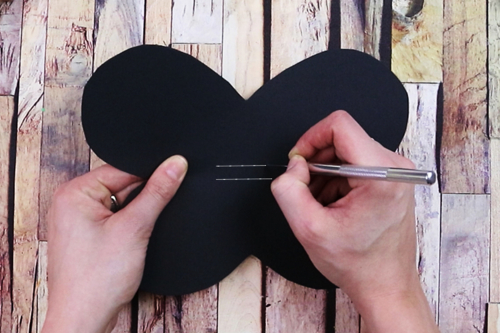
Draw the butterfly wings on a sturdy black card and then cut them out with a pair of scissors.
Make 2 parallel notches of about 3 cm at the center of the butterfly. These will hold the wooden spoon in place.
Etape 3.
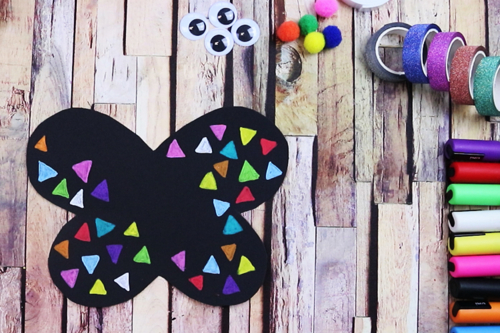
Decorate the butterfly wings using POSCA markers.
Highly opaque, the paint in POSCA markers will allow you to achieve beautiful colored contrasts on the black card.
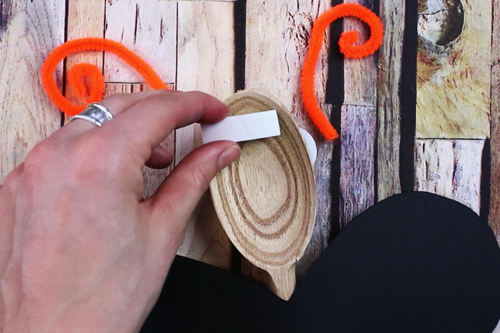
Etape 4.
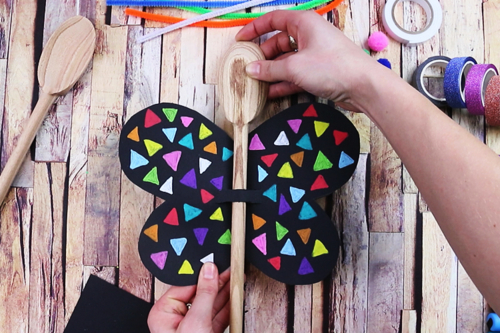
Slide the wooden spoon into the slot located in the center of the wings.
Etape 5.
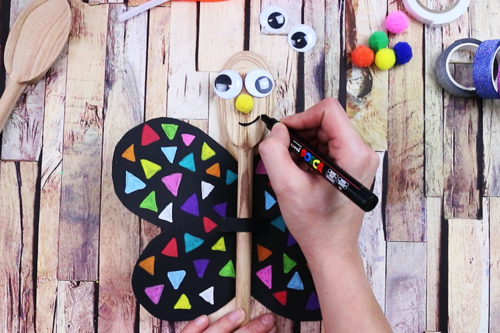
Using double-sided adhesive foam, stick 2 movable eyes with a diameter of 2.5 cm and a pompom on the head of the spoon.
With a black POSCA marker, draw the butterfly's mouth.
Etape 6.
To create the butterfly antennas, cut a 30 cm chenille into 2 pieces and then glue them to the back of the spoon using double-sided adhesive foam.
Etape 7.
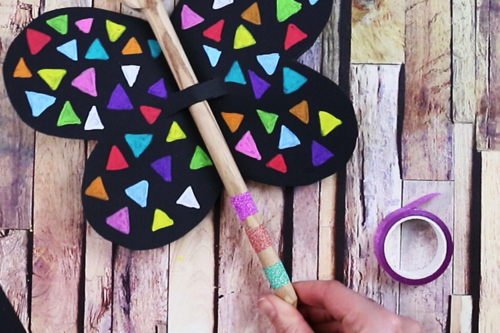
For a lovely decoration, stick pieces of glitter masking tape onto the handle of the spoon.
Etape 8.
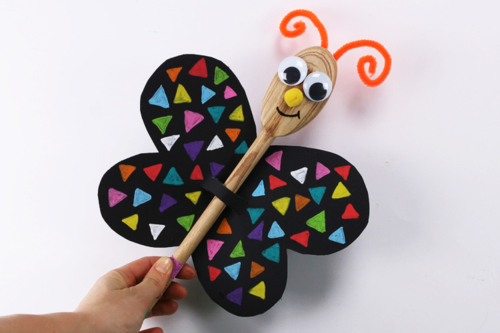
And here is a lovely puppet that will bring joy to children!
The products used:
The products used:


3,59€ (either 0,36 € / pc)
Available


1,99€
Available
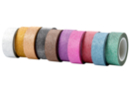
Glitter masking tape - 10 assorted rolls
Réf. 27727 - Product sheet
7,90€ (either 0,79 € / pc)
Available from 14/07/2026

79,99€ (either 5,00 € / pc)
Available

2,49€ (either 0,50 € / pc)
Available

Other tutorials on the theme "Craft Tutorials"
-

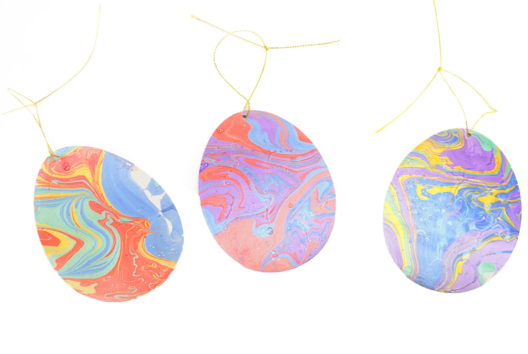
Easter Eggs Marbling Ornaments
C17738View 4683 time


-
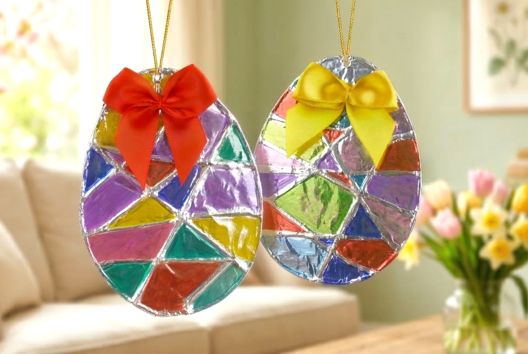
Easter Eggs with Aluminum Foil (Foil Art)
C17718View 11749 time


-
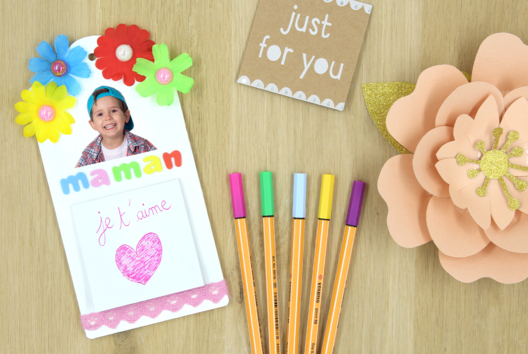
Memo Board for Mother's Day
C13450View 19461 time
-
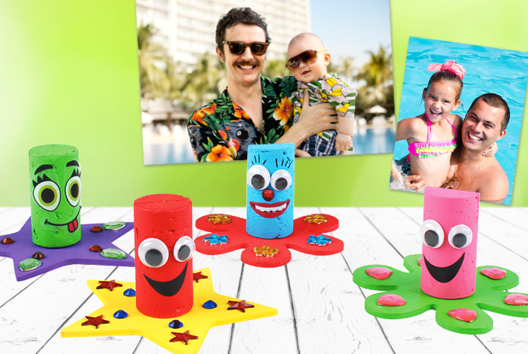
Photo Frame Corks
C11589View 92979 time -
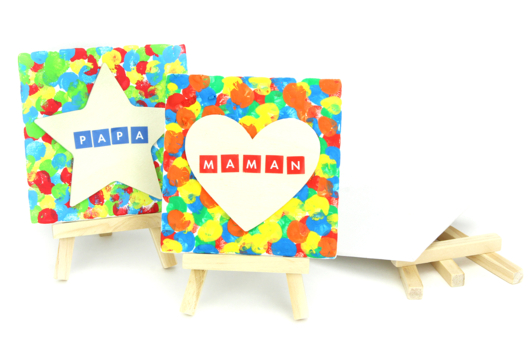
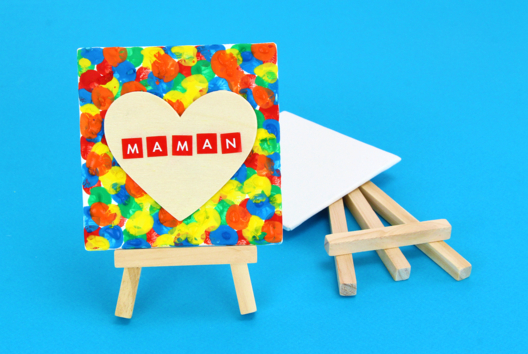
Easel Painting with Finger Paints
C15106View 18527 time
-
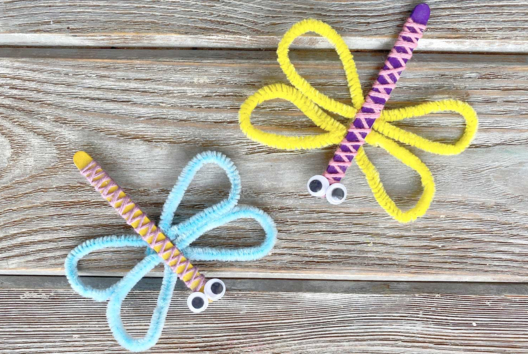
DIY Butterflies
C11290View 11615 time
Vos créations inspirées par ce tuto
Avis client
5.0/5
4 avis publiés
5
100%
4
0%
3
0%
2
0%
1
0%
Customer review
super
bonjour je suis nounou et les petites ont adoré
marionnette papillon
je suis nounou et les petits adorent, j'ai juste rajouté des morceaux de ruban à la queue du papillon pour l'effet fun quand ils le font voler dans les airs !!! et un bracelet scratch pour qu ils puissent aussi l attacher au poignet !!!! merci pour vos idées !!!
sympa
les crayons Posca coutent tres chers , j'ai remplacé par des gomettes
Bonjour Françoise, Coller des gommettes est également une excellente idée, surtout pour les plus petits ! Les marqueurs POSCA sont en effet un peu plus coûteux mais vous pouvez les utiliser pendant des mois et des mois :)
Super activité à faire avec les enfants!