Your cart is empty.
Ladybug Clock

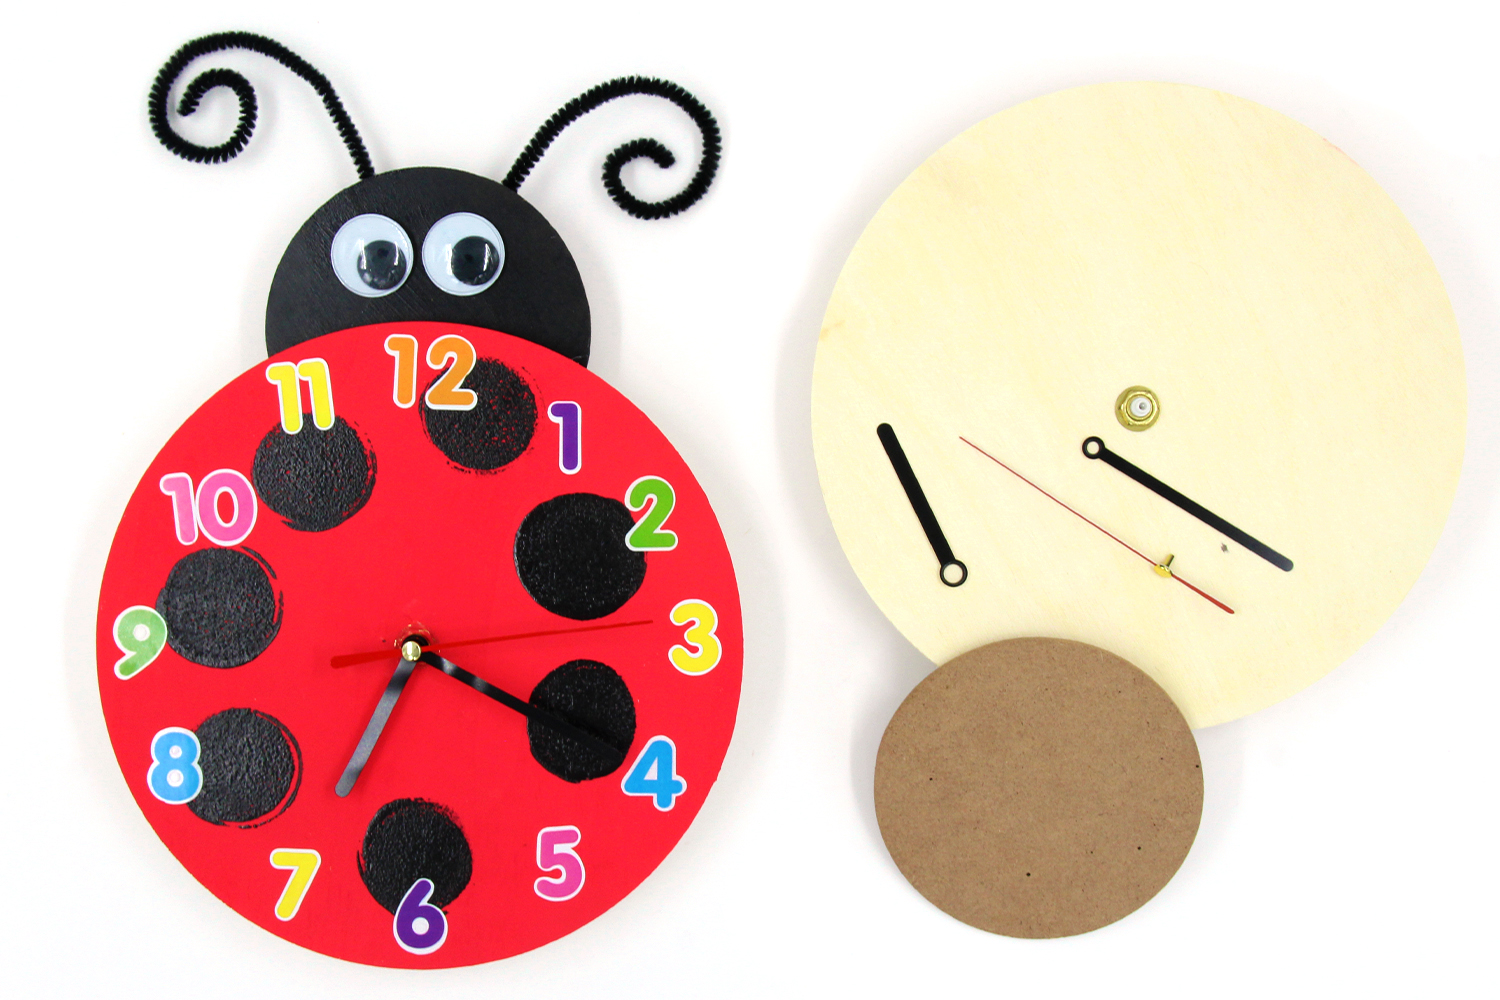

Ladybug Clock


During this spring-themed activity, children will enjoy transforming a simple clock into a ladybug using paint, stickers, googly eyes, and caterpillars !
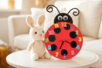
At the end of the activity, they will have a stunning colored clock that they can proudly hang in their rooms.
Thèmes de l'idéa créa :
#Animal Tutorials
#Funny Characters Tutorials
#Craft Tutorials
#Clocks
#DIY Home Decor Tutorials
#Spring Tutorials
How to complete this tutorial step by step?
Materials:
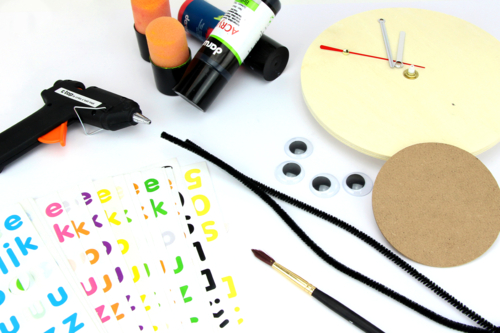
To make a ladybug clock you will need:
- A wooden clock
- A round wooden base
- Two moving eyes Ø 2.5 cm
- Two black caterpillars
- Number stickers
- Red and black paint + a brush
- Stencil stamps
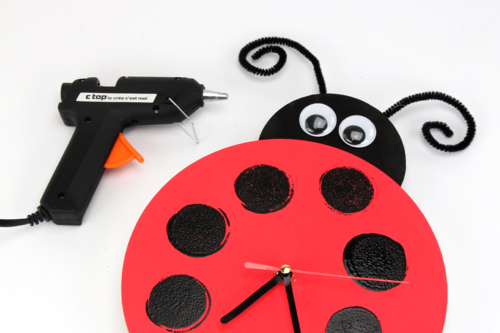
- A glue gun
Step 1:
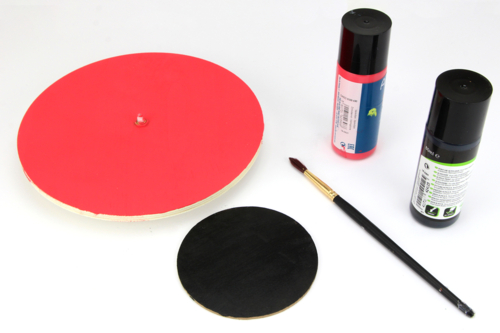
To start, paint the clock red and the round base black.
Then let it dry for 20 minutes.
Step 2:
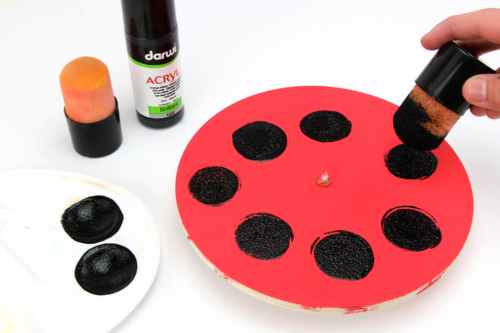
Using a stamp, apply black paint to form black circles.
Step 3:
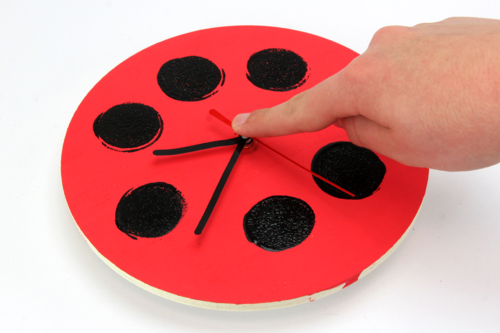
Attach the hands starting with the hour hand, then the minute hand, and finally the second hand.
Step 4:
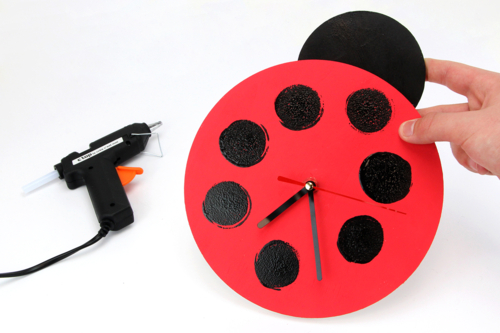
Using a glue gun, attach the round wooden base (painted black in the first step) to the back of the wooden clock.
Step 5:
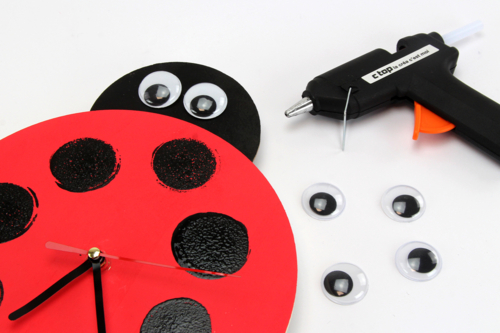
Stick two movable eyes Ø 2.5 cm onto the round wooden base.
Step 6:
To create the ladybug's antennas, cut 2 pieces of black chenille, curl the ends, and then glue them with a hot glue gun to the back of the round wooden base.
Step 7:
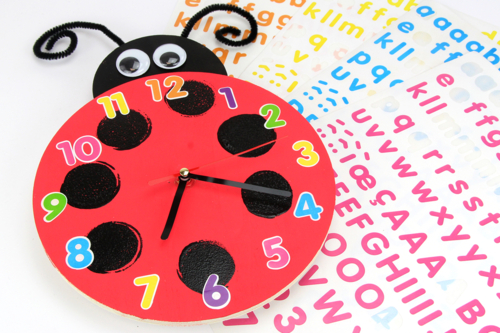
Stick the number stickers from 1 to 12 all around the clock.
Step 8 :
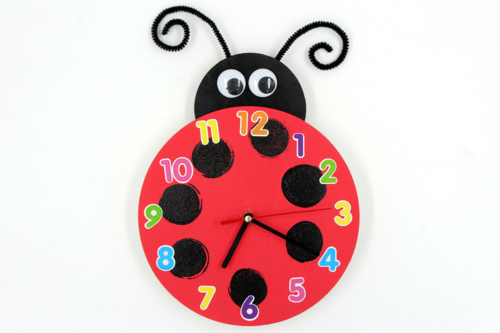
And finally, insert a battery at the back of the clock before hanging it on the wall!
The products used:
The products used:


2,99€ (either 1,00 € / pc)
Available


Other tutorials on the theme "Craft Tutorials"
-

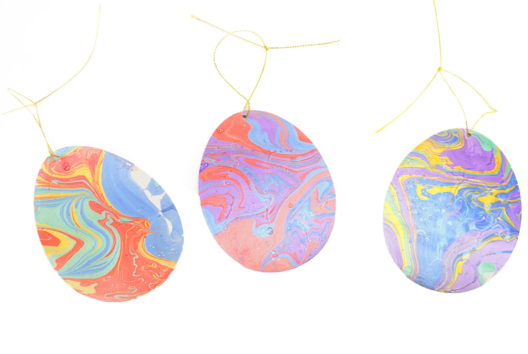
Easter Eggs Marbling Ornaments
C17738View 5053 time


-
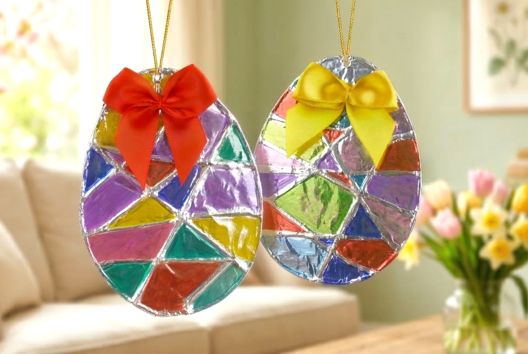
Easter Eggs with Aluminum Foil (Foil Art)
C17718View 12437 time


-


Embossed Metal Christmas Ornaments
C17434View 18065 time
-
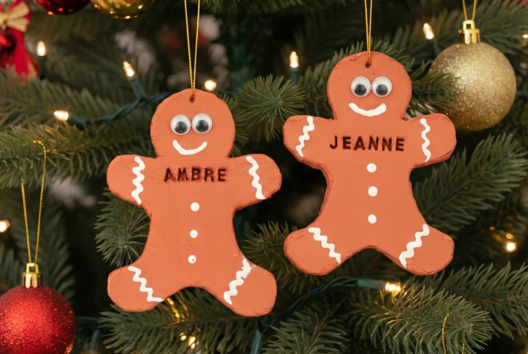
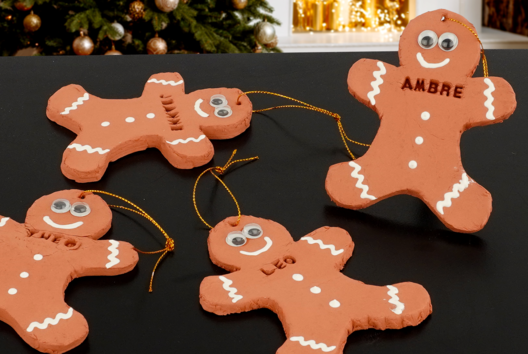
Personalized Gingerbread Man for the Christmas Tree
C17420View 14668 time
-


Christmas Truck - Tree Decoration
C17422View 5855 time
-
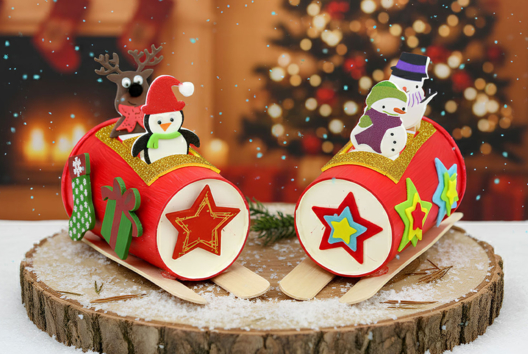
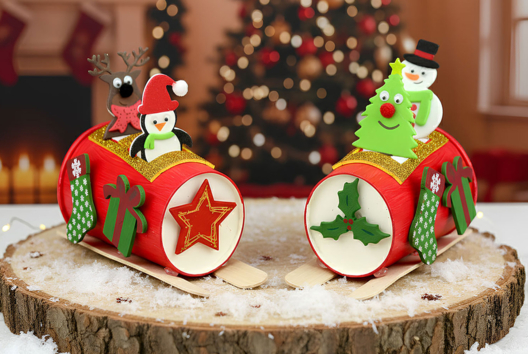
Christmas Sleighs
C14260View 113490 time
-


Little Mouse Tooth Box
C11298View 11977 time -
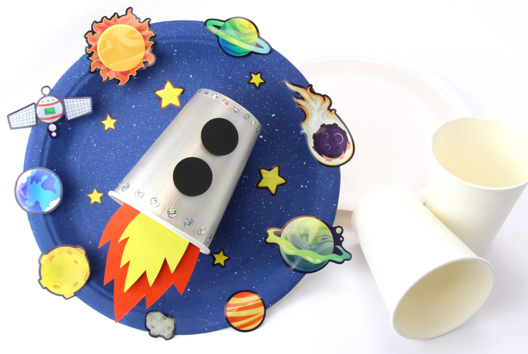
Rocket with a Cup and a Plate
C15065View 20581 time -
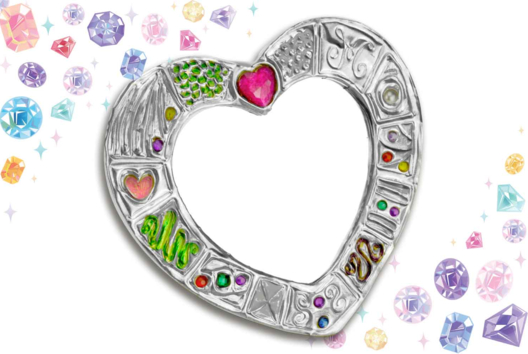
Engraved Metal Mirror
C11800View 9466 time -
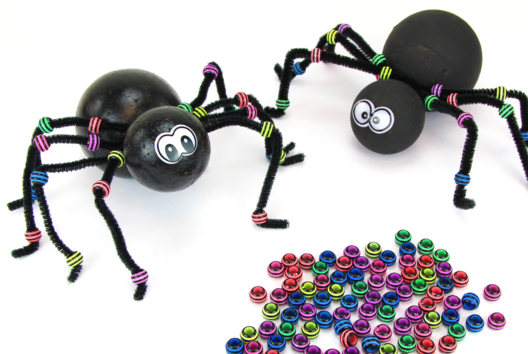
Spider with Styrofoam Balls
C15021View 18797 time
Customer review
Give your feedback
Ladybug Clock
Be the first to share your review of this product.
Post a review