Your cart is empty.
Carve a Pumpkin for Halloween

Carve a Pumpkin for Halloween
In this new Halloween special tutorial, discover how to perfect your Halloween decoration with family by creating a pumpkin lantern using our great tool kit.
Note: Carving a pumpkin will require adult supervision.
Thèmes de l'idéa créa :
#Halloween Tutorials
#I am carving a pumpkin
#Craft Tutorials
#Autumn Tutorials
How to complete this tutorial step by step?
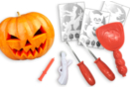
Materials:
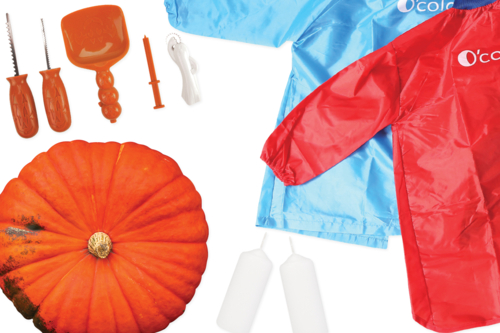
To empty a pumpkin, you will need:
- A pumpkin
- Tools for emptying and carving
- A protective apron
- A candle
Step 1:
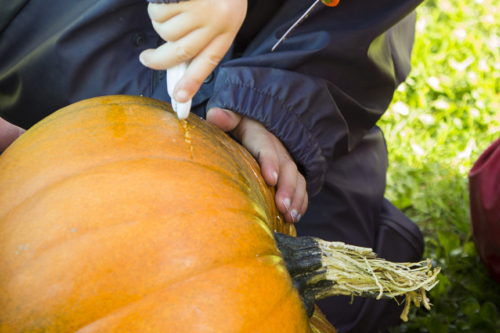
Cut the top off the pumpkin with a serrated saw.
Keep the cut part of the pumpkin to replace it at the end of the activity.
Step 2
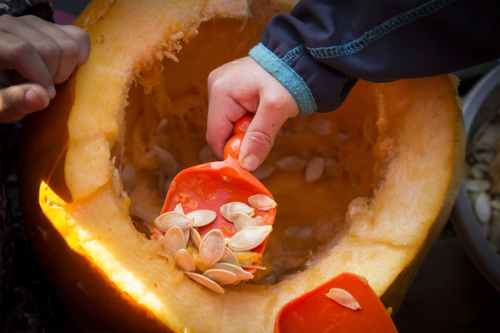
Put on an apron to avoid getting dirty, then remove the flesh inside the pumpkin with a spoon.
Tip: You can keep the pumpkin flesh to make Halloween soup.
Step 2:

Draw the eyes, nose, and mouth of the pumpkin with a marker.
Trace over the lines with a serrated wheel so that the cutting is easier in the next step.
Step 3:

Using a serrated saw, cut out the eyes, nose, and mouth by following the outlines.
Step 5:
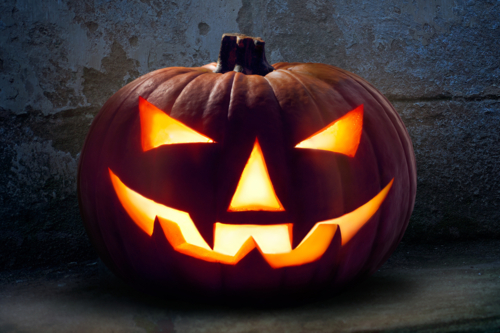
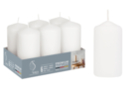
Finally, insert a candle inside your pumpkin and replace the cut part from step 1.
Tip: For a small pumpkin, use a tea light or LED candle. For a large pumpkin, use a larger candle if needed.
The products used:
The products used:
11,94€ (either 1,99 € / pc)
Available


LED Electric Candles - 2 Pieces
Réf. 07139 - See the full range
1,98€ (either 0,99 € / pc)
Available


Other tutorials on the theme "Halloween Tutorials"
-


The monstrous candy bags
C17716View 369 time


-
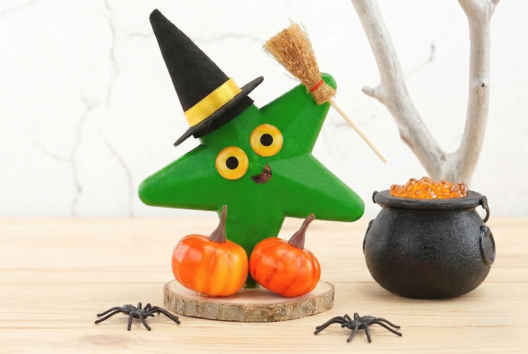
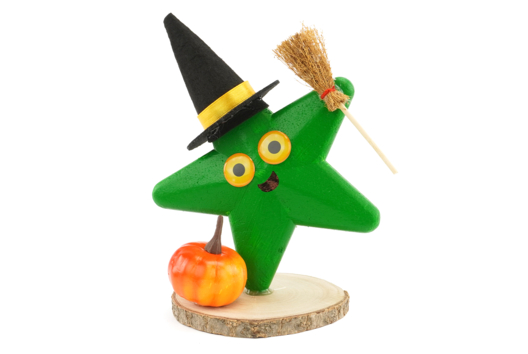
The Starry Witch
C17714View 362 time

-
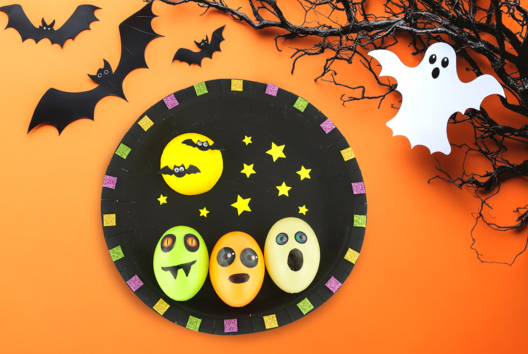
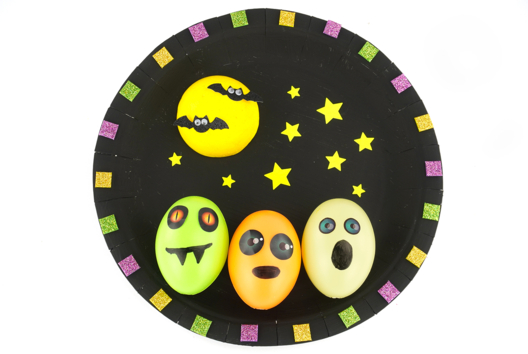
Halloween Monster Board
C8346View 14930 time
-
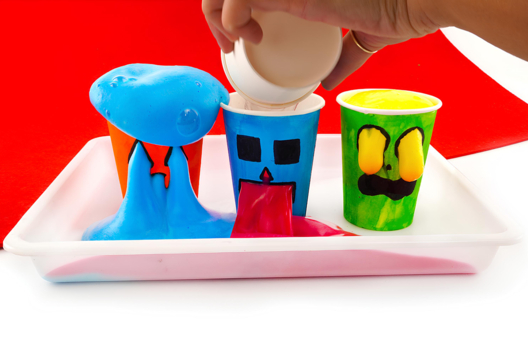
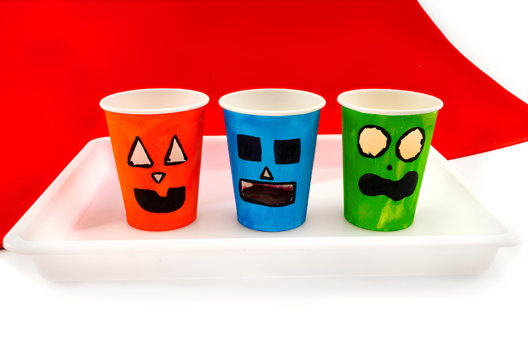
Dripping Monsters
C8368View 11539 time
-

Hanging Cats
C14103View 53254 time

-
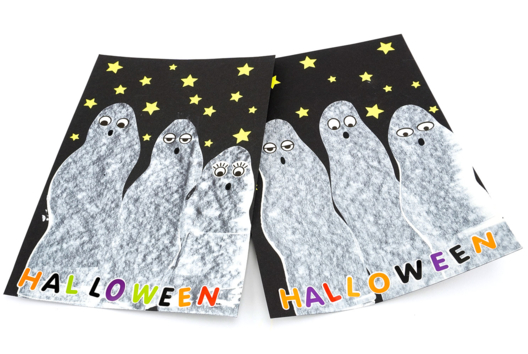
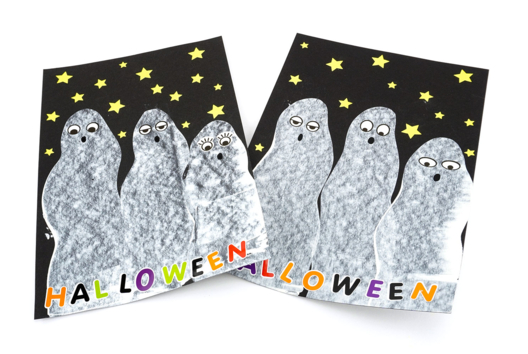
Raclette Painting: Ghosts
C10818View 10188 time
-
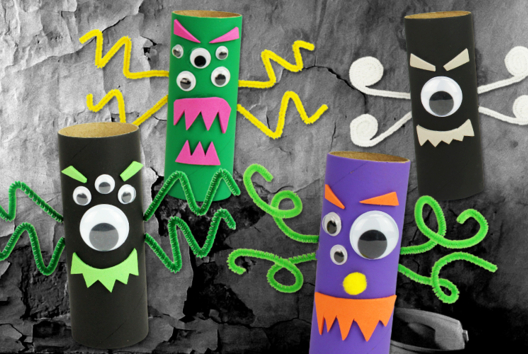
Cardboard Roll Monsters
C13047View 46006 time -
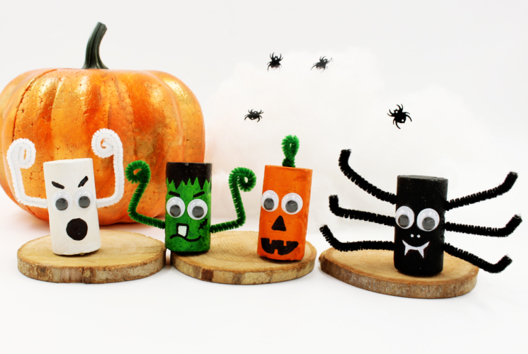
Halloween Monsters Made from Corks
C13046View 34770 time -
Halloween Light Balls
C13045View 27818 time -

Funny Monsters on Sticks
C12430View 48923 time
Customer review
Give your feedback
Carve a Pumpkin for Halloween
Be the first to share your review of this product.
Post a review