Your cart is empty.
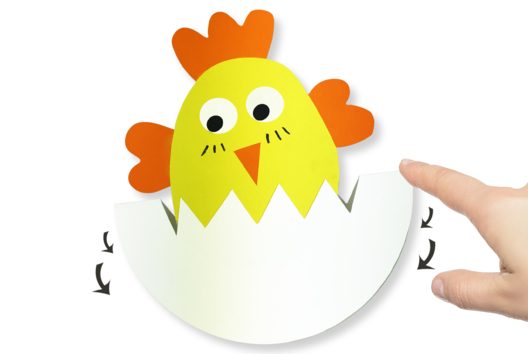
Chick "broken egg" for Easter

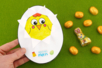


Chick "broken egg" for Easter


Discover this Easter activity that is very cute and easy to recreate at home with the kids!
With a bit of paper, lovely stickers, and markers, we will show you how to make a chick in a broken egg.
A fun and easy Easter activity for children from a young age!
How to complete this tutorial step by step?
Materials:
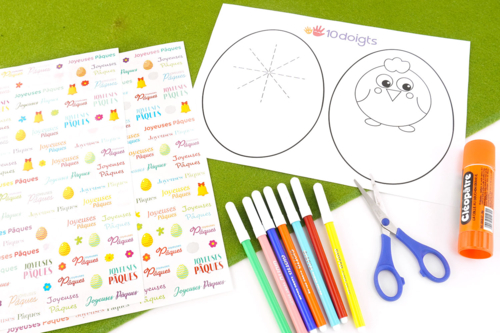
To create a lovely chick, you will need:
- a free printable template here
- a lightweight white sheet
- Easter egg stickers
- colored markers
- a glue stick
- a pair of scissors
Step 1:
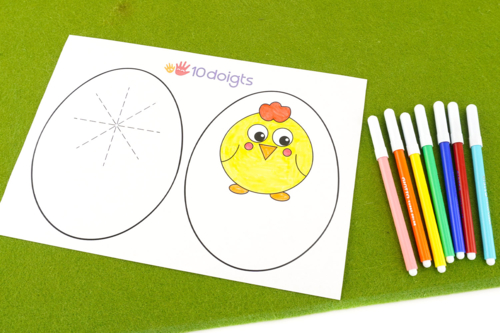
Start by printing the egg template, then color the chick with colored markers.
Step 2:
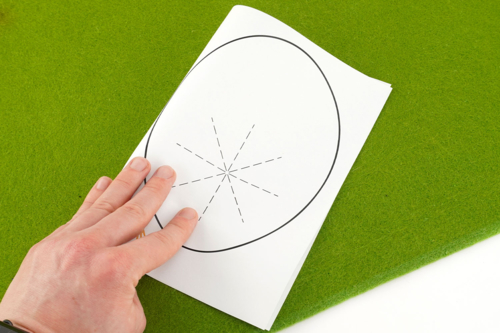
Then neatly fold the template in half to stack the two eggs.
Step 3:
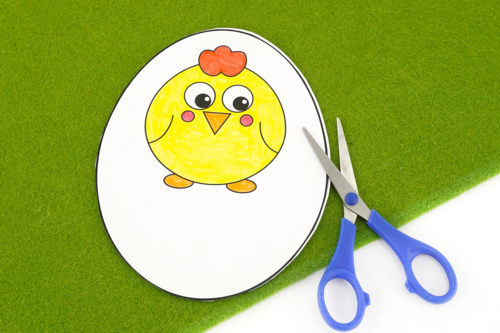
Cut everything along the outline of the egg using a pair of scissors.
This will give you 2 distinct eggs.
Step 4:
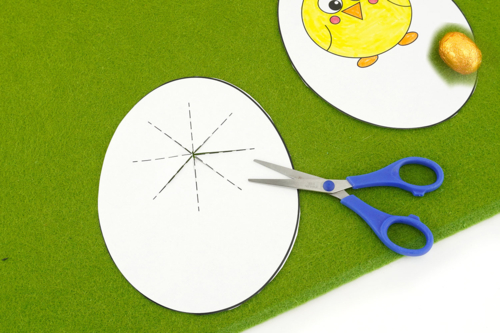
Then cut slits along the dotted lines of the egg without the chick.
Step 5:
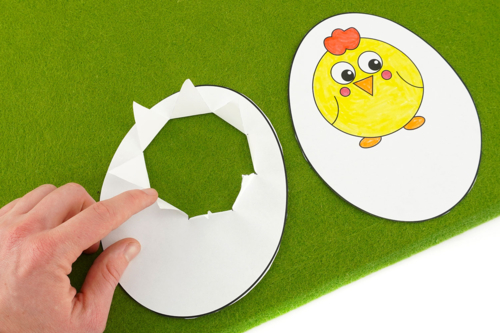
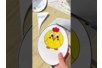
Fold the cutouts to achieve the "broken egg" effect.
Step 6:
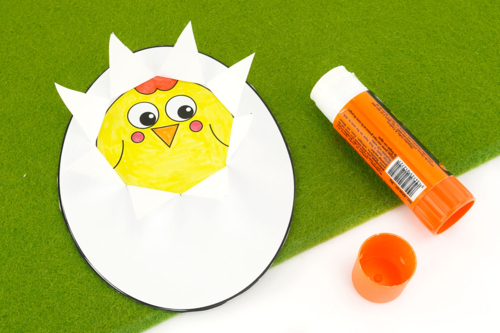
Using a glue stick, stick the broken egg onto the egg with the chick.
Step 7:
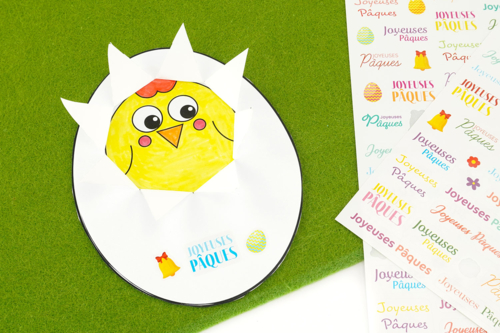
Finally, stick Easter stickers on the lower part of the egg.
The products used:
The products used:

2,99€ (either 0,25 € / pc)
Available
Other tutorials on the theme "Easter Tutorials"
-

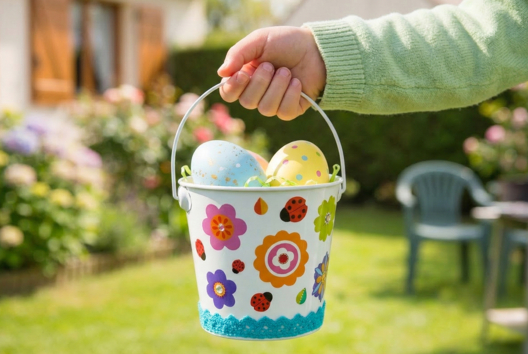
Bucket for collecting Easter eggs
C17732View 6180 time


-
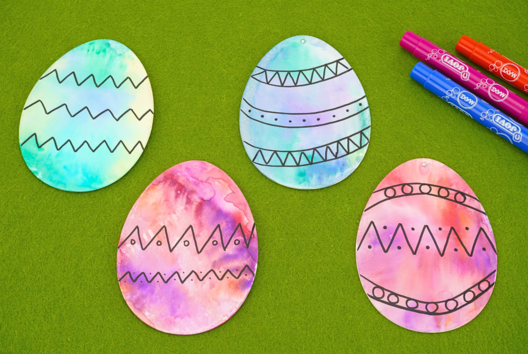

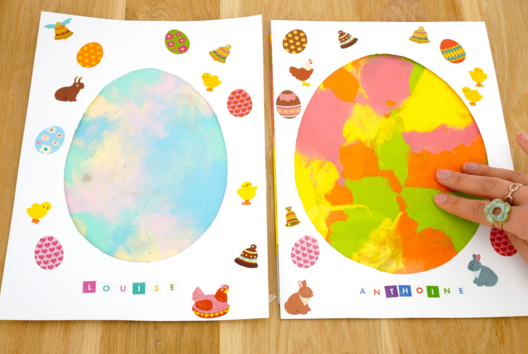
Watercolor Easter Eggs
C11103View 20768 time
-
Easter Bunny in Styrofoam
C17025View 7582 time
-
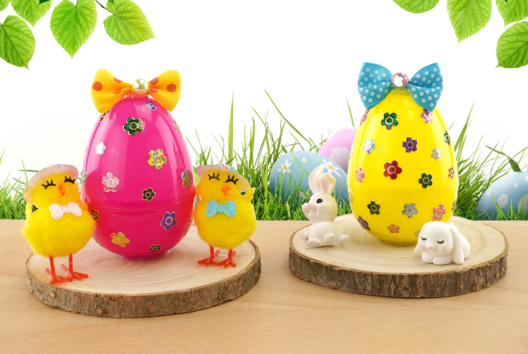
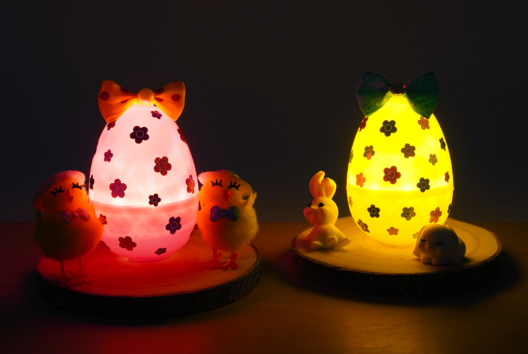
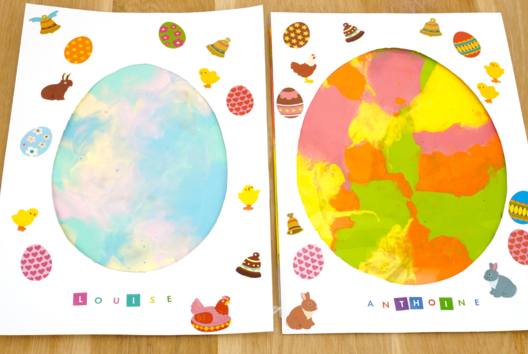
Bright Easter Egg
C17024View 17943 time
-
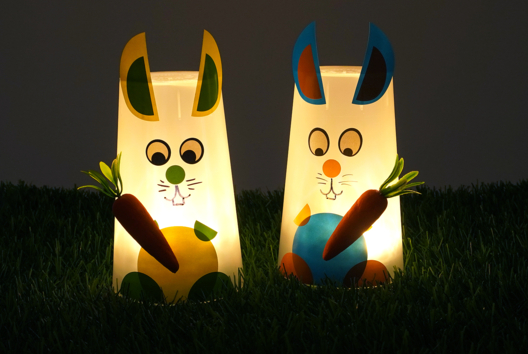
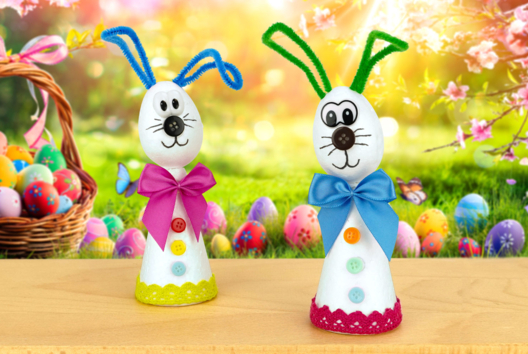
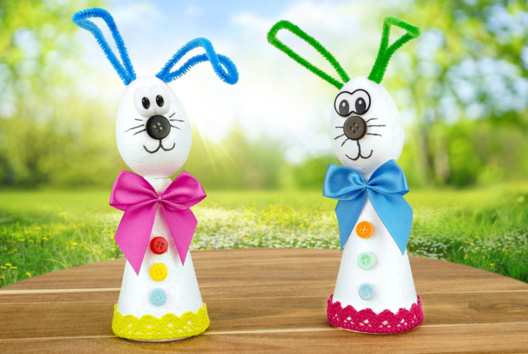
Glow-in-the-Dark Easter Bunnies
C17019View 18897 time
-
Clean Paint Easter Eggs
C17012View 50059 time

-
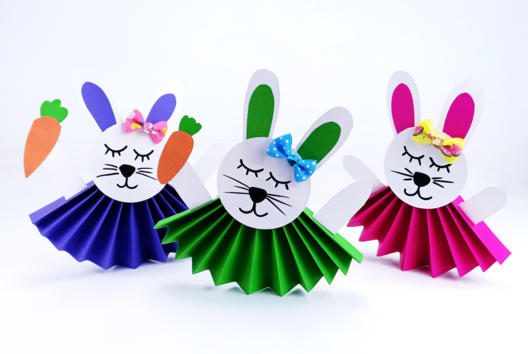
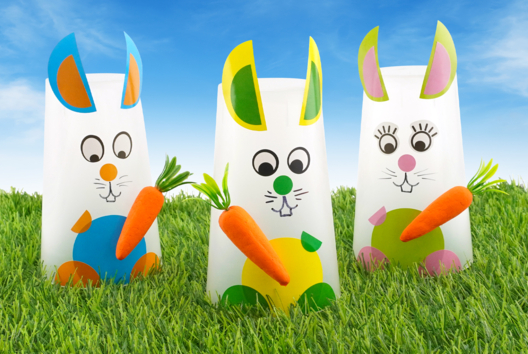
Cute Paper Bunnies
C13983View 46995 time -
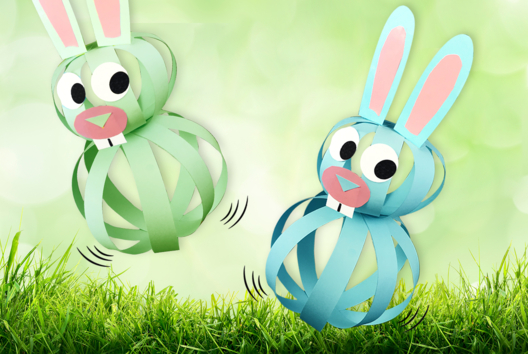
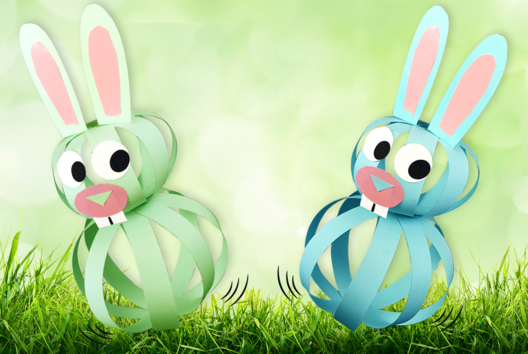
Bouncing Paper Bunnies
C13982View 40618 time -
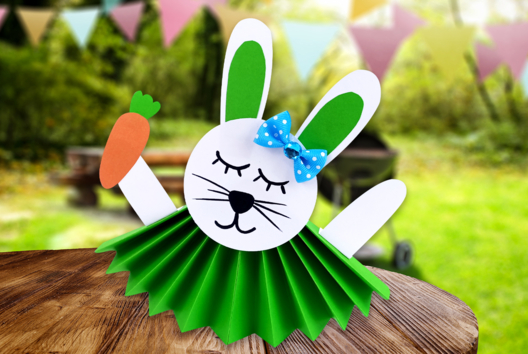
Rocking Chick
C13980View 19508 time -
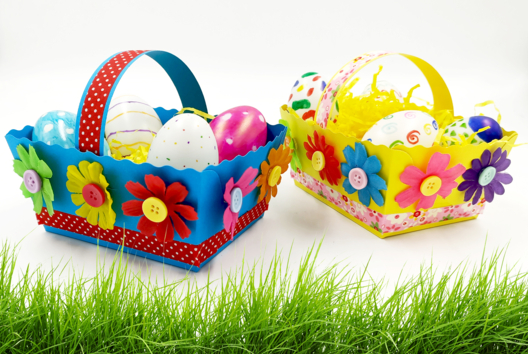
Flower Easter Baskets
C13960View 49339 time
Avis client
5.0/5
1 avis publié
5
100%
4
0%
3
0%
2
0%
1
0%
Customer review
Très bien