Your cart is empty.
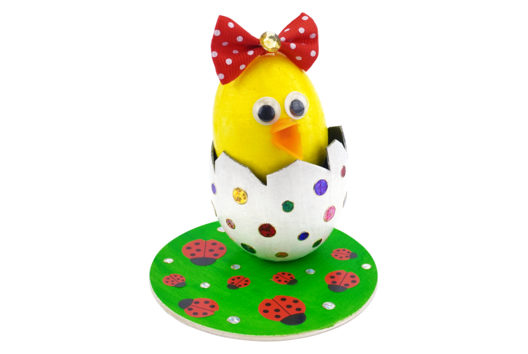
Rocking Chick
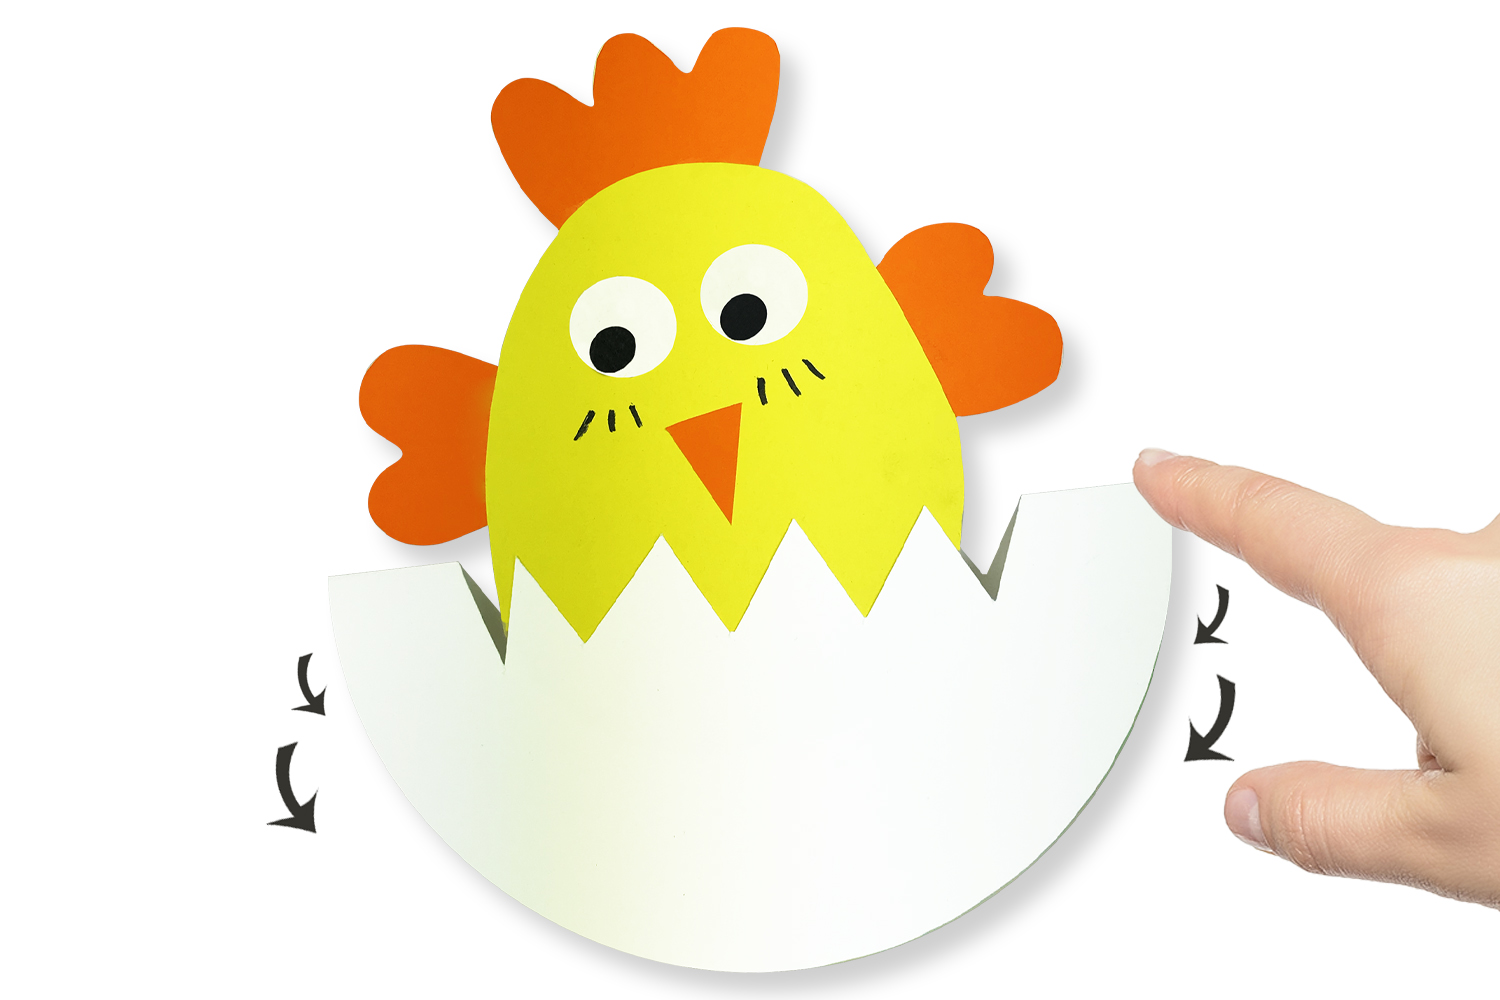
Rocking Chick
Using only colored paper sheets, glue, and scissors, you will be able to create this little Easter chick in its egg.
Press with your finger on the egg and it rocks, we love it!
How to complete this tutorial step by step?
Materials:
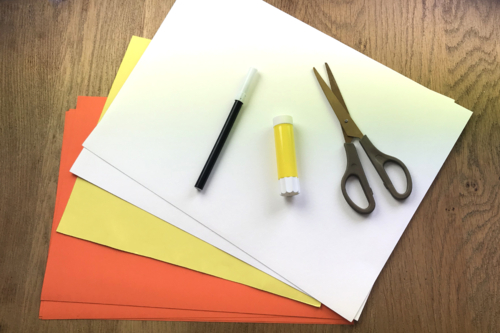
To make a chick, you will need:
- Heavy cardstock (yellow, orange, white)
- A black permanent marker
- A tube of glue
- A pair of scissors
Step 1 :

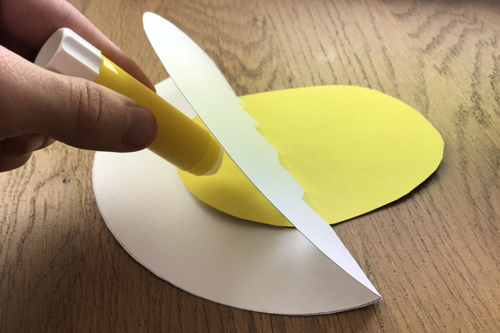
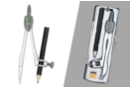
Cut out a circle of about Ø 17 cm from a sturdy card.
Tip : Use a compass to trace your circle for a nice round shape.
Step 2:
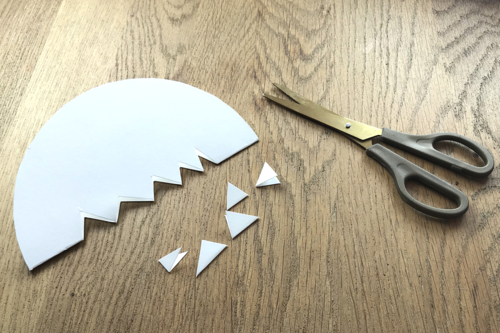
Fold the circle in half and cut small triangles to form the broken shell.
Leave about 3 cm without cutting on each side.
Step 3:
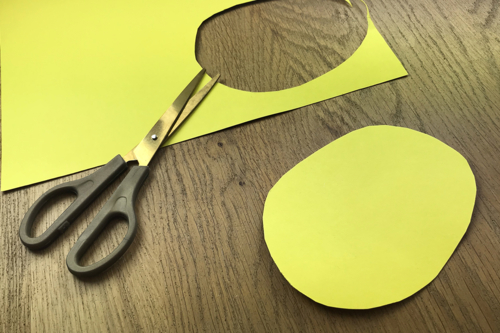
From a sturdy yellow card, cut out a chick about 12 cm tall.
Step 4:
Glue the chick shape inside the egg.
Step 5:
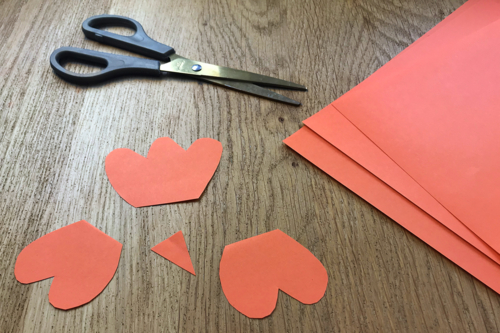
In the strong orange card, cut out a triangle for the beak, a crest, and two wings.
Step 6:
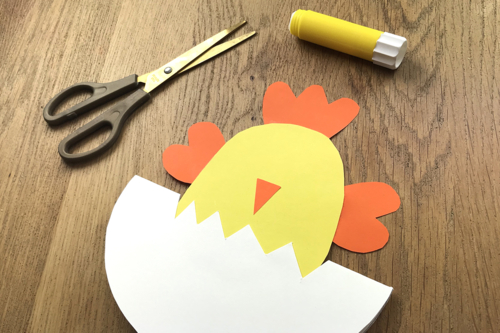
Glue the entire piece onto the body of the chick.
Step 7:
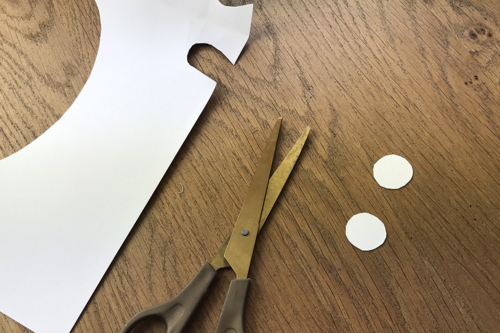
For the eyes, cut out two circles of approximately Ø 2 cm from a thick white card.
Tip : Use a compass to draw your circles for a nice round shape.
Step 8:
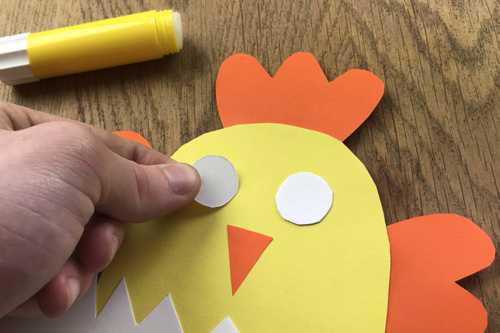
Glue the circles onto the chick.
Step 9:
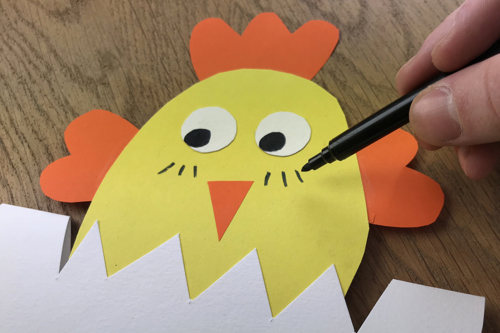
Draw the pupils with a black marker.
The products used:
The products used:

3,59€ (either 0,36 € / pc)
Available

3,59€ (either 0,36 € / pc)
Available

3,59€ (either 0,36 € / pc)
Available


Other tutorials on the theme "Easter Tutorials"
-

Bucket for collecting Easter eggs
C17732View 6265 time


-
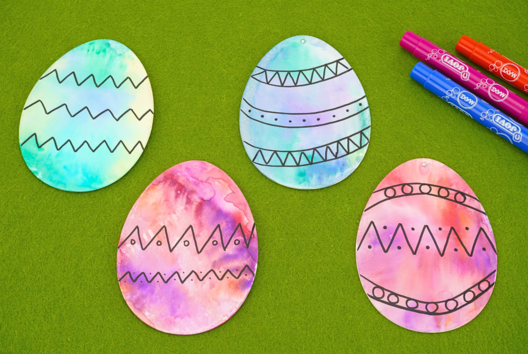

Watercolor Easter Eggs
C11103View 20879 time
-
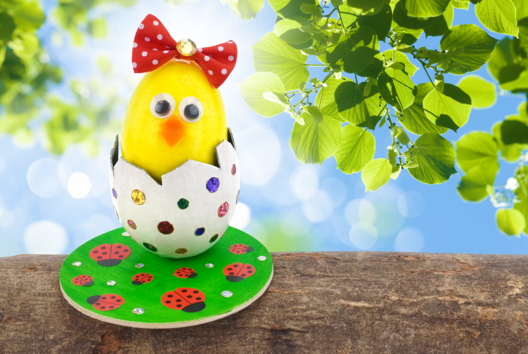
Chick in its shell
C10907View 17908 time
-

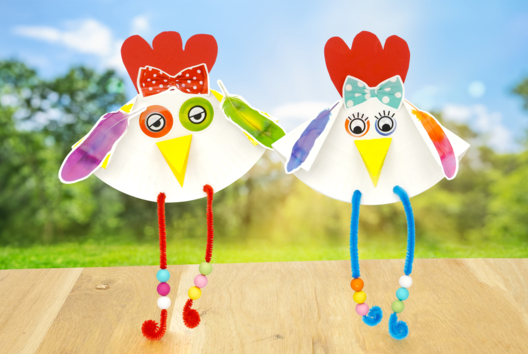
Easter Chickens with Paper Plates
C8775View 27710 time
-
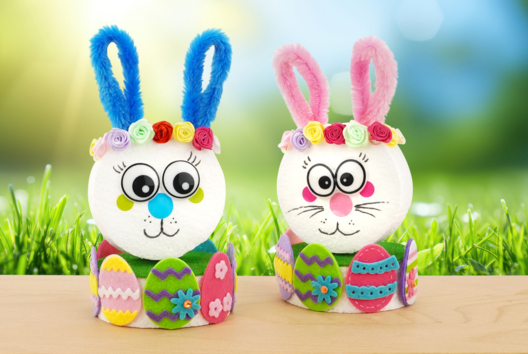
The Playful Little Bunnies
C10903View 26297 time
-
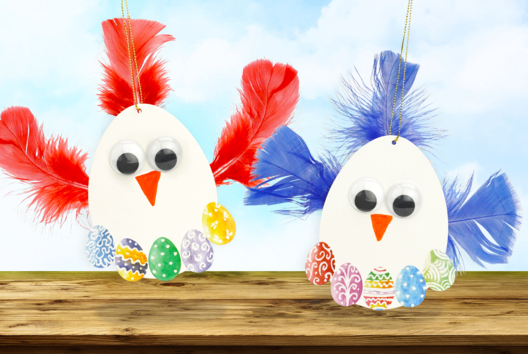

Hanging Easter Chickens
C9528View 8770 time
Customer review
Give your feedback
Rocking Chick
Be the first to share your review of this product.
Post a review