Your cart is empty.
Christmas Tree with Corks
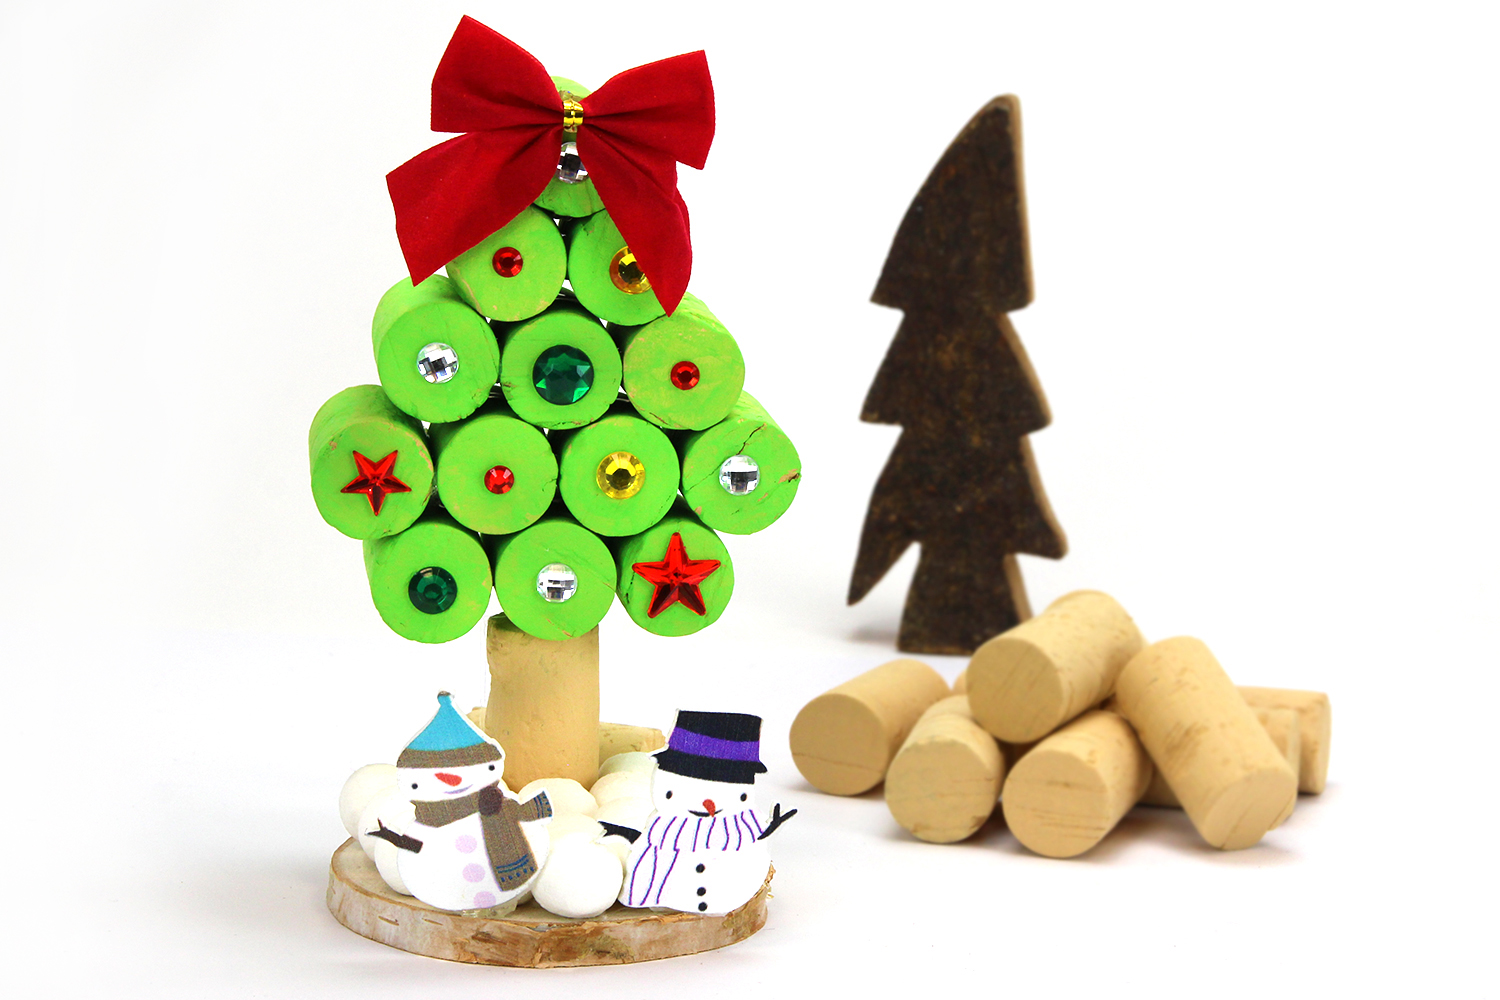
Christmas Tree with Corks
During this Christmas activity for children, we will make beautiful trees using corks!
The children will love doing this little recycled craft at home.
How to complete this tutorial step by step?
Materials:
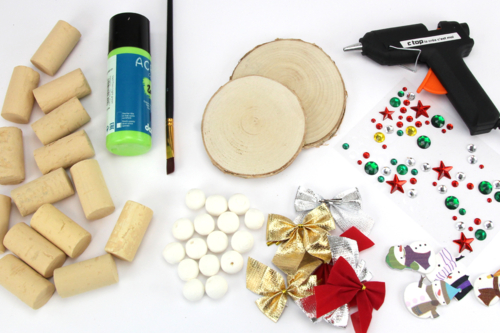
To make a Christmas tree, you will need:
- A slice of wood
- 14 corks
- About 18 white cellulose balls
- A large fabric bow
- 2 small wooden snowmen
- Adhesives
- Green paint and a brush
- A glue gun
Step 1:
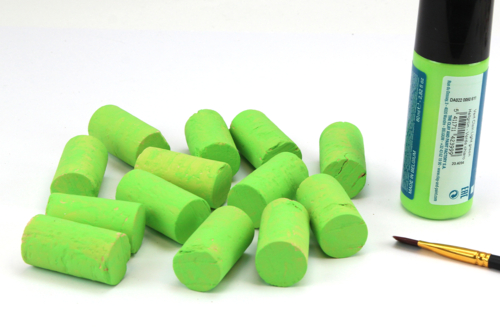
To begin, decorate 13 corks with green paint.
Then let them dry for 20 minutes.
Step 2:
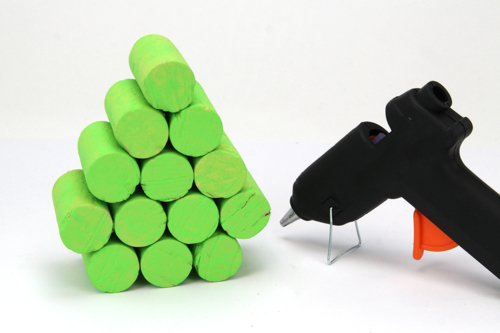
Glue the caps as shown below (3 - 4 - 3 - 2 - 1) using a glue gun.
Step 3:
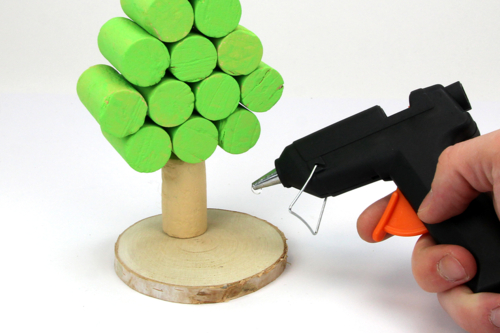
Glue a final cork stopper under the Christmas tree to form the trunk and attach everything to the wood slice.
Step 4:
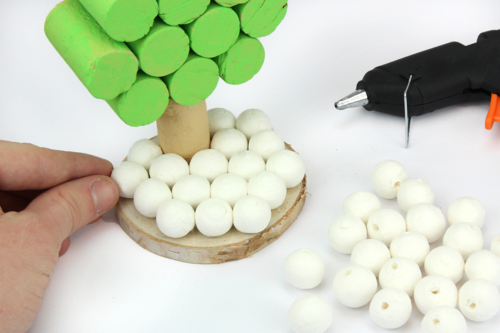
Glue white cellulose balls onto the edge of the wood to create a snowy ground effect.
To glue the cellulose balls, you can use a glue gun or liquid white glue!
Étape 5 :
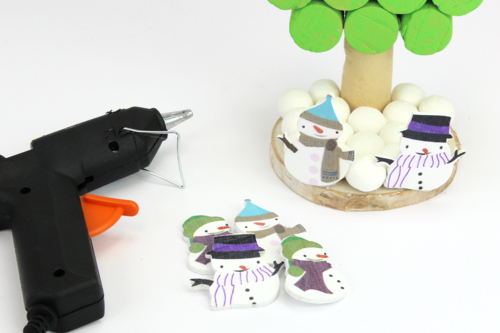
Coller 2 bonhommes de neige en bois.
Step 6:
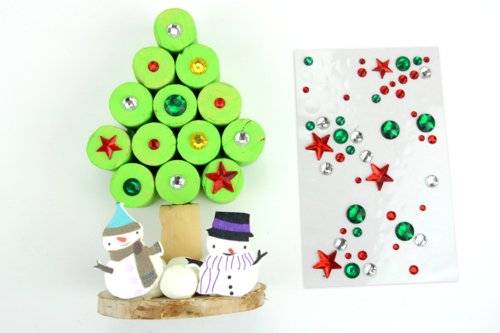
Glue adhesive rhinestones on the corks to decorate the Christmas tree.
Step 7:
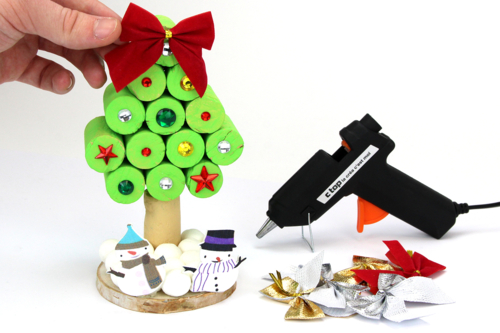
Glue a large fabric bow at the top of the tree to complete the creation.
The products used:
The products used:

Wooden Discs Ø 8 to 11 cm - 6 Pieces
Réf. 36020 - Product sheet
5,96€ (either 0,99 € / pc)
Available


3,49€
Available from 22/06/2026

2,49€
Available


2,99€ (either 1,00 € / pc)
Available

Other tutorials on the theme "Christmas Tutorials"
-

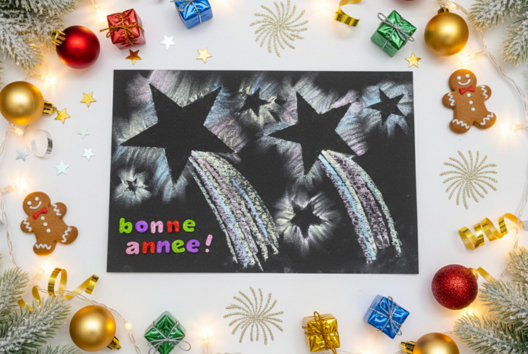
Chalkboard "Happy New Year"
C17575View 3006 time


-
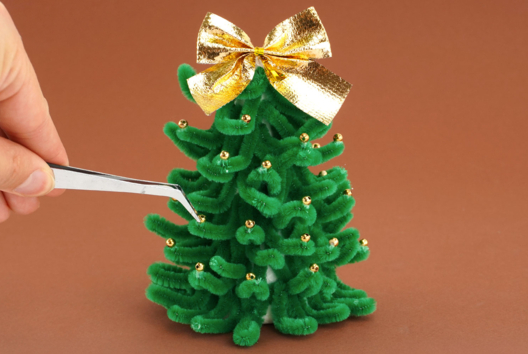
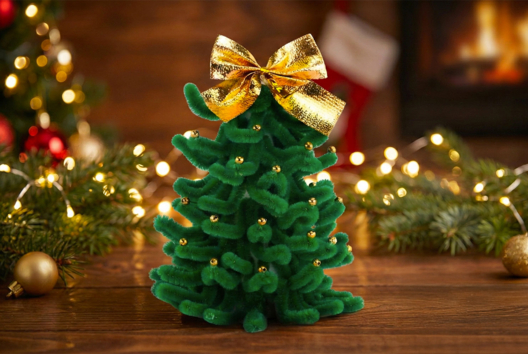
Pipe Cleaner Christmas Tree
C17464View 4903 time


-
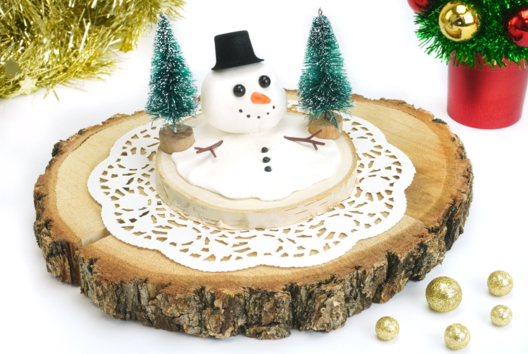
Melting Snowman
C15414View 38799 time
-
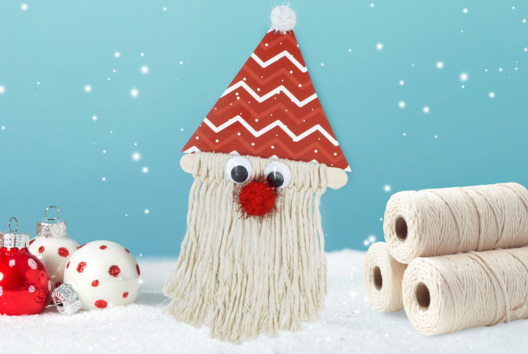
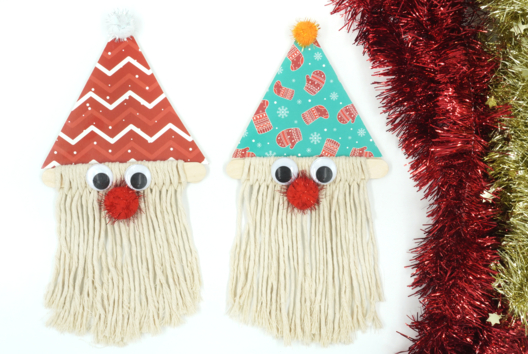
Santa Claus and His Macramé Beard
C15412View 36269 time
-
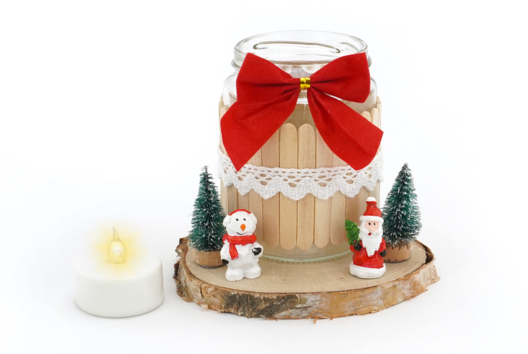
Christmas Lantern with Small Characters
C11041View 35815 time
-
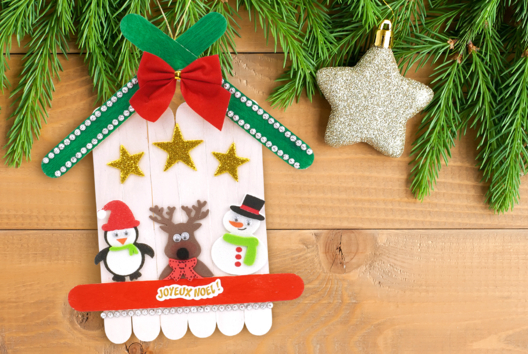
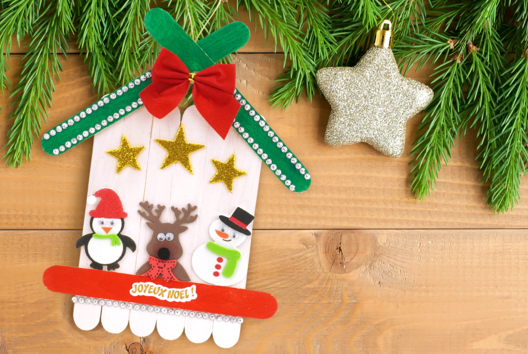
Christmas Chalet with Sticks
C11039View 77959 time
Vos créations inspirées par ce tuto
Customer review
Give your feedback
Christmas Tree with Corks
Be the first to share your review of this product.
Post a review