Your cart is empty.
Clothespin Bunny

Clothespin Bunny
An easy Easter activity that will allow children to make little bunnies with clothespins!
How to complete this tutorial step by step?
Etape 1.
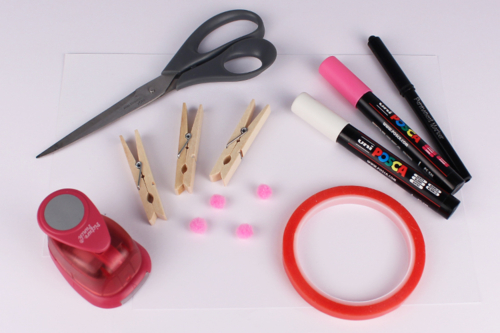
To make a 7 cm rabbit you will need:
- a 7 cm natural wooden clothespin
- a 300 g/m² white cardstock
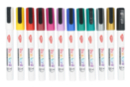
- paint markers (pink, white, ...)
- a fine-tipped black marker
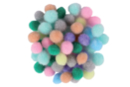
- a pom-pom
- a Ø 2.5 cm hole punch (or a pair of scissors)
- a roll of double-sided tape
Etape 2.

Remove the spring from the clothespin to separate the two wooden parts, then paint them white using a paint marker.
Allow drying for about ten minutes, then reassemble the clothespin.
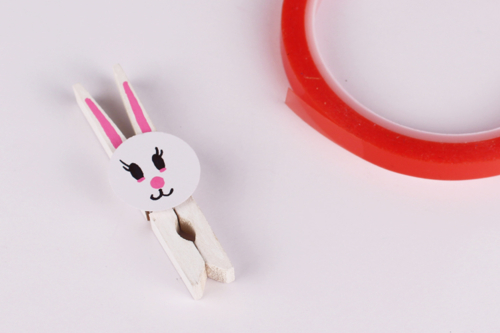
Etape 3.
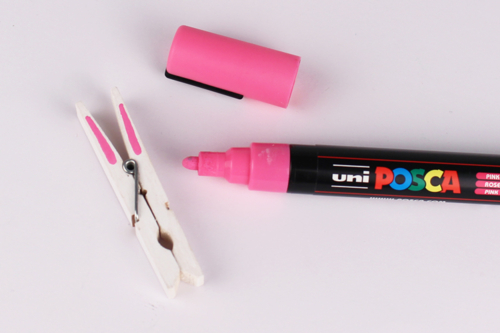
Using a pink paint marker, draw the rabbit's ears as shown in the picture beside.
Etape 4.
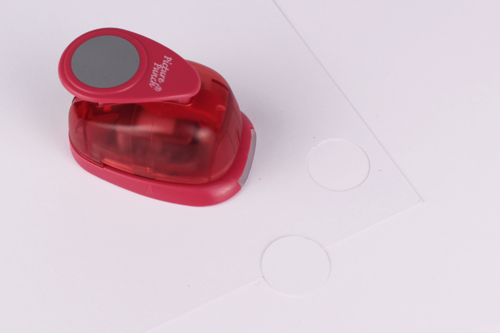
Using a pair of scissors or a hole punch, cut out a circle with a diameter of 2.5 cm from a thick white card.
Etape 5.
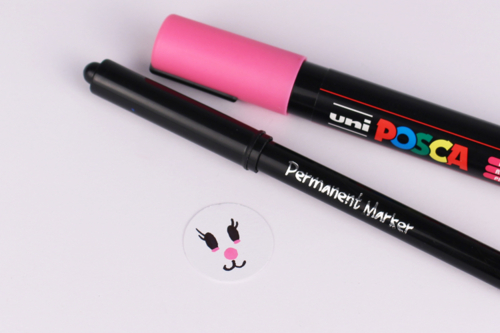
Draw the rabbit's face on the paper circle.
Etape 6.
Place a piece of double-sided tape behind the rabbit's face, then stick it onto the clothespin to cover the spring.
Etape 7.
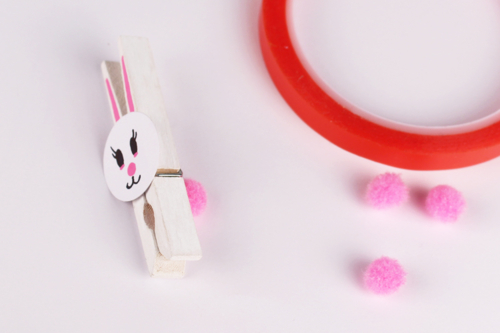
To make the rabbit's tail, stick a small pink pompom with double-sided tape.
The products used:
The products used:


3,59€ (either 0,36 € / pc)
Available


Other tutorials on the theme "Easter Tutorials"
-

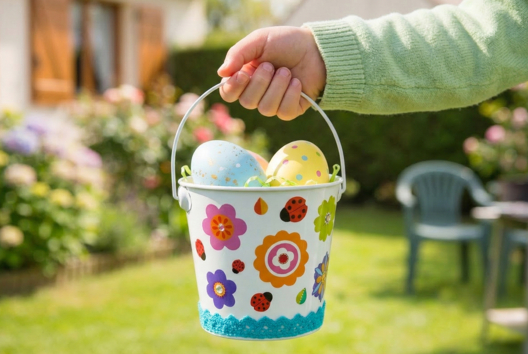
Bucket for collecting Easter eggs
C17732View 6477 time


-
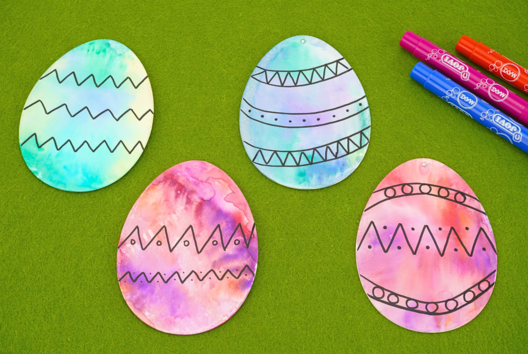

Watercolor Easter Eggs
C11103View 21131 time
-
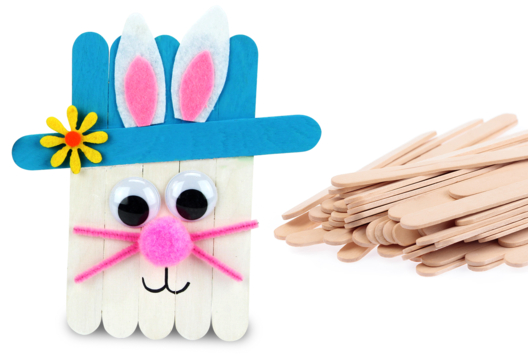
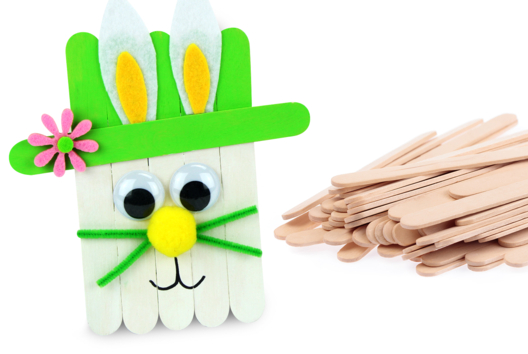
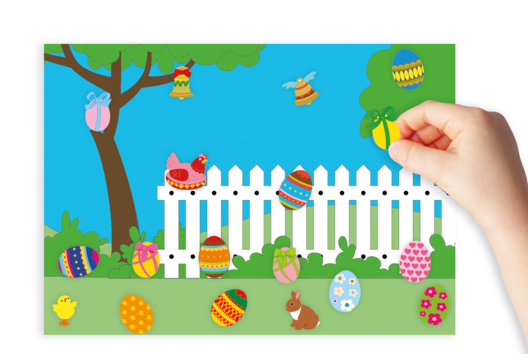
Easter Bunny with Wooden Sticks
C14588View 39745 time -
Easter Coloring: The Egg Hunt
C14587View 12460 time -
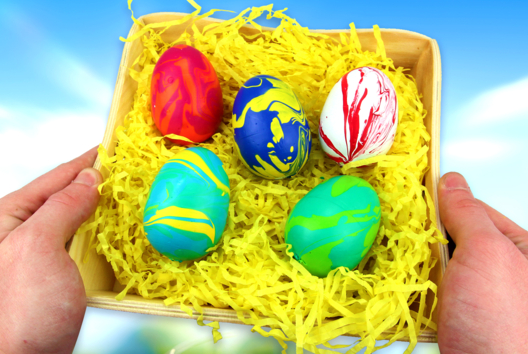
Easter Marbling Eggs (EASY)
C14586View 15607 time
-
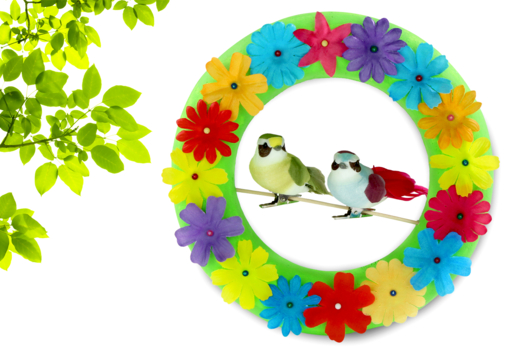
Flower Crown and Little Birds
C14580View 25549 time
Avis client
5.0/5
1 avis publié
5
100%
4
0%
3
0%
2
0%
1
0%
A faire avec les petits