Your cart is empty.
Easter Marbling Eggs (EASY)


Easter Marbling Eggs (EASY)

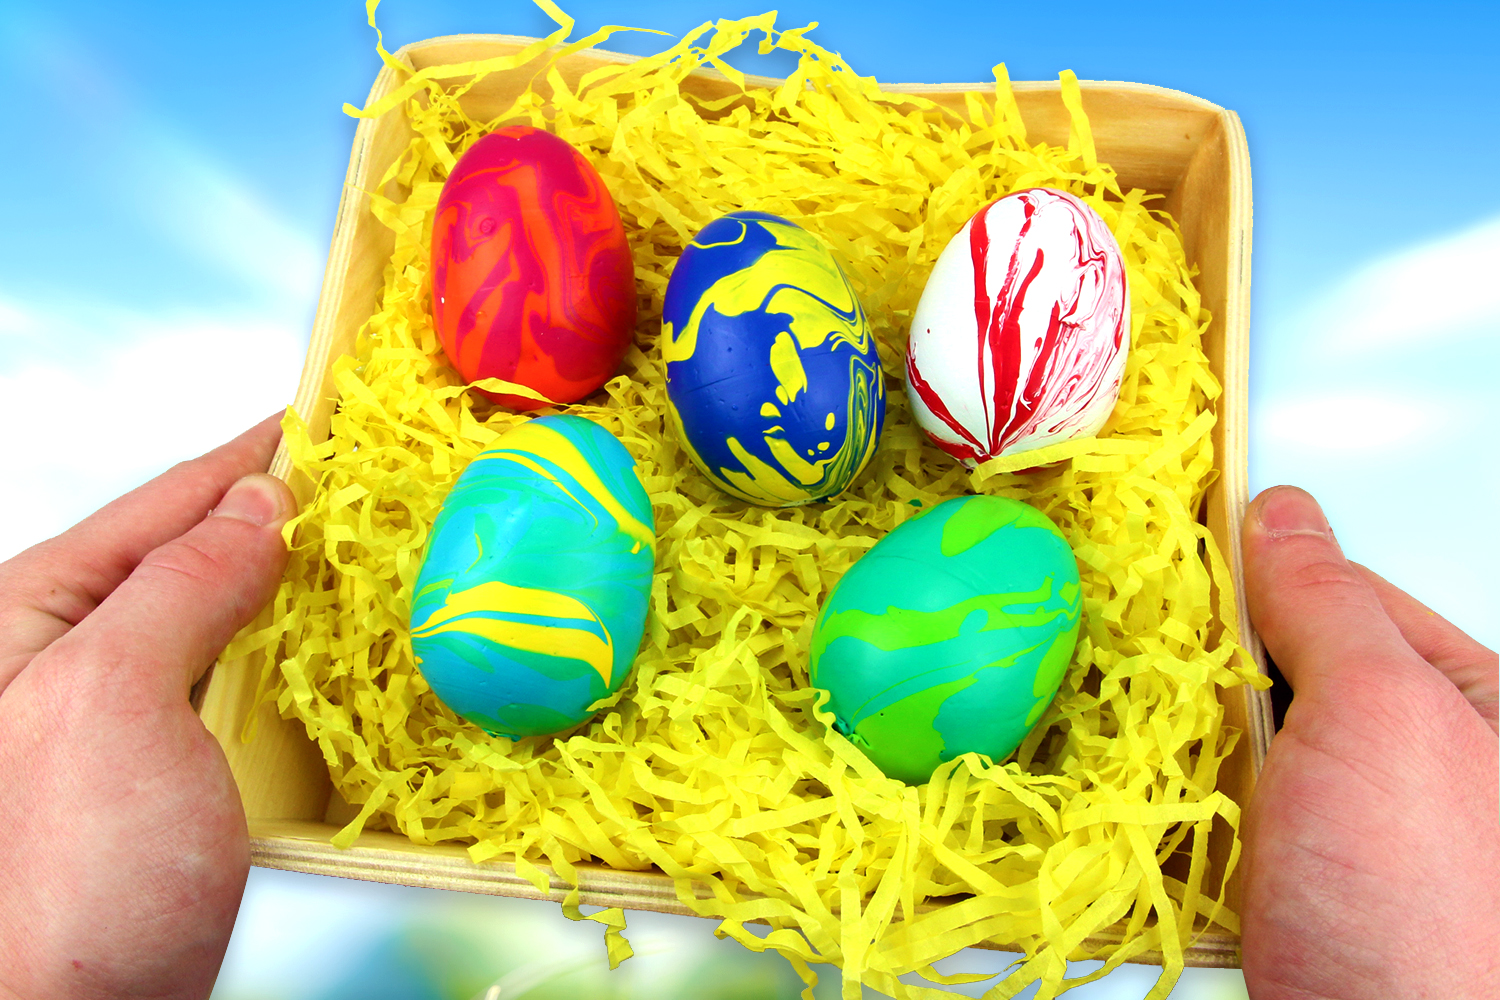
In this craft activity for Easter, discover an EASY tip to decorate Easter eggs with beautiful marbled effects!
Marbling paint is easy to use and requires no brush or water; simply pour the paint directly onto the egg.
You can then use the eggs for:
- Decorating a table
- Placing in a small basket
- Hanging in a tree
- Creating a beautiful garland
- Etc...
How to complete this tutorial step by step?
Materials:
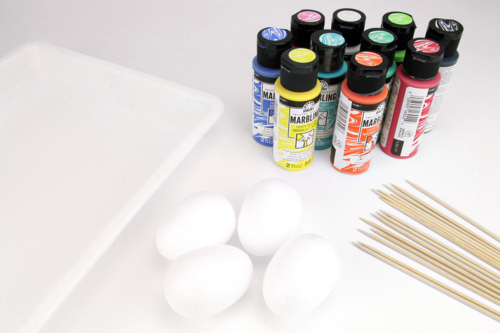
For this activity you will need:
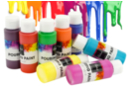
- Styrofoam eggs
- Ready-to-use Marbling paint
- Wooden skewers
- A plastic tray
Step 1:
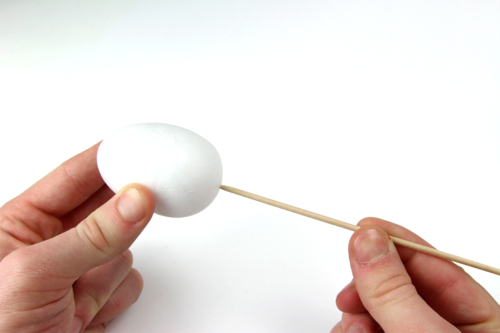
Insert a skewer into a styrofoam egg.
Step 2:
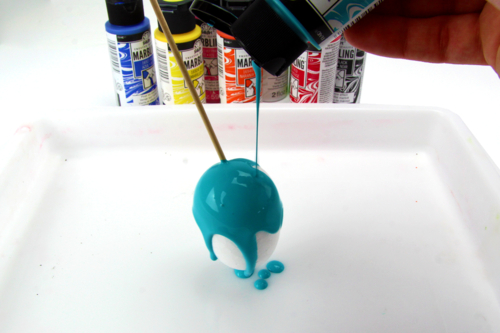
Select a first color of Marbling paint and pour it over the entire polystyrene egg on a tray to avoid making a mess.
Tip: Squeeze the paint tube very gently, in order to waste as little paint as possible when covering the egg.
Step 3:
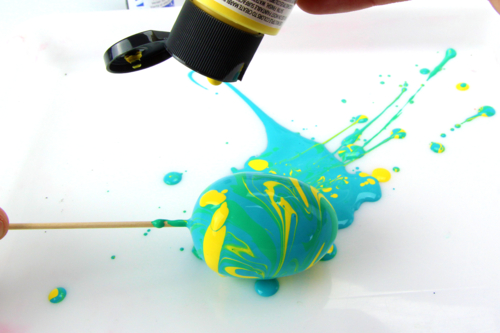
Then add touches of other colors in a few places.
Then, with the skewer, rotate your egg in all directions to "spread" the paint and create beautiful marbled effects.
Tip: use only 3 colors at most for the best results!
Step 4:
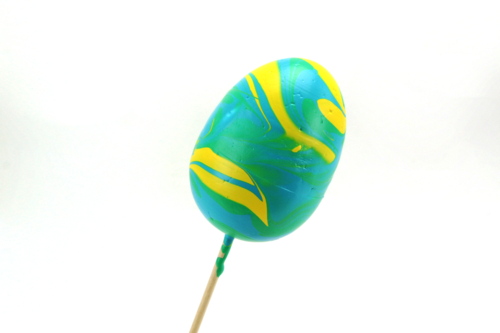
Let your eggs dry for a few hours, then remove the skewer.
The products used:
The products used:

Styrofoam Eggs 6 x 4 cm - 16 pieces
Réf. 13221 - See the full range
4,64€ (either 0,29 € / pc)
Available
Pouring Paint - 8 x 60 ml
Réf. 57354 - Product sheet
12,90€ (either 1,61 € / pc)
Permanent out of stock


3,96€ (either 0,99 € / pc)
Available
Other tutorials on the theme "Easter Tutorials"
-

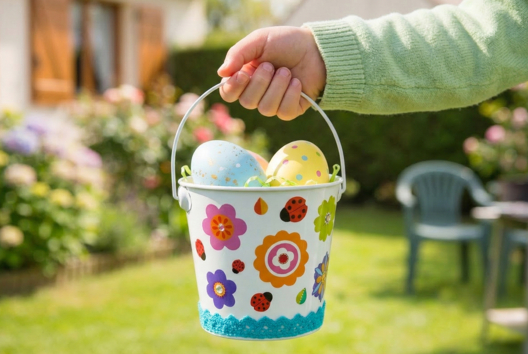
Bucket for collecting Easter eggs
C17732View 6477 time


-
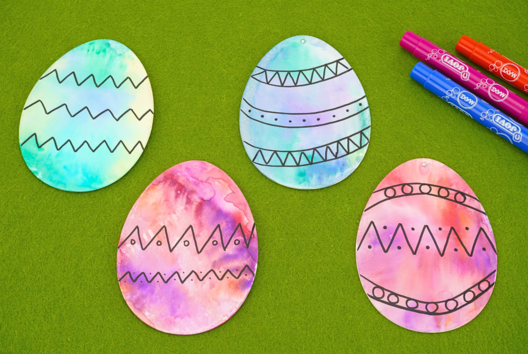

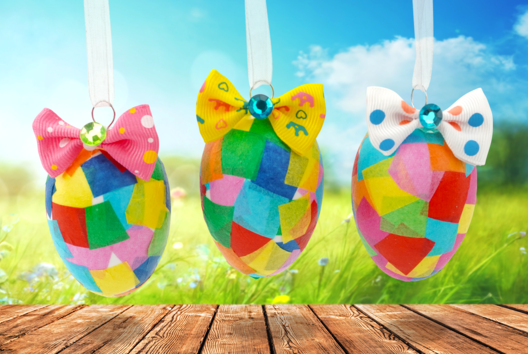
Watercolor Easter Eggs
C11103View 21130 time
-
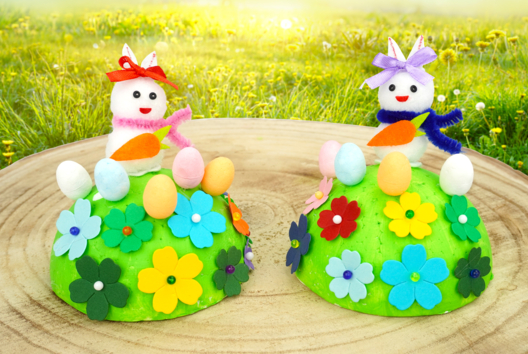
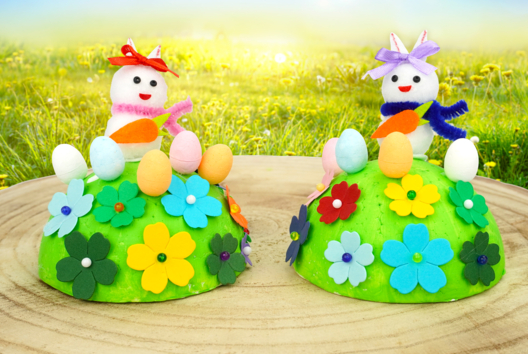
Easter Bunny Hiding His Eggs
C10623View 8102 time
-

Hanging Easter Eggs
C9243View 30152 time
-

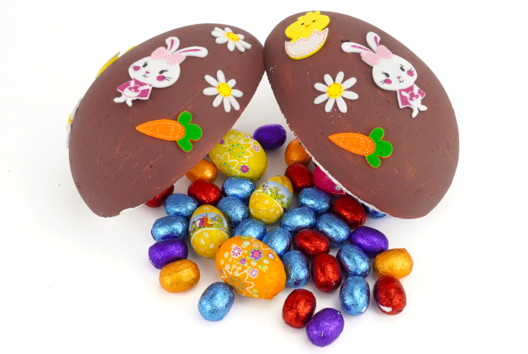
Surprise Egg Filled with Chocolates
C8381View 15826 time
-
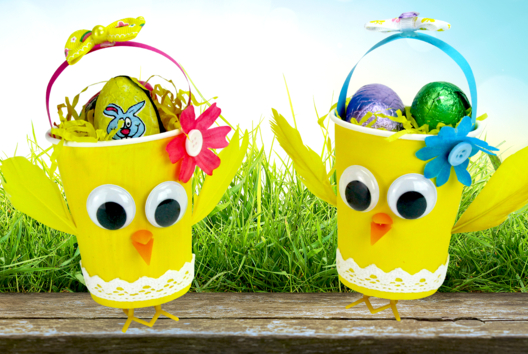
Chick Basket with a Paper Cup
C13964View 36574 time

-
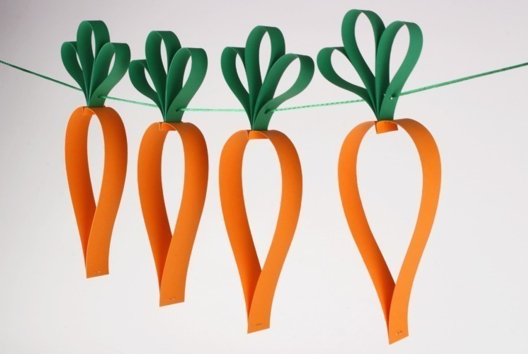
Carrot Garland
C11988View 95613 time -
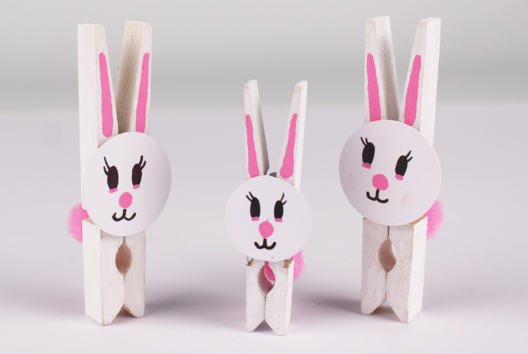
Clothespin Bunny
C11939View 46136 time -
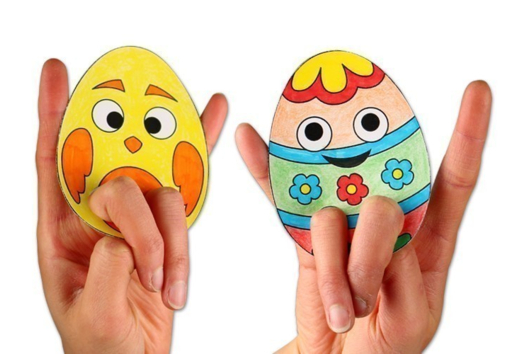
Finger Puppets - Easter
C11825View 21138 time
-
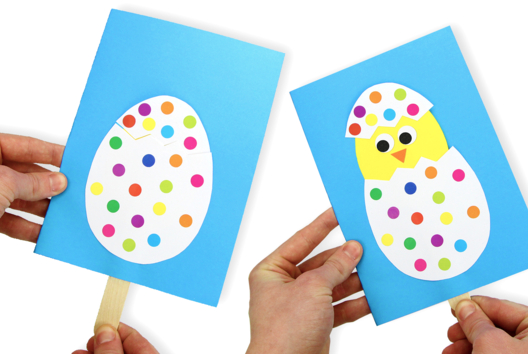
The chick hatches from its egg
C11822View 326680 time
Customer review
Give your feedback
Easter Marbling Eggs (EASY)
Be the first to share your review of this product.
Post a review