Your cart is empty.
Customizable Christmas Sleigh with a Photo
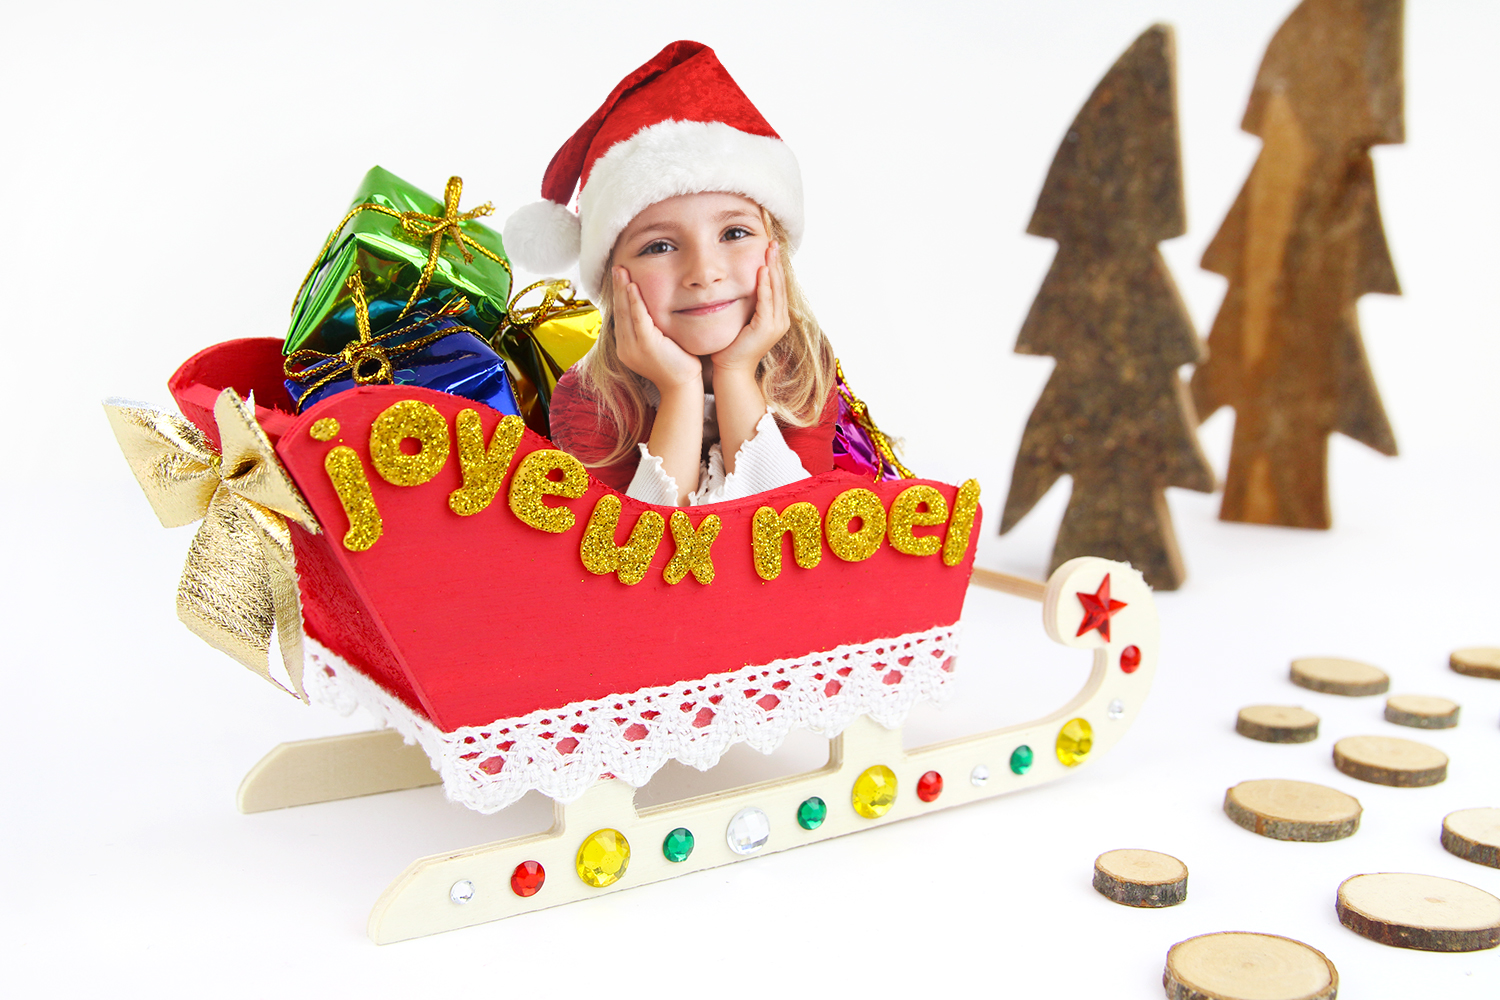
Customizable Christmas Sleigh with a Photo

Here is a new easy Christmas tutorial to create a lovely decoration for festive tables!
In this activity, we will show you how to decorate our wooden sleigh by personalizing it with a photo.
A colorful Christmas craft that will surely be a topic of conversation on New Year's Eve.
Activity to be carried out with the help of an adult. Activity to be carried out under the supervision of an adult.
How to complete this tutorial step by step?
Materials:
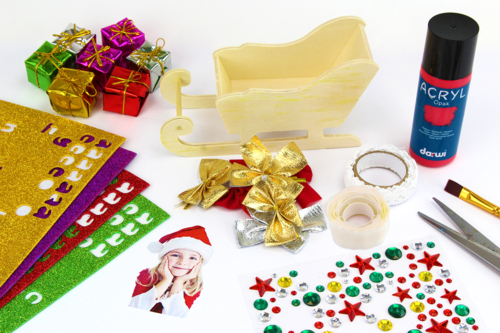
For this activity, you will need:
- A wooden sled
- A photo
- Glittery rubber adhesive letters
- Decorative gifts
- A large fabric bow
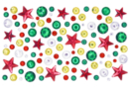
- Adhesive rhinestones
- White adhesive lace
- Red paint and a brush
- Adhesive dots
- A pair of scissors
Step 1:
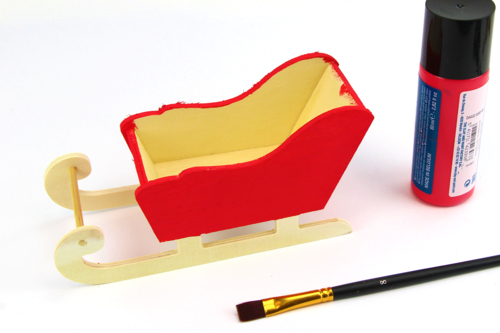
To start, paint the sled red while leaving the runners in wood color.
Then let it dry for 20 minutes.
Step 2:
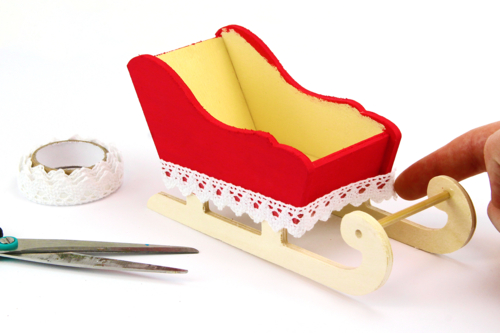
Once the paint is completely dry, stick lace tape all around the sled.
Step 3:
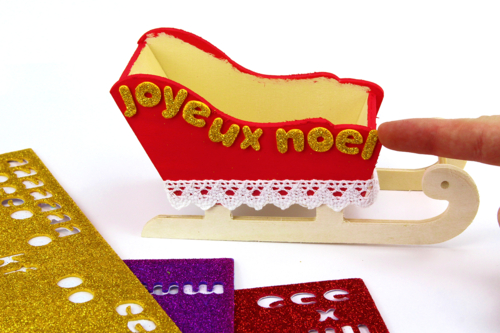
Stick rubber adhesive letters to form the word "Merry Christmas".
Step 4:
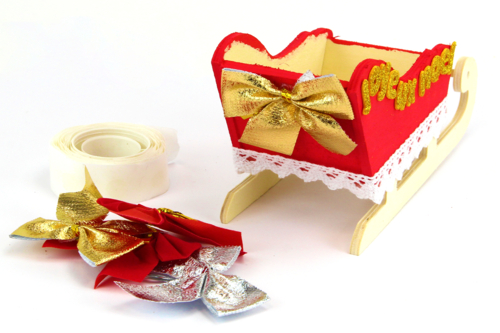
Using a sticky dot, attach a large fabric bow to the back of the sled.
Step 5:
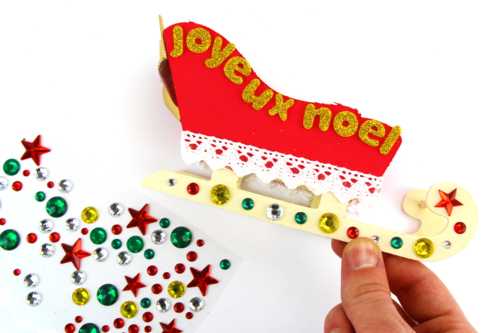
Glue Christmas rhinestones onto the skates.
Step 7:

Print a photo of the child respecting the following dimensions: 8.5 x 4.5 cm maximum.
Step 8:
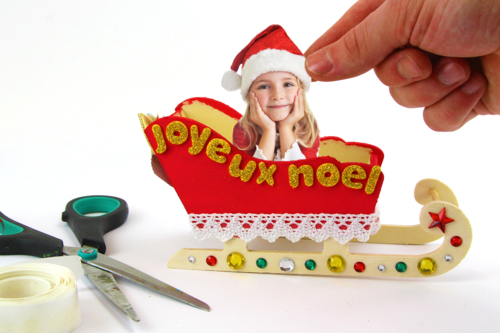
Cut out the outline of the photo and stick it inside the sled with an adhesive dot.
Step 8:
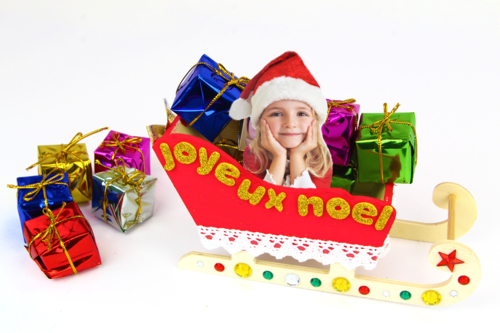
Finally, place small decorative gifts inside the sleigh.
The products used:
The products used:



3,49€
Available
2,49€
Available


2,99€ (either 1,00 € / pc)
Available

Other tutorials on the theme "Christmas Tutorials"
-
Santa's Elves
C17724View 789 time


-
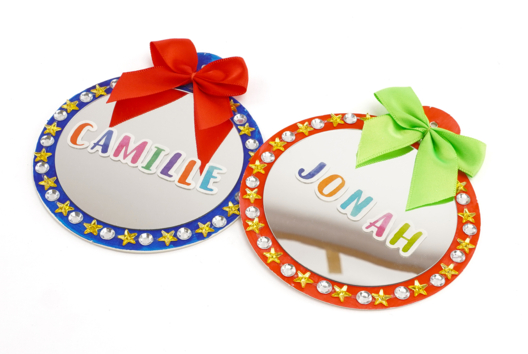
Mirror Christmas Baubles
C17723View 605 time

-
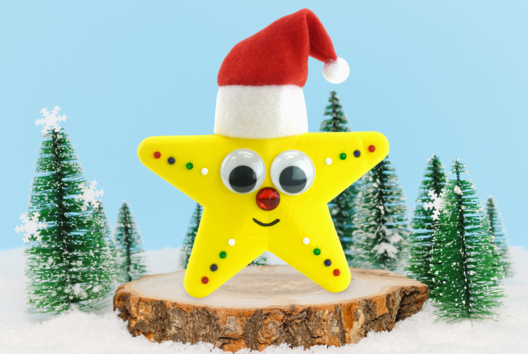
Funny Christmas Star
C15447View 18908 time
-
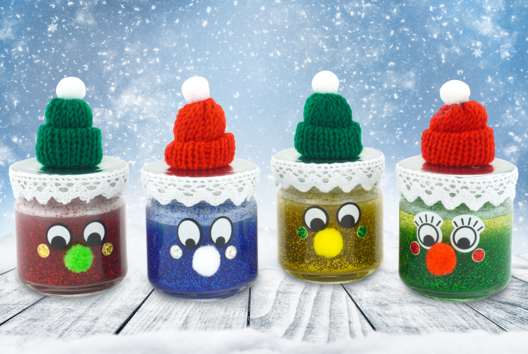
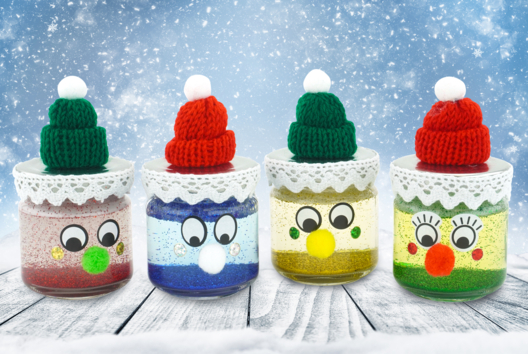
Christmas Characters Filled with Glitter
C15443View 53188 time
-
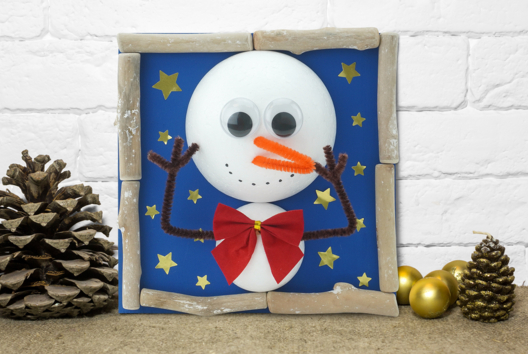
Snowman Painting
C15426View 14695 time
-
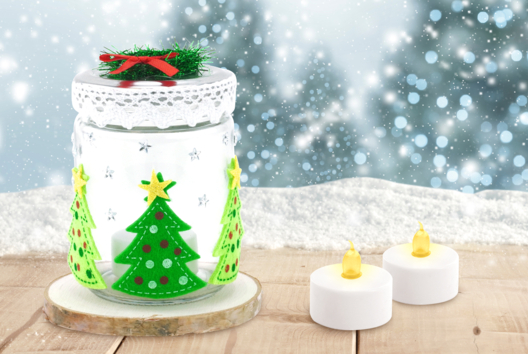
Christmas Lantern
C15425View 45501 time


It deserves 5 stars, all are of good quality
Il mérite 5 étoiles, tous sont de bonne qualité