Your cart is empty.
Drawing: Creating Contrasts
Drawing: Creating Contrasts
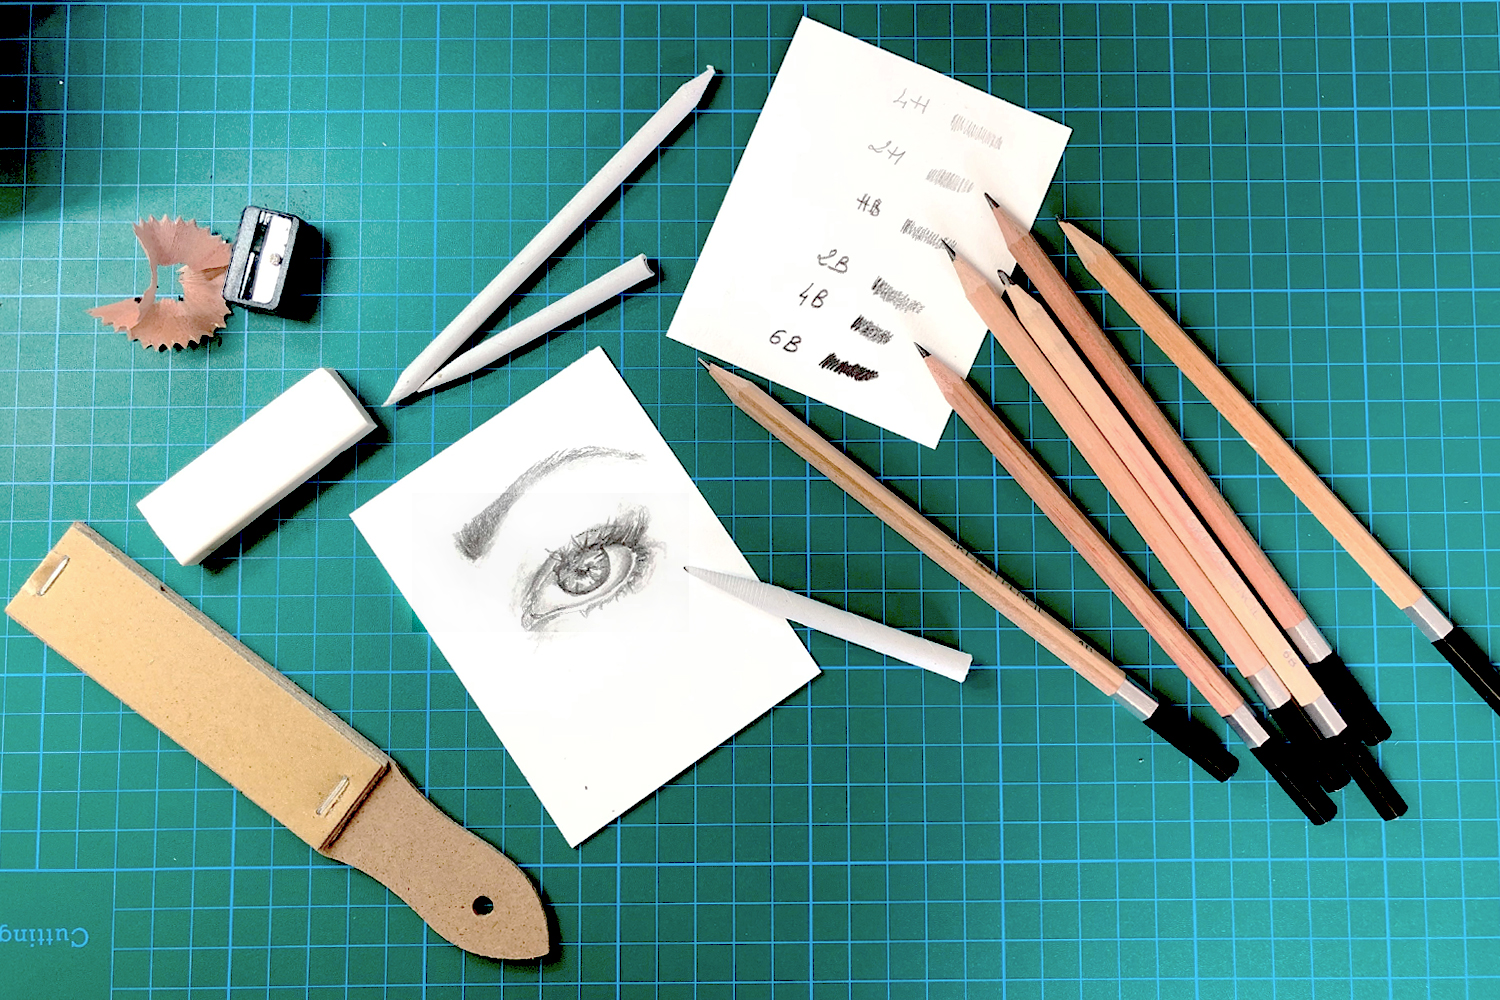
Here is a small step-by-step guide to discover how to use soft grey pencils and blending tools to give your drawings contrast and depth.
Example shown here is a drawing of an eye, which can be applied to all your drawings!
Thèmes de l'idéa créa :
#Drawing Tutorials
How to complete this tutorial step by step?
Making the Sketch
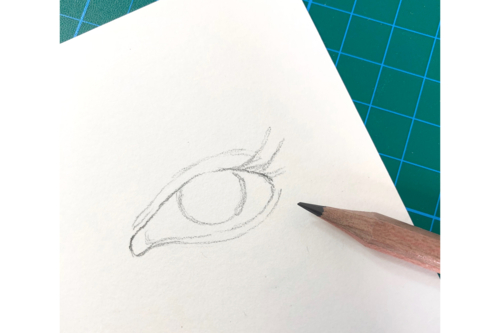
Prepare your drawing by sketching the whole eye to properly assess the proportions. Use a light pencil (4H, 2H, or HB). These pencils are easily erasable if there is a mistake. This way, you can place your markers without fear of making errors.
Enrich the drawing
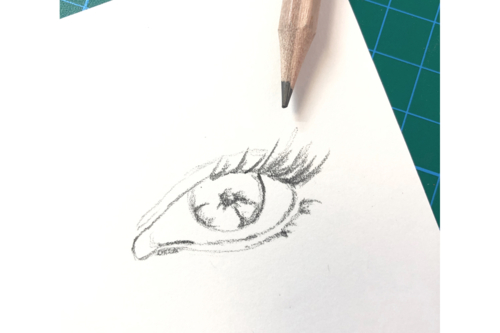
The outlines are laid out, now with a slightly thicker pencil (2B) you can enrich the drawing, here draw the eyelashes, the pupil..
Create the contrasts
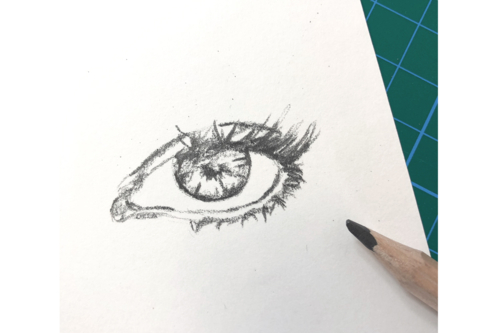
Using a soft pencil (4B or 6B), we will press the lines in shadow areas to darken those parts of the drawing. Here, under the upper eyelid, as well as the inside of the eye.
Creating Shadows
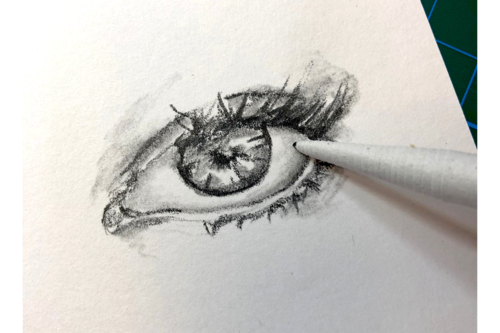
Using a blending stump, we color in shadow areas. Blending stumps are small pencils made of absorbent paper, allowing you to blend the previously applied oil pastel and spread the gray slightly to create gradients. There’s no need to overdo it; we blend the gray, and quickly the effects of volume are created.
To preserve your drawing for a long time, we recommend using a fixative at the end.
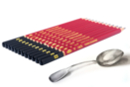
The products used:
The products used:

Other tutorials on the theme "Drawing Tutorials"
-
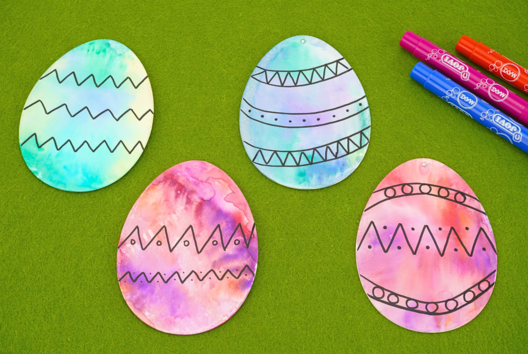

Watercolor Easter Eggs
C11103View 20769 time


-
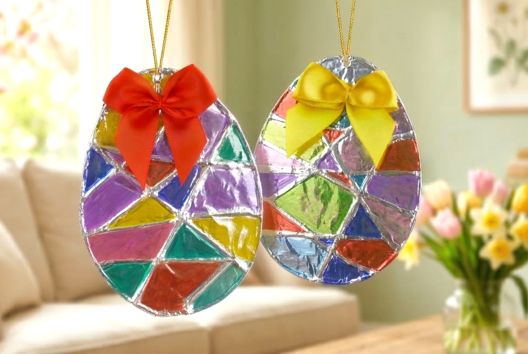
Easter Eggs with Aluminum Foil (Foil Art)
C17718View 11759 time
-
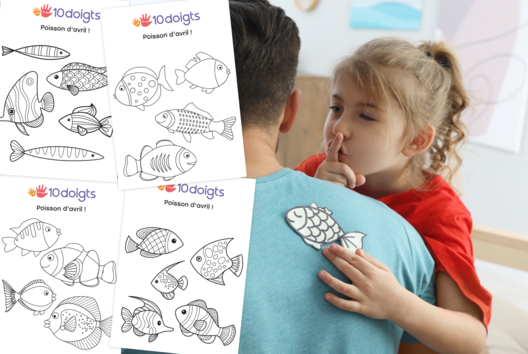
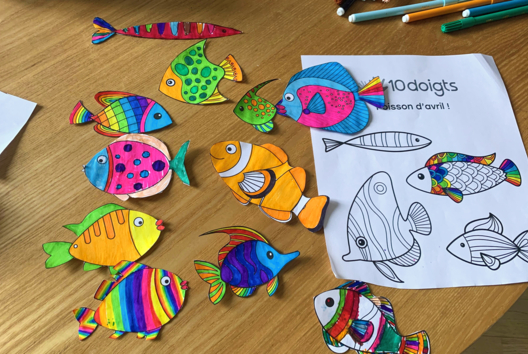
Printable and Colorable April Fools' Fish
C15156View 213316 time
-

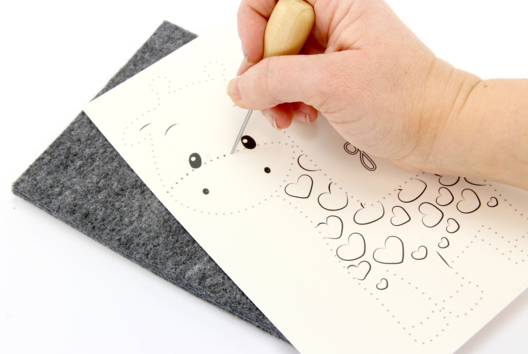
Punched Giraffe
C11276View 12380 time


-
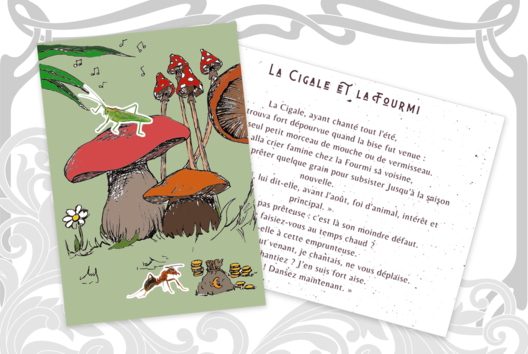
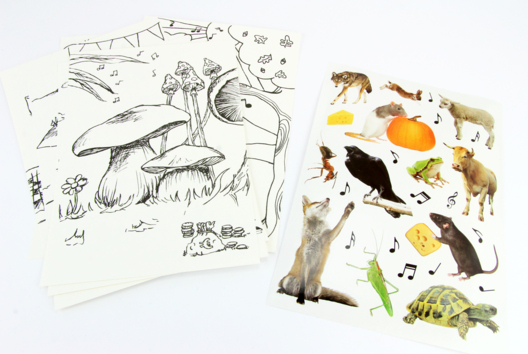
Fables of La Fontaine Cards
C8310View 10358 time -
Drawing with Oil Pastels
C13074View 52700 time
Customer review
Give your feedback
Drawing: Creating Contrasts
Be the first to share your review of this product.
Post a review