Your cart is empty.
Easter Paper Chicken

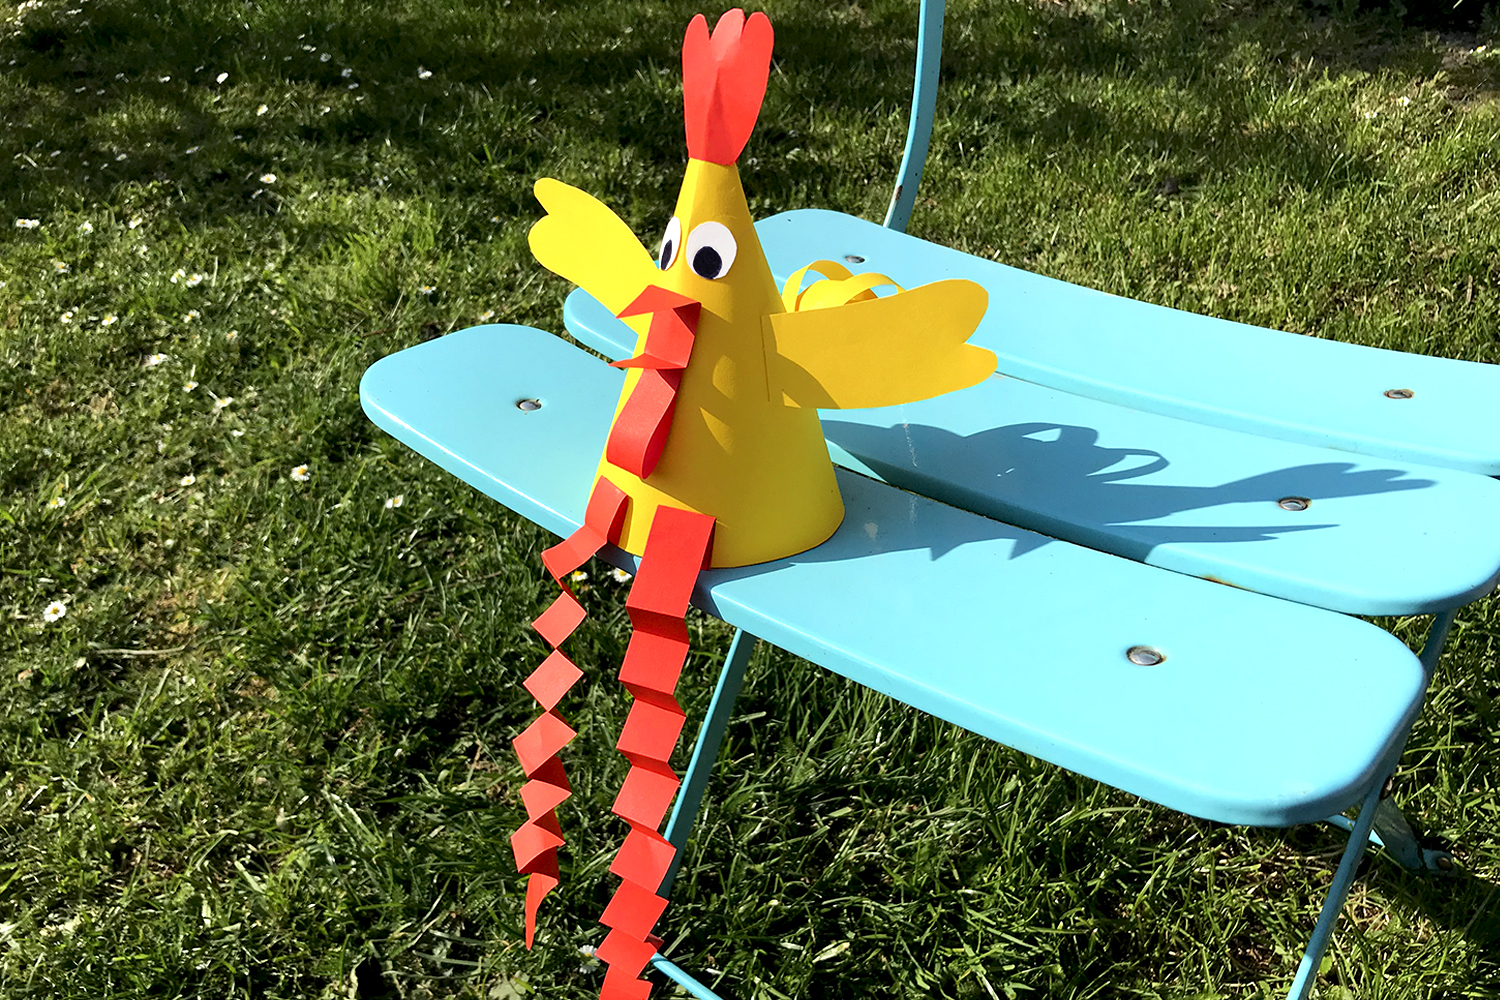


Easter Paper Chicken
Discover our new tutorial to easily create this little Easter chicken made of paper.
This craft includes cutting, folding, and gluing ! A great hiding spot for Easter eggs.
We have even prepared a free printable template to make this craft even easier (click on "Technical sheet" below the main photo) !
How to complete this tutorial step by step?
Materials:
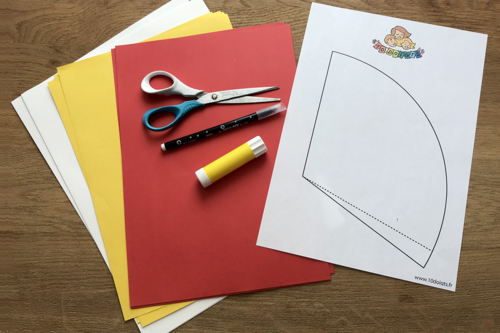
To make a chicken you need:
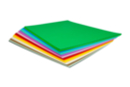
- colored A4 paper sheets (orange, green, and white)
- a pair of scissors
- a glue stick
- a black marker
Étape 1 :
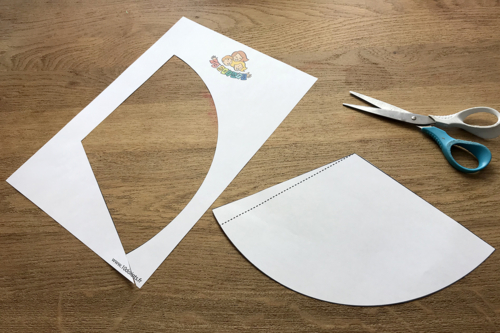
Print our template to easily create a cone by clicking on "Technical sheet" below the main photo at the top of this page.
Then cut out the shape.
Step 2:
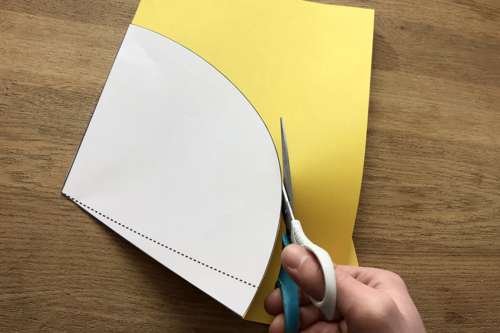
Overlay the cone template on a sheet of yellow paper and then cut out.
Step 3:
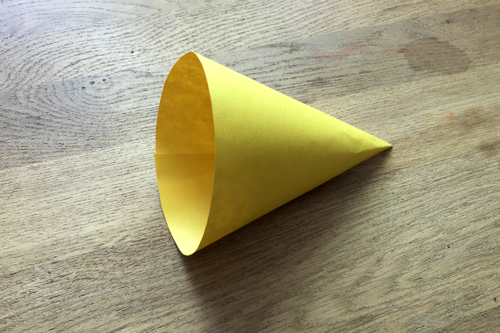
Roll the cone shape and glue it using the designated tab for this purpose.
Step 4:
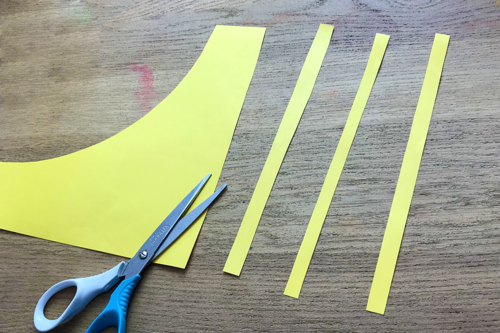
From the yellow sheet of paper, cut three strips of 21 cm (width of the sheet) x 1 cm.
Step 5:
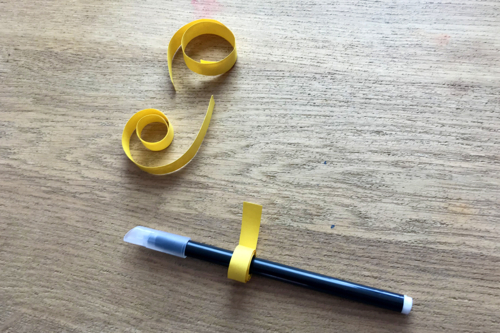
Wrap the three strips of paper around a marker.
Step 6:
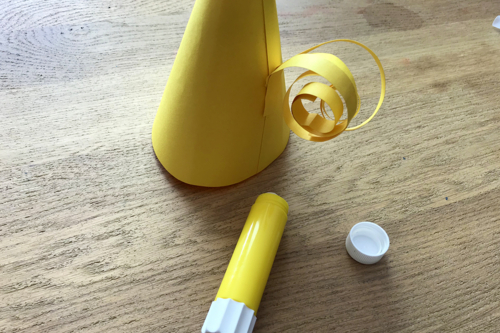
Glue the three strips of paper together at one end.
Then glue the whole thing to the back of the cone.
Step 7:
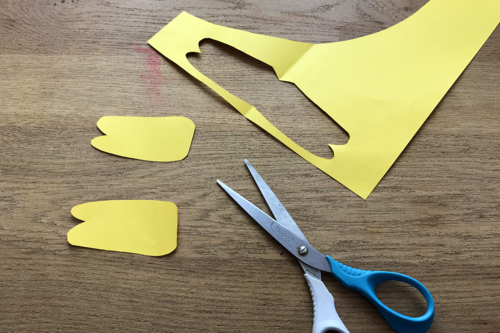
Cut out two wings of approximately 8 cm x 3.5 cm from the yellow paper.
Step 8 :
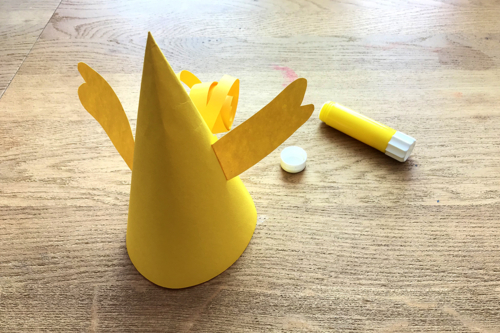
Fold the base of the wings and glue them to the cone.
Step 9:
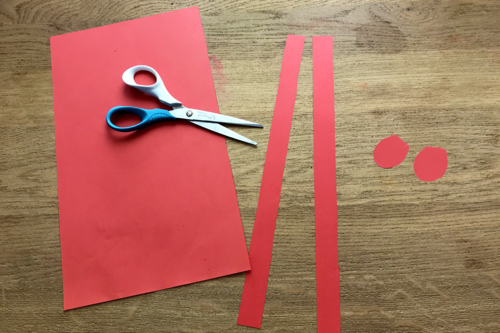
In a red sheet of paper:
Cut out two strips of 29.7 cm (length of the sheet) x 2 cm and two circles.
Step 10 :

Fold the strips of paper into an accordion shape and glue the circles on top.
Then glue the two flaps to the base of the cone.
Step 11 :
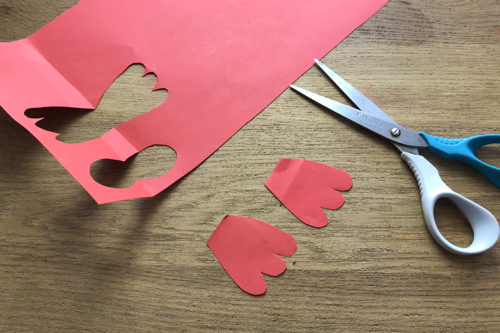
Fold the red sheet of paper to cut out two identical crest shapes.
Step 12:
Glue the two peaks on each side of the top of the cone by overlapping them.
Step 13:
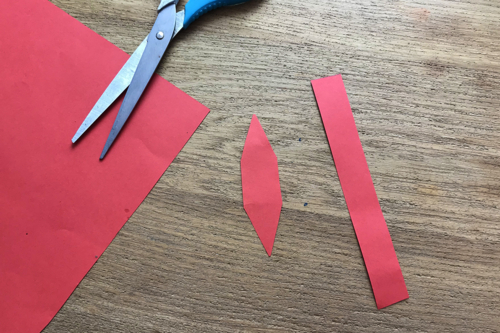
Cut two strips of paper from the red paper sheet:
- One measuring 12 cm x 1.5 cm
- One measuring 7.5 cm x 1.5 cm, then cut both ends into a point.
Step 14:
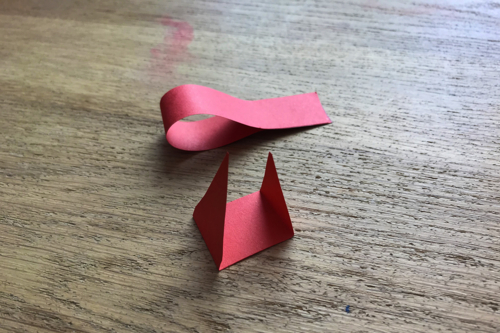
- Fold the tips of the smallest strip.
- Glue the two ends of the largest strip without flattening the "loop" (see the photo).
Step 15:

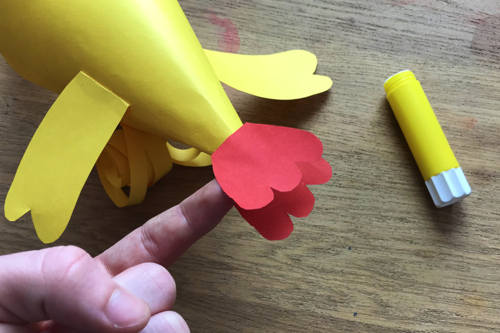
Glue these 2 shapes together and then glue everything onto the cone.
Step 16:
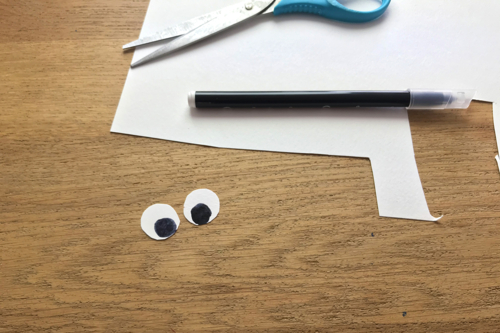
Cut out two circles with a diameter of 2.5 cm from a sheet of white paper.
Color the pupils with a black marker.
Step 17:
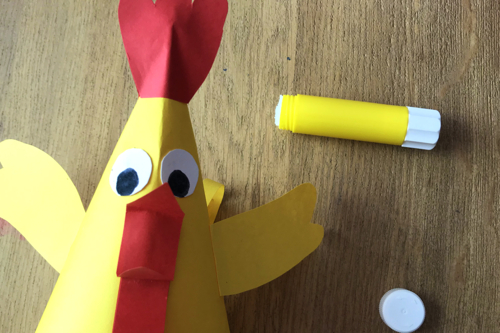
Glue the eyes onto the cone.
The products used:
The products used:
26,99€ (either 0,11 € / pc)
Available


Other tutorials on the theme "Easter Tutorials"
-

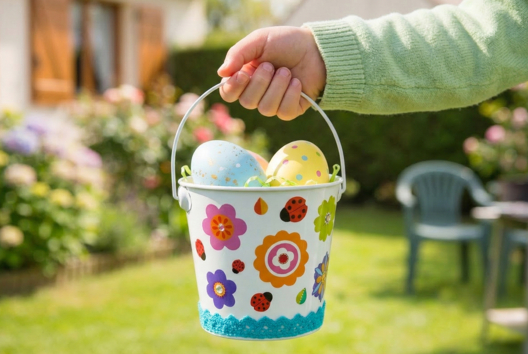
Bucket for collecting Easter eggs
C17732View 6477 time


-
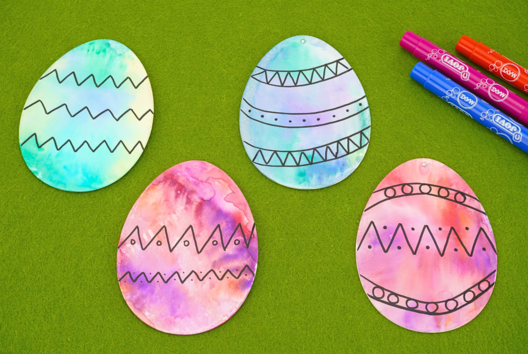

Watercolor Easter Eggs
C11103View 21131 time
-
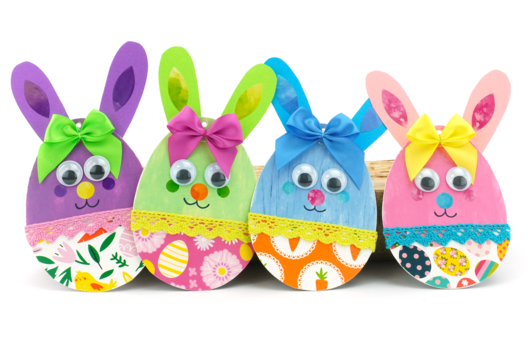
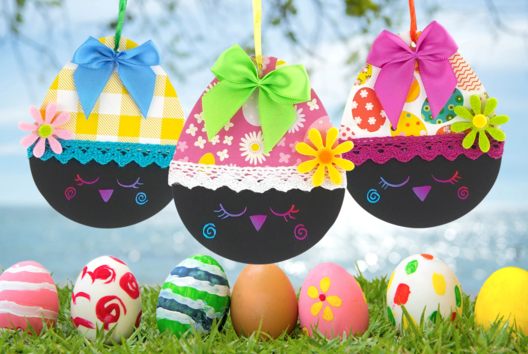
Colorful Easter Bunnies
C11245View 94190 time
-
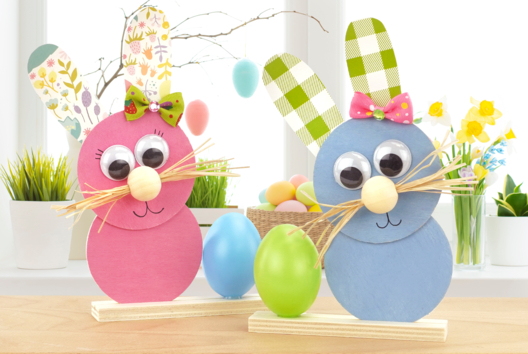
Easter Bunnies
C9527View 24856 time

-

Little Sleepy Chicks
C10824View 13903 time
-
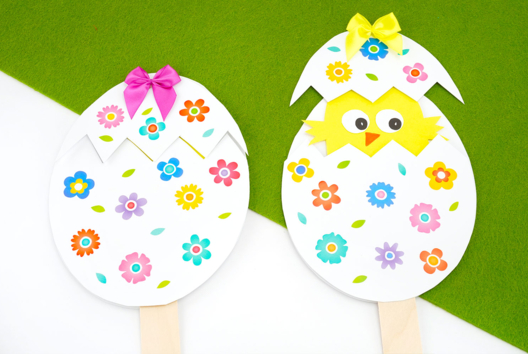
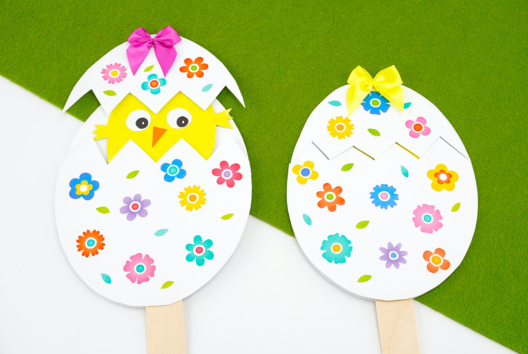
Chick Emerging from Its Shell
C10883View 79719 time
-
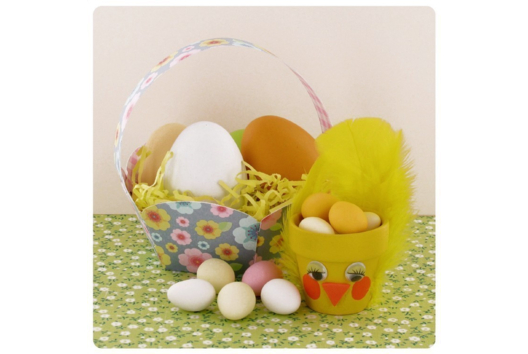
Chick with Terracotta Pot
C11315View 11435 time
-
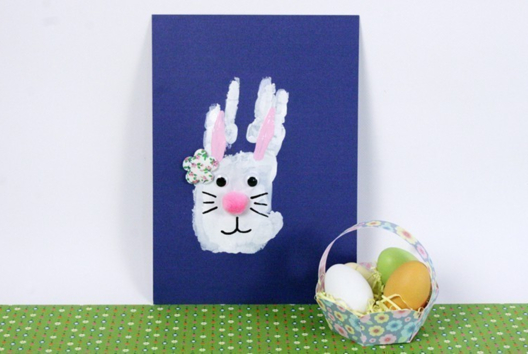
Easter Handprint Bunny
C11314View 30854 time -
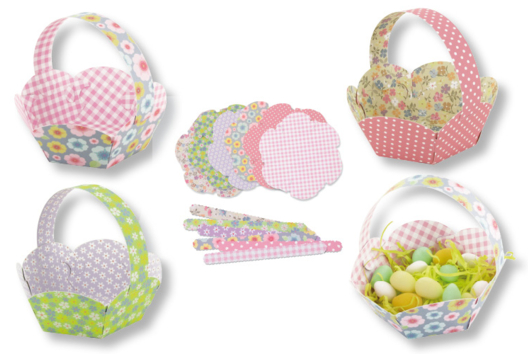
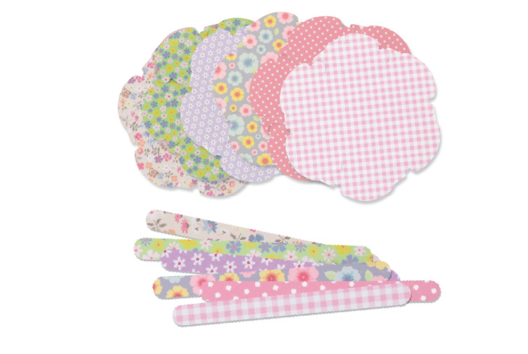
Floral Baskets
C11243View 13375 time -
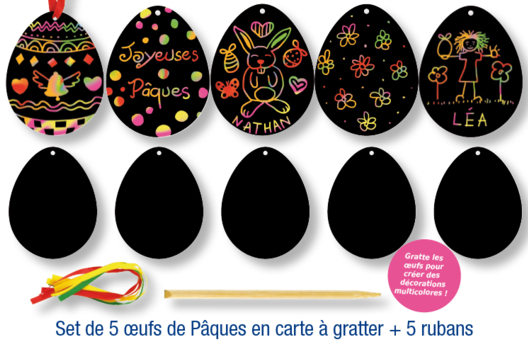
Scratch-off Easter Eggs
C10870View 9053 time
Avis client
4.0/5
1 avis publié
5
0%
4
100%
3
0%
2
0%
1
0%
Facile et TB rendu