Your cart is empty.
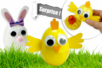
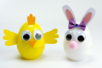
Easter Surprise Eggs: Chick and Bunny


Easter Surprise Eggs: Chick and Bunny
Discover an easy and fun Easter activity that involves transforming plastic eggs into chicks or bunnies.
Once decorated, children can open the eggs in half to hide lovely surprises inside (candies, chocolates, small toys...) !
How to complete this tutorial step by step?
Materials
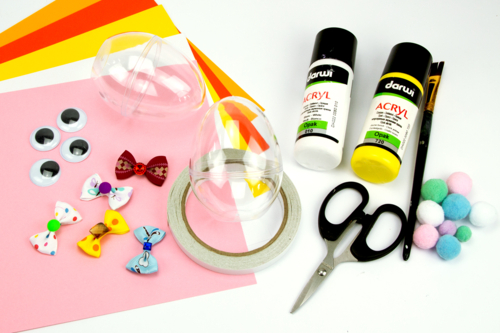
To make a chick and a bunny you will need:
- 2 transparent plastic eggs
- yellow and white acrylic paint
- a paintbrush
- colored cardstock (yellow, orange, white, pink)
- 4 googly eyes Ø 2.5 cm
- a colored pompom
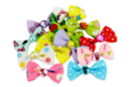
- a fabric bow
- double-sided tape
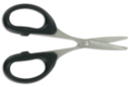
- a pair of scissors
Step 1
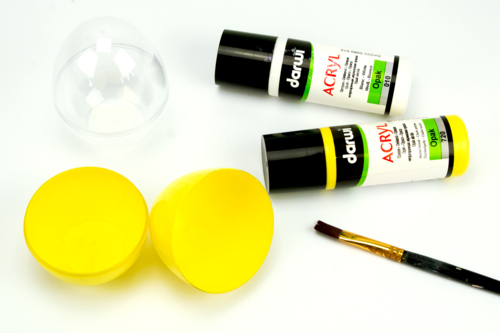
Paint the inside of a plastic egg with yellow acrylic paint and let it dry for about 40 minutes.
If necessary, apply a second coat of paint.
Step 2
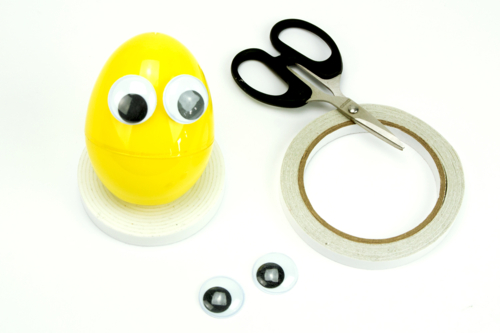
Close the plastic egg and then stick 2 wiggle eyes Ø 2.5 cm with double-sided adhesive tape.
Step 3
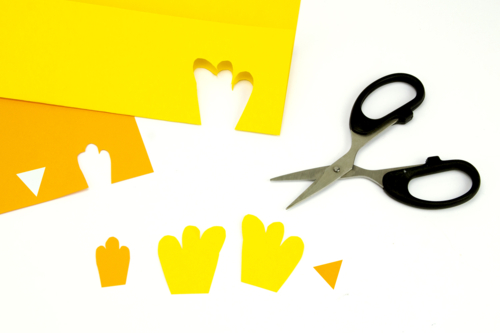
Cut out the chick's wings, a "crest", and a beak from sturdy cardstock.
Step 4
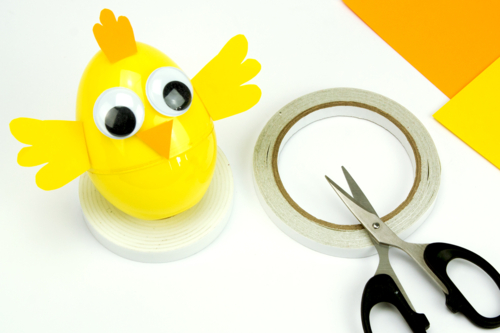
Stick the paper elements onto the egg using double-sided adhesive tape.
Step 5
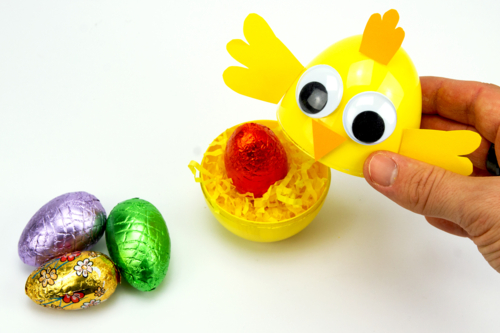
Now all that’s left is to hide treats inside the egg!
Step 6
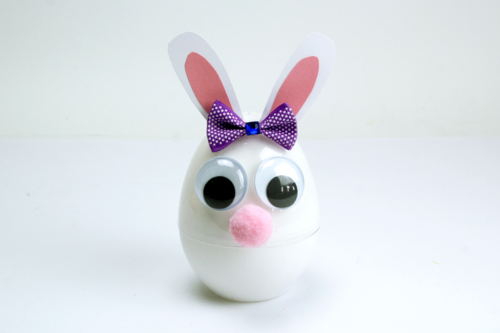
To make the bunny:
- Paint the inside of an egg with white paint and let it dry for about 40 minutes.
- Cut out 2 ears from thick card.
- Stick the ears, eyes, a pom-pom, and a small fabric bow with double-sided tape.
The products used:
The products used:
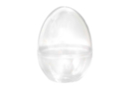
Transparent Surprise Eggs - 5 Pieces
Réf. 57320 - Product sheet
5,95€ (either 1,19 € / pc)
Available


2,99€ (either 1,00 € / pc)
Available

8,49€ (either 0,34 € / pc)
Available


Other tutorials on the theme "Easter Tutorials"
-

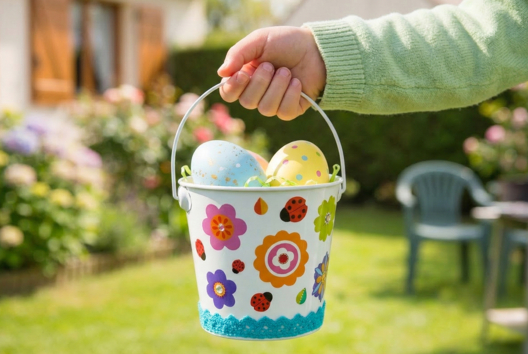
Bucket for collecting Easter eggs
C17732View 6471 time


-
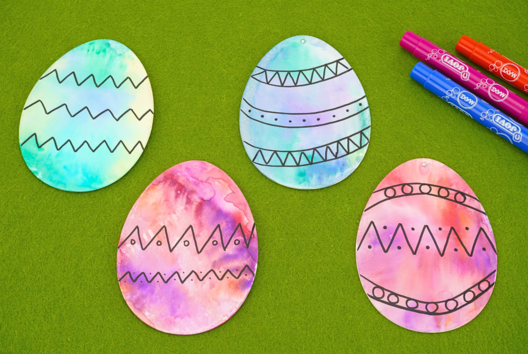

Watercolor Easter Eggs
C11103View 21123 time
-
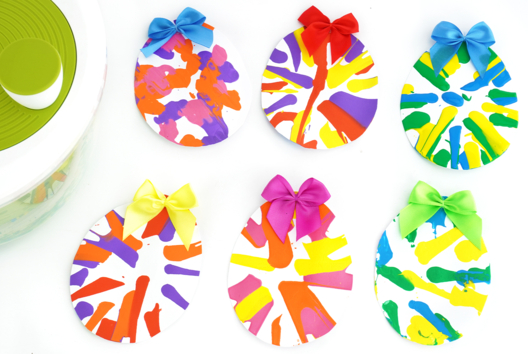
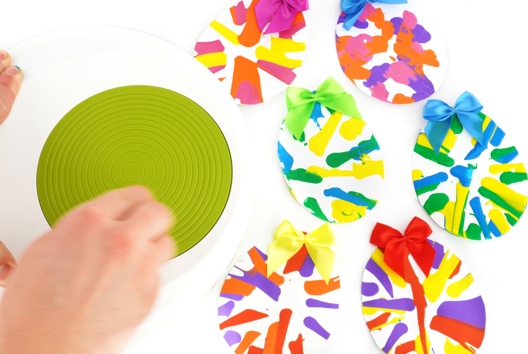
Salad Spinner Painting - Easter Eggs
C11246View 14452 time -
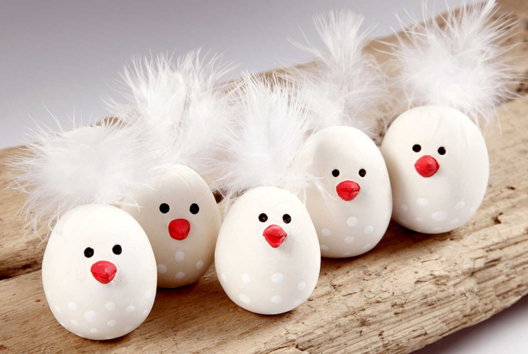
Round Modeling Chicks
C11184View 15799 time

-
Jumping Rabbits
C11113View 25563 time -
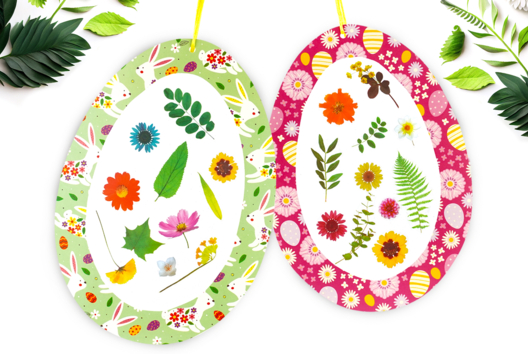
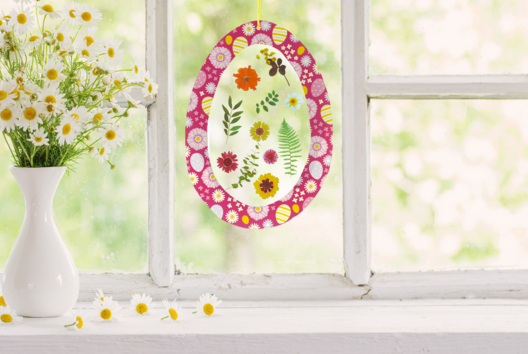
Easter Egg "dried flowers"
C13168View 22896 time
Avis client
5.0/5
2 avis publiés
5
100%
4
0%
3
0%
2
0%
1
0%
Customer review
5 étoiles
J'adore
J'adore