Your cart is empty.
Easy Paper Bat to Make


Easy Paper Bat to Make
Today, discover a simple trick that will allow children to easily create adorable paper bats for Halloween !
Thèmes de l'idéa créa :
#Halloween Tutorials
#I Make Bats
#Animal Tutorials
#Glue and Fold Tutorials
How to complete this tutorial step by step?
Materials
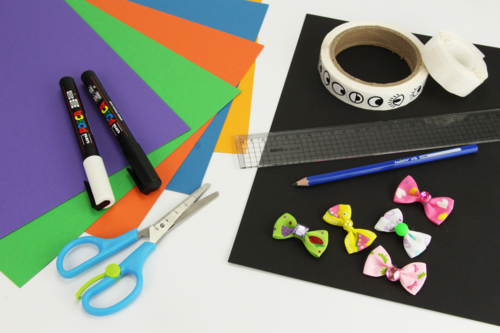
To make some nice paper bats, you will need:
- colored cardstock 25 x 35 cm (300gr/m²)
- black cardstock (300 gr/m²)
- self-adhesive eyes
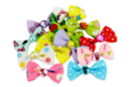
- fabric bows
- POSCA markers (black and white)
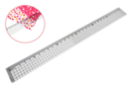
- a ruler and a pencil
- a pair of scissors
- a stick of white glue
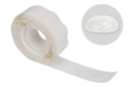
- glue dots
Step 1
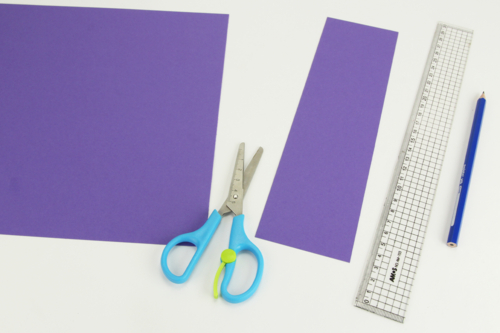
Cut a strip of 25 cm x 7 cm from a colored heavyweight cardstock.
Step 2
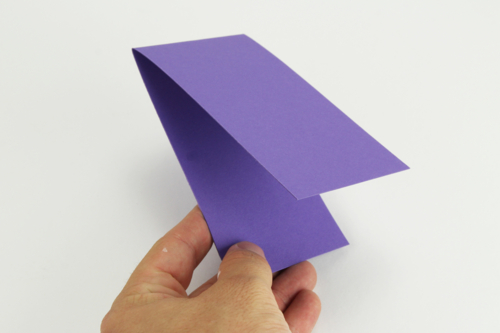
Fold the strip of paper in half.
Step 3
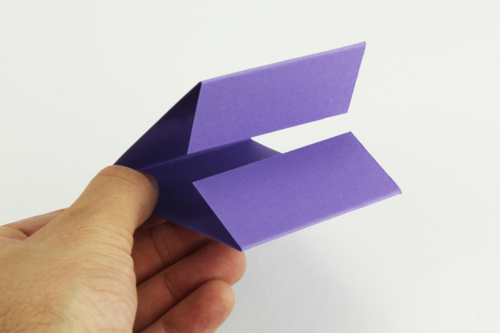
Fold the 2 ends over 3 cm and then tuck them inward.
Step 4
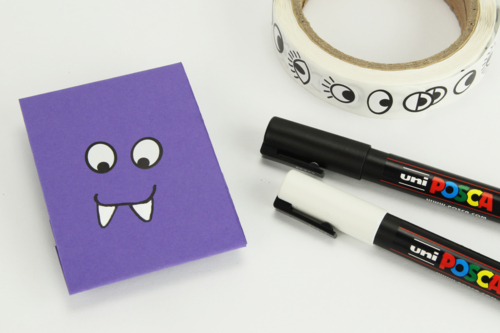
Draw the mouth and teeth of the bat using black and white POSCA markers. Then stick on 2 funny eyes.
Step 5
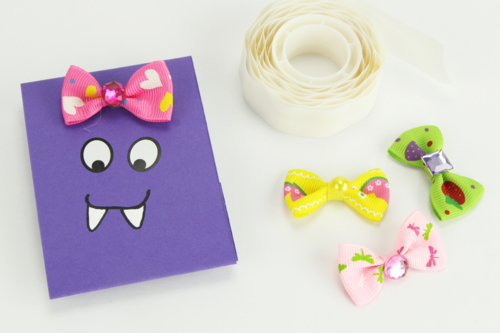
For the cute side, glue a colored fabric bow using a gel adhesive dot.
Step 6
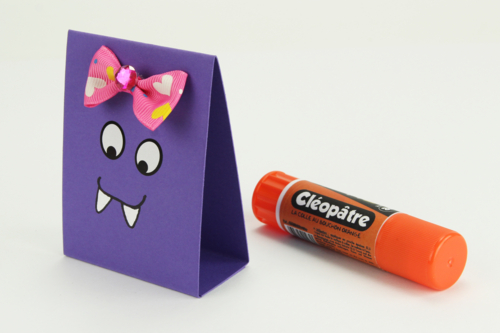
Glue the ends together so that you can keep the bat upright.
Step 7
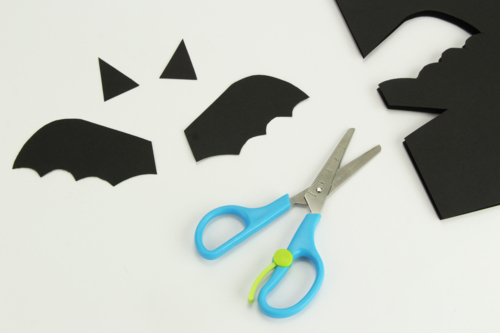
Cut out the wings and ears of the bat from a sturdy black cardstock.
TIP: download and print our wing template by clicking on "Technical sheet" below the main photo at the top of this page.
Step 8
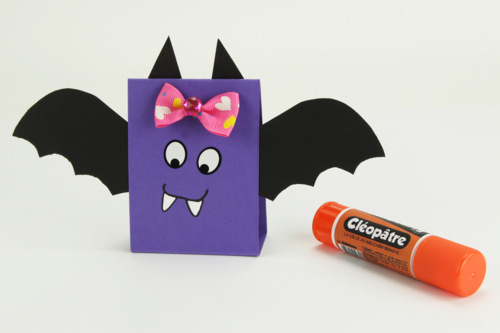
Glue the wings and ears using a glue stick to complete your creation!
The products used:
The products used:

13,99€ (either 0,28 € / pc)
Available

3,59€ (either 0,36 € / pc)
Available


19,99€ (either 5,00 € / pc)
Available

2,78€ (either 0,93 € / pc)
Available

Other tutorials on the theme "Halloween Tutorials"
-
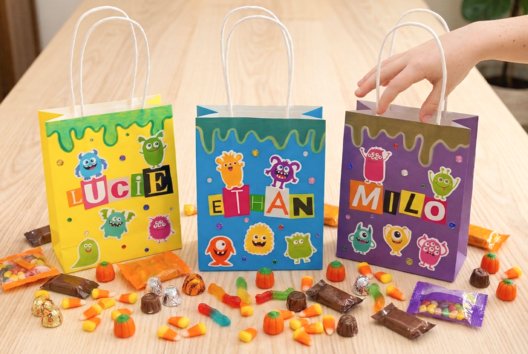

The monstrous candy bags
C17716View 623 time


-
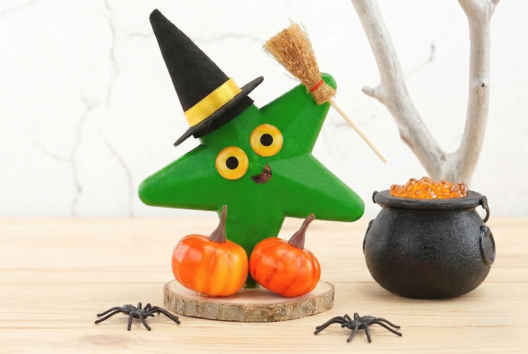
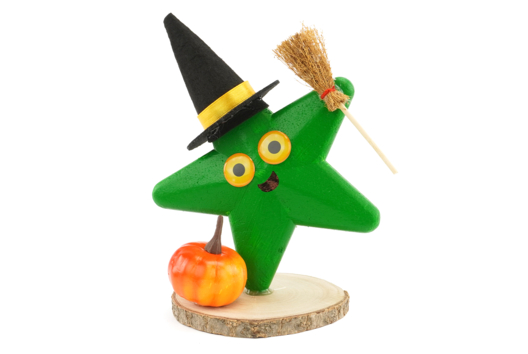
The Starry Witch
C17714View 620 time

-
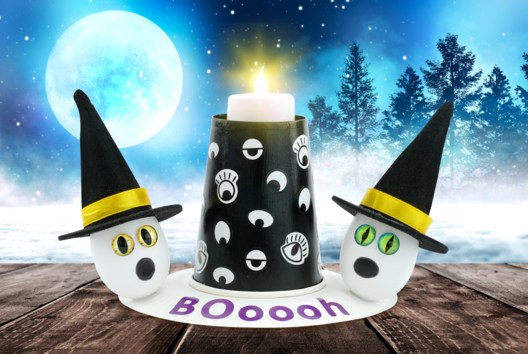
Lighted Dungeon and Little Wizards
C15739View 23250 time
-
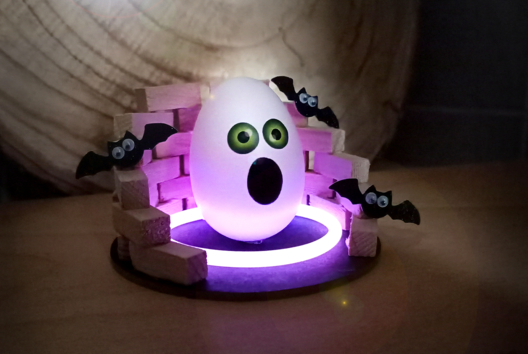
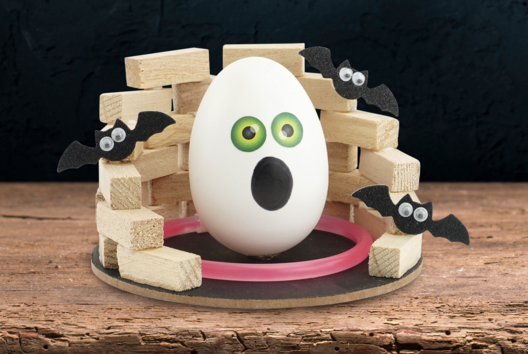
The Ruin Ghost
C11079View 21863 time
-
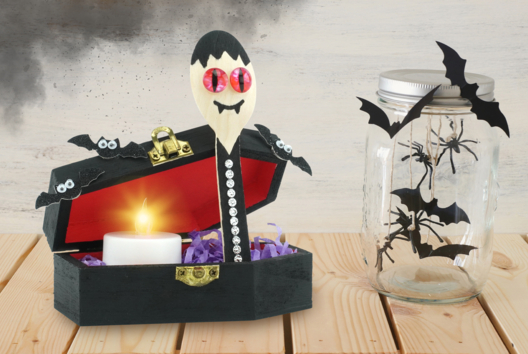
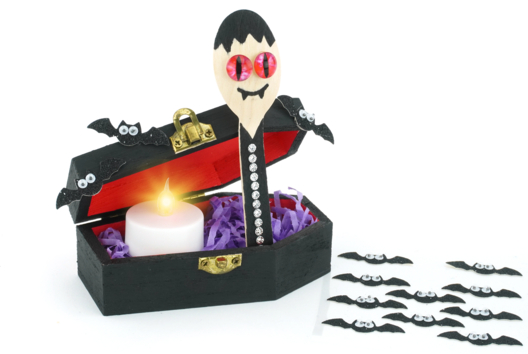
Vladimir the Little Vampire
C15741View 13016 time -

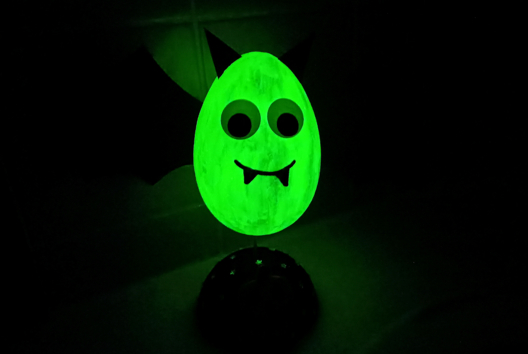
Glow-in-the-Dark Bat
C15740View 15759 time -
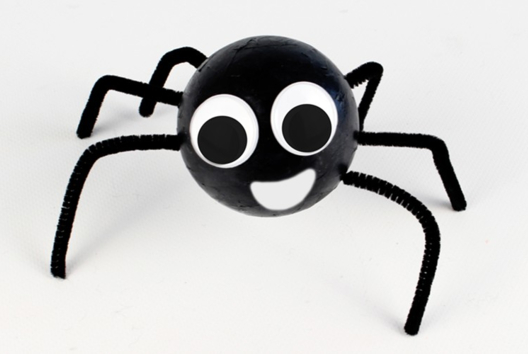
Halloween Spider
C11343View 50902 time -
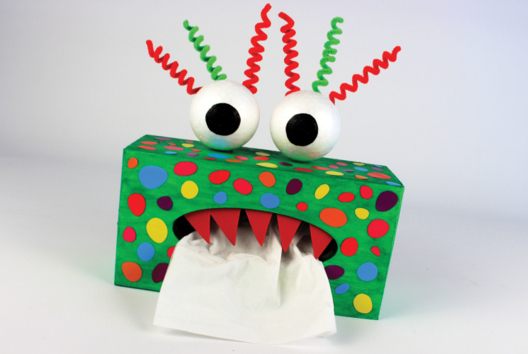
Funny Monster Tissue Box
C11342View 65881 time
-
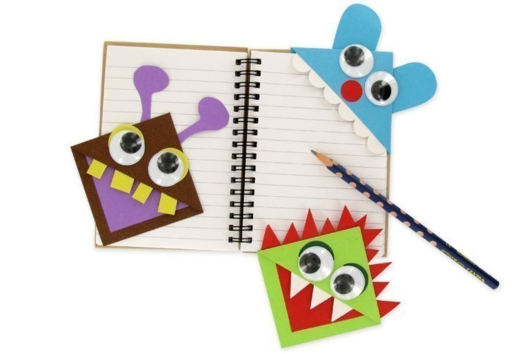
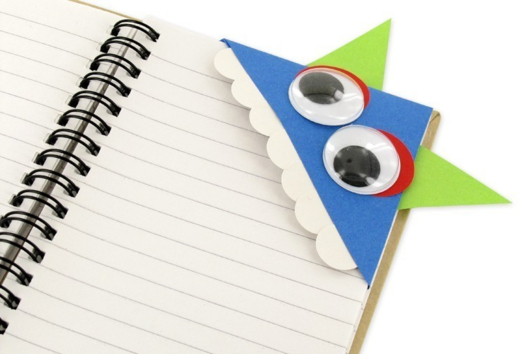
Little Monsters Bookmark
C11341View 224838 time
Avis client
5.0/5
1 avis publié
5
100%
4
0%
3
0%
2
0%
1
0%
Customer review
facile
Très simple pour les plus petits et très rigolo