Your cart is empty.
Funny Pumpkin Lantern
Funny Pumpkin Lantern

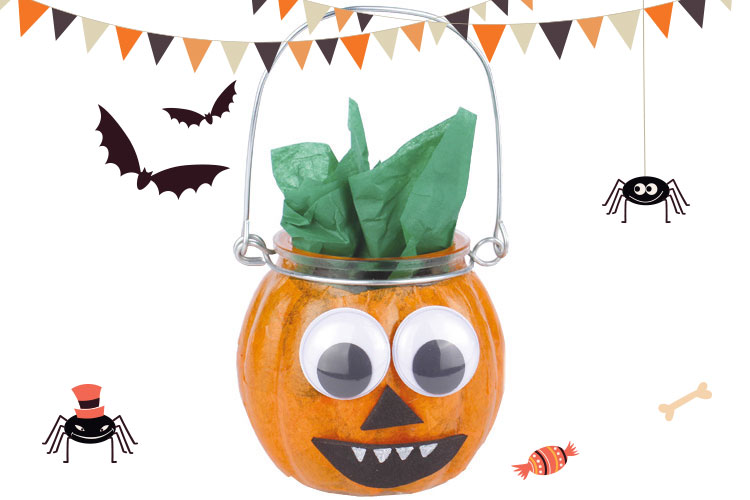
Create a fun decoration for Halloween with this lantern transformed into a pumpkin. A tissue paper collaging activity, easy to do from age 6.
Thèmes de l'idéa créa :
#Halloween Tutorials
How to complete this tutorial step by step?
Materials
To create a decorated pumpkin, you will need:
- a glass pumpkin lantern
- orange and green tissue paper
- glue varnish and a wide brush
- 2 movable eyes Ø 2.5 cm
- strong white glue
- a sheet of black self-adhesive flexible rubber
- a white paint marker
- a pair of scissors
Step 1
Start by cutting about thirty squares of approximately 3 cm from a sheet of orange tissue paper.
Step 2
Apply a layer of glue varnish on the lantern, then stick the squares of tissue paper, overlapping them randomly across the entire surface. After gluing each square, apply a layer of glue varnish on top using a wide brush.
Once the surface of the lantern is completely covered, allow it to dry for about an hour.
Step 3
Glue 2 Ø 2.5 cm googly eyes using a strong white glue.
Step 4
Cut out the nose and mouth of the pumpkin from a soft, self-adhesive black rubber sheet and then stick them onto the lantern.
You can also draw teeth using a white paint marker.
Step 5
You can choose to use your pumpkin as a lantern by placing a candle inside, or as a simple decorative element by slipping a green tissue paper ball inside.
The products used:
The products used:


3,99€ (either 0,17 € / pc)
Available

3,99€ (either 0,17 € / pc)
Available


Other tutorials on the theme "Halloween Tutorials"
-
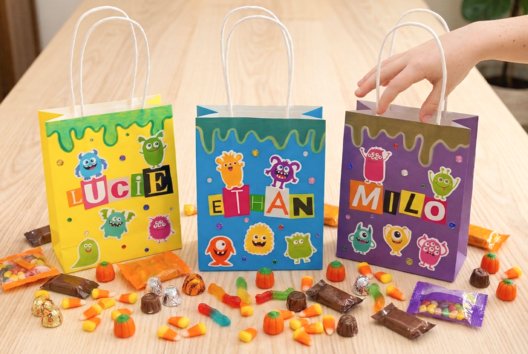

The monstrous candy bags
C17716View 361 time


-
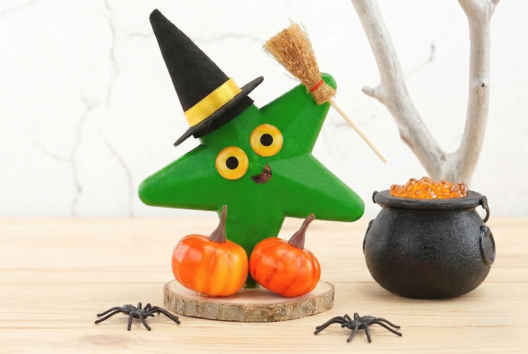
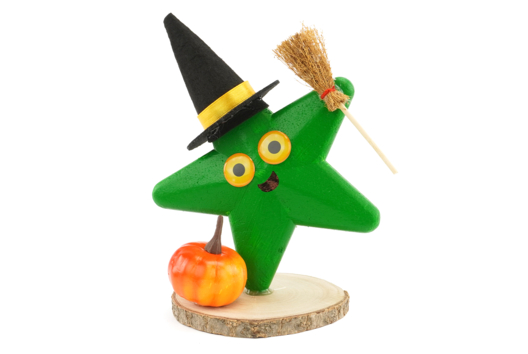
The Starry Witch
C17714View 349 time

-
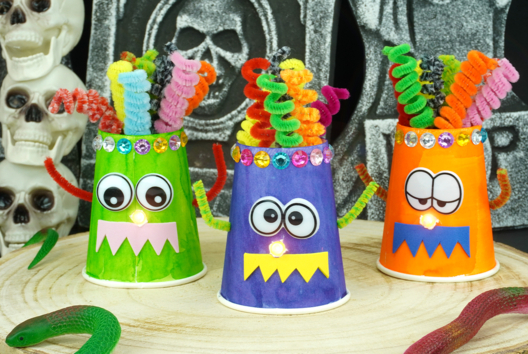
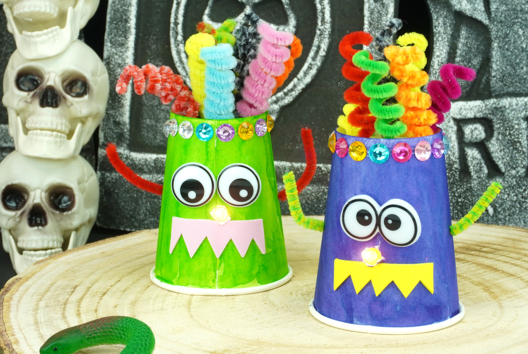
Glowing Monsters with Cups
C11313View 19105 time -
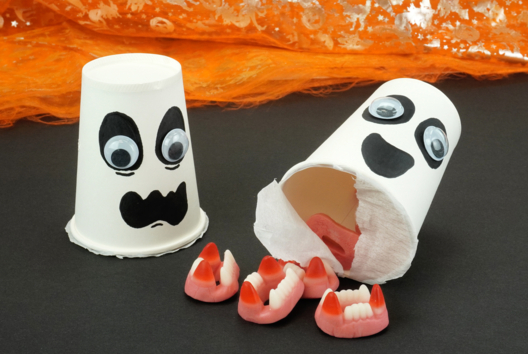
Candy-Filled Ghosts
C15396View 9517 time -
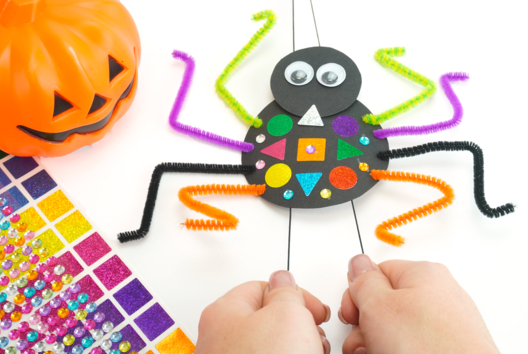
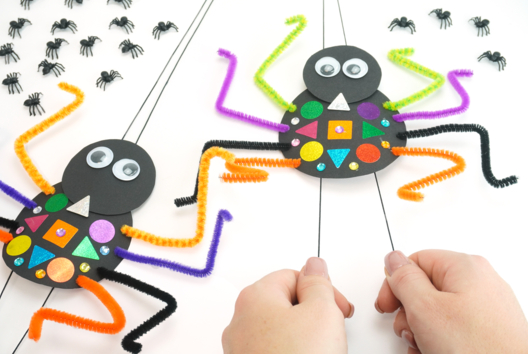
Climbing Spider
C11268View 30473 time -
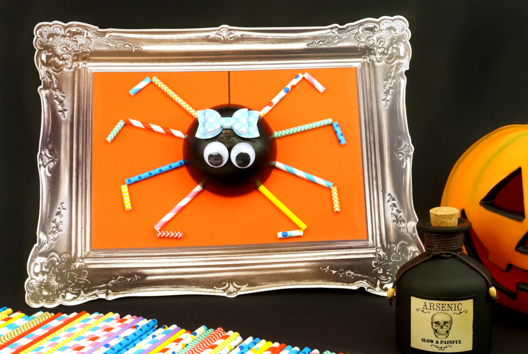
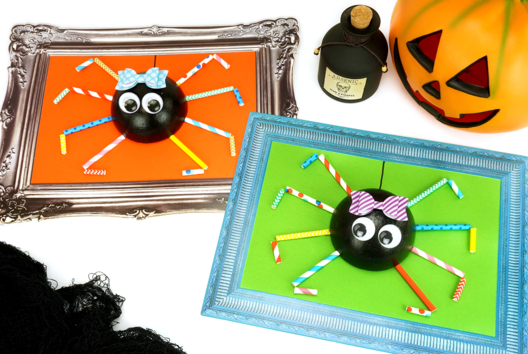
3D Spider Picture
C11296View 25251 time
Customer review
Give your feedback
Funny Pumpkin Lantern
Be the first to share your review of this product.
Post a review