Your cart is empty.
Make a Turtle with a Paper Plate

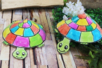

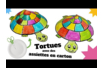
Make a Turtle with a Paper Plate
Here is an easy craft to learn how to make a turtle using a paper plate. Children will love this activity and will have fun coloring the turtle in all kinds of colors. A simple and economical craft that only requires a paper plate, a stapler, a pair of scissors, and markers, paint, or ink for drawing.
To see the video tutorial, click on "VIDEO" below the main photo.
Thèmes de l'idéa créa :
#Animal Tutorials
#Glue and Fold Tutorials
#Upcycling Tutorials
#Ocean Tutorials
#Summer Tutorials
How to complete this tutorial step by step?
Etape 1.
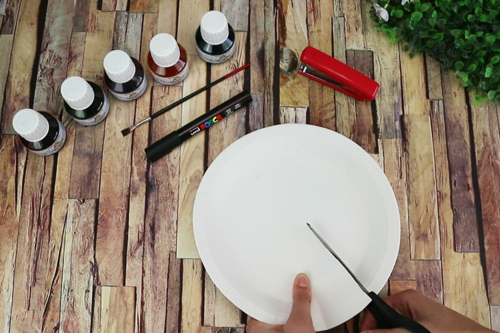
To make a turtle, you will need:
- a white cardboard plate
- drawing ink and a brush
- a black permanent marker (thick tip)
- a pair of scissors
- a stapler
Etape 2.
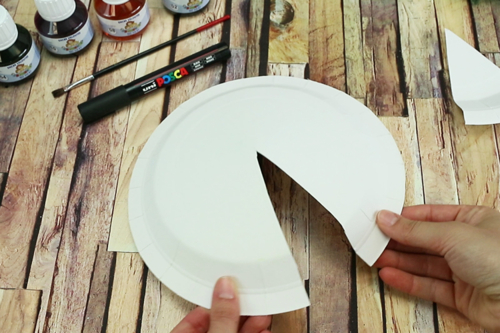
Using a pair of scissors, cut about 1/6 of the plate.
Etape 3.
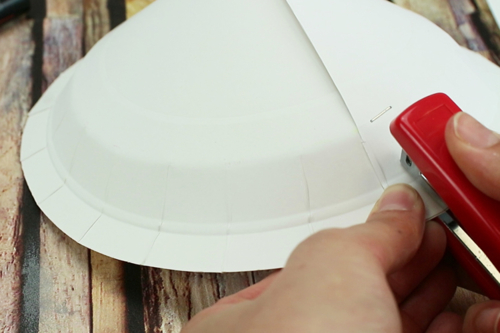
To shape the turtle's shell, join the two "ends" of the plate and staple them together.
Etape 4.
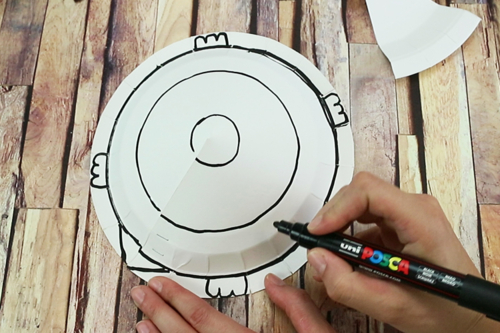
Use a thick black marker to draw the outline of the turtle's shell, its legs, and its tail.
Etape 5.
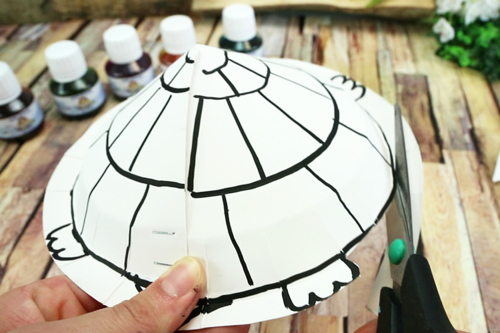
Cut the edge of the cardboard plate (without cutting the legs or the tail).
Etape 6.
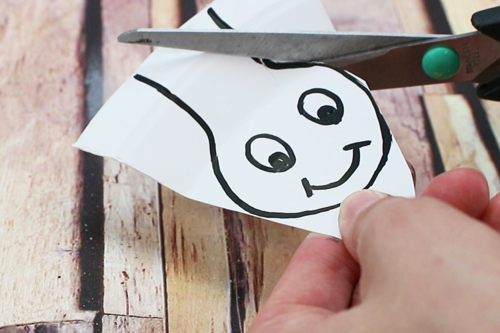
Draw the head and neck of the turtle on the piece of plate cut out in the first step.
Cut along your drawing.
Etape 7.
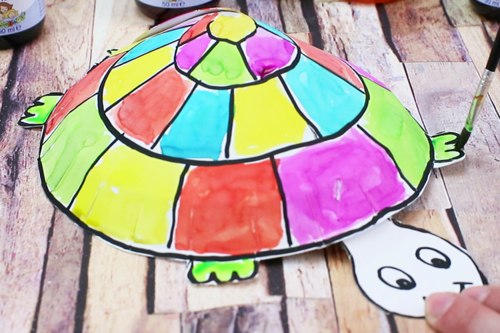
Color the turtle using drawing ink and a brush to achieve bright and vibrant colors.
The products used:
The products used:


26,90€ (either 2,69 € / pc)
Available

2,99€ (either 1,00 € / pc)
Available


Other tutorials on the theme "Animal Tutorials"
-
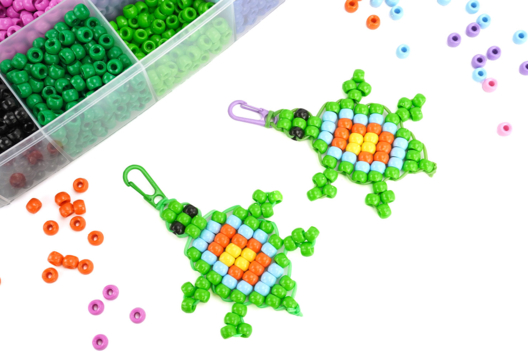
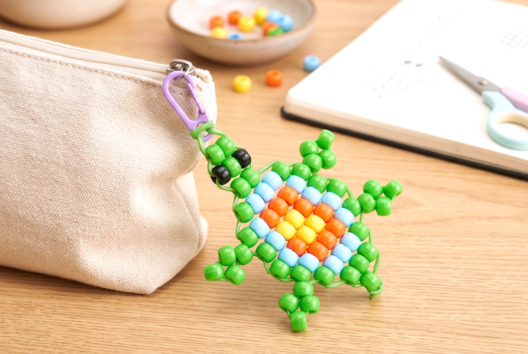
Turtle made of pony beads
C17833View 2991 time


-
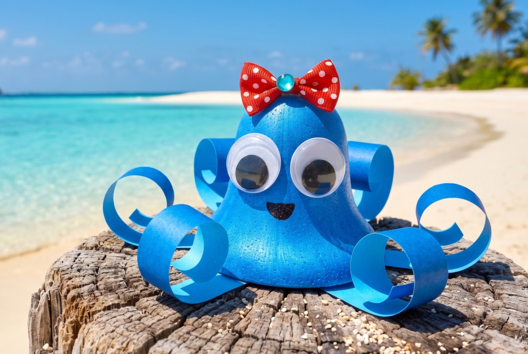
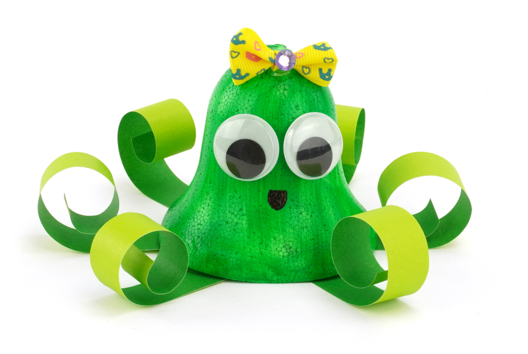
Cute Octopus
C17809View 6169 time

-
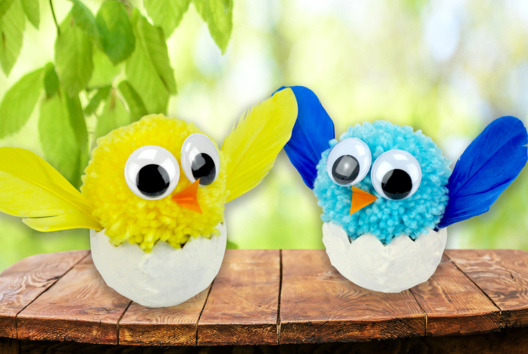
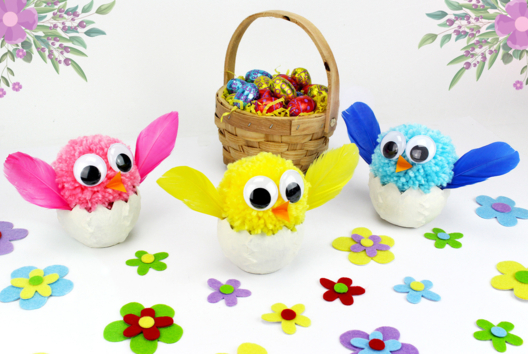
Pom-pom Chick in Its Shell
C13383View 33891 time

-
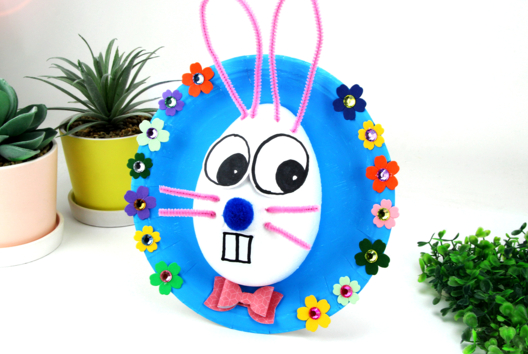
3D Easter Bunny in a Plate
C14568View 26942 time -
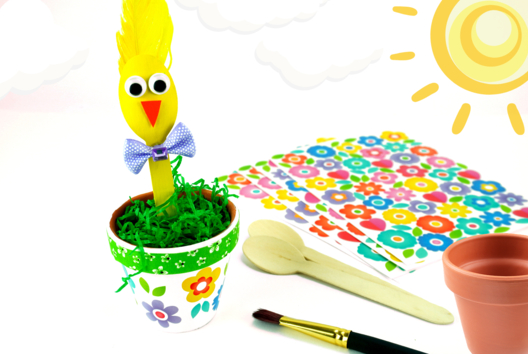
Chick with a Wooden Spoon
C14564View 20793 time -
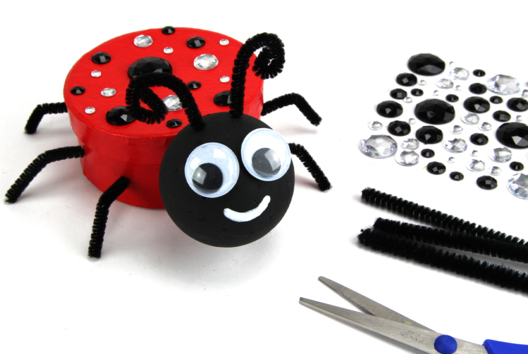
Ladybug Box
C14554View 14265 time
Vos créations inspirées par ce tuto
Customer review
Give your feedback
Make a Turtle with a Paper Plate
Be the first to share your review of this product.
Post a review