Your cart is empty.
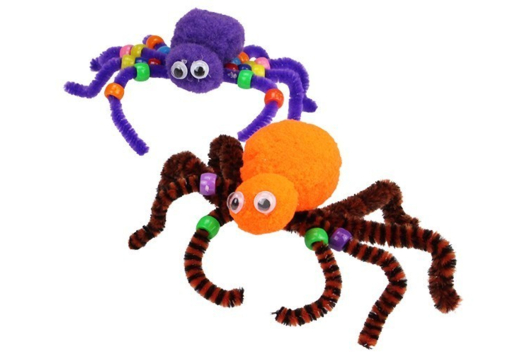
Pom Pom Spiders and Pumpkins
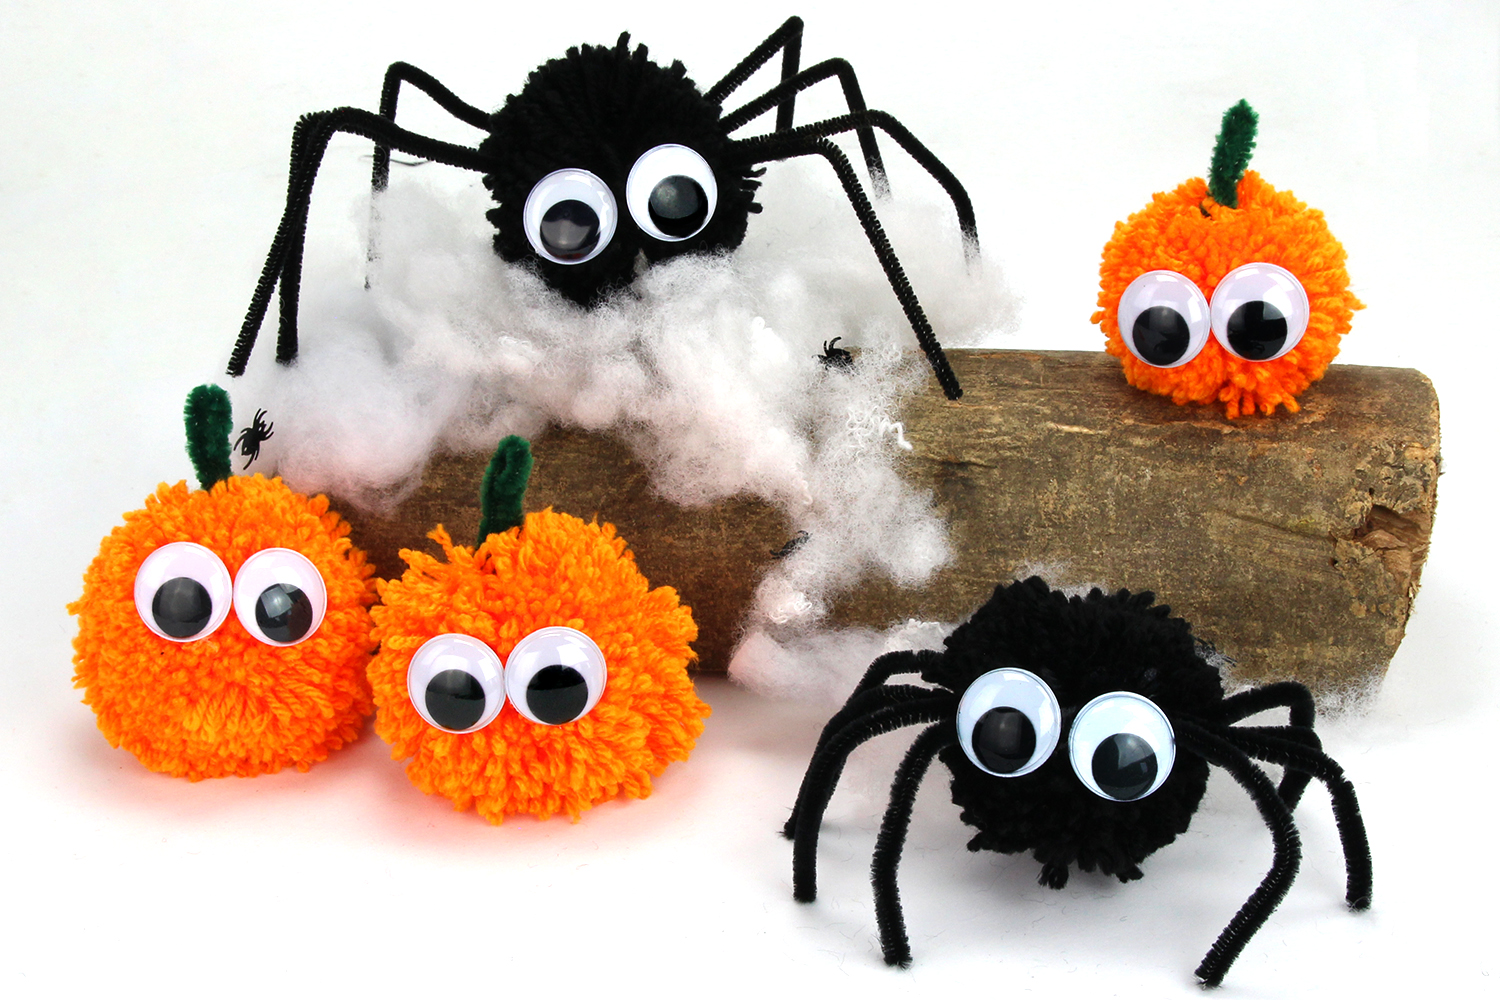
Pom Pom Spiders and Pumpkins
For Halloween, decoration is essential, which is why today we are presenting an easy tutorial that will allow you to make wool pom pom spiders and pumpkins with your kids.
Not only will the children love making these soft spiders and pumpkins, but they will also be proud to actively participate in the Halloween decoration!
Thèmes de l'idéa créa :
#Halloween Tutorials
#Animal Tutorials
#Funny Characters Tutorials
#Craft Tutorials
#Sewing Tutorials
How to complete this tutorial step by step?
Materials:
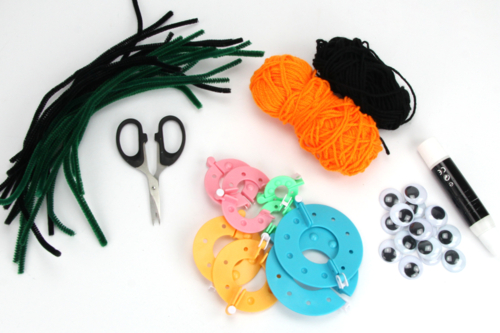
To make spiders and pumpkins out of pom poms you need:
- Black and orange yarn
- Black and dark green chenille stems
- Tools to make pom poms
- Mobile eyes Ø 2.5 cm
- White glue
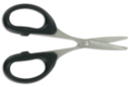
- Precision scissors
Step 1:
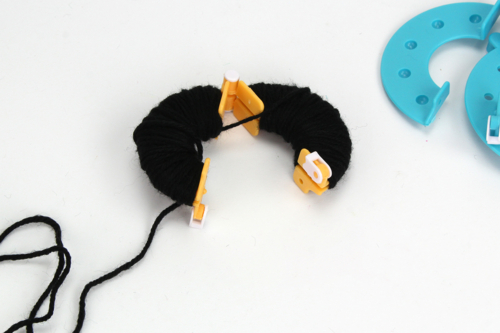
To make the spider:
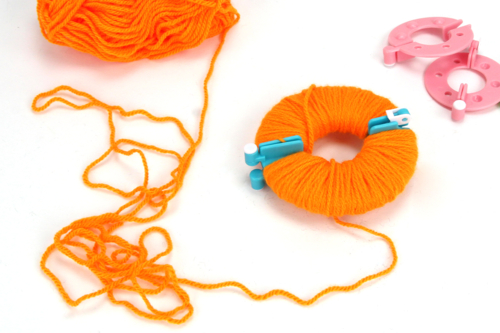
After selecting the size of the pompom maker, wrap the black yarn around it. For a nice fluffy pompom, don't hesitate to wrap it until you have about 1 to 2 cm of thickness of yarn around the pompom maker.
Here we have chosen the tool to make a pompom of Ø 7 cm.
Step 2:
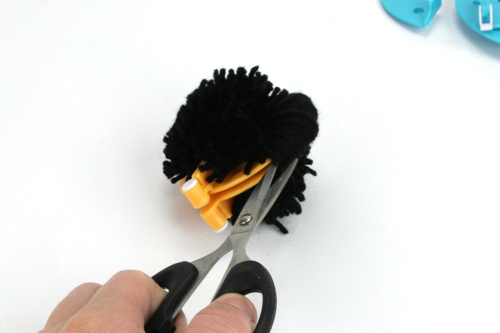
Close the two parts of the pompom tool, then cut the yarn by sliding the precision scissors blade inside the cavity.
Step 3:
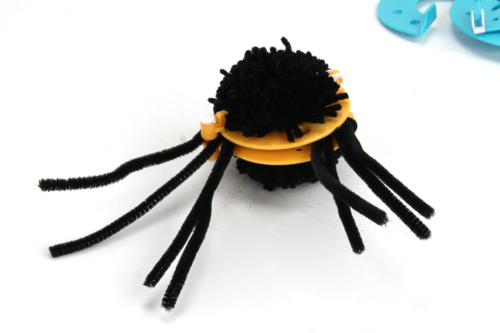
Pass 4 black caterpillars through the cavity of the tool that will allow us to create the legs of the spider.
Step 4:
Next, pass a wool thread through the cavity and make a triple knot, tightening it well to hold the chenille stems and allow the pompom to maintain its round shape.
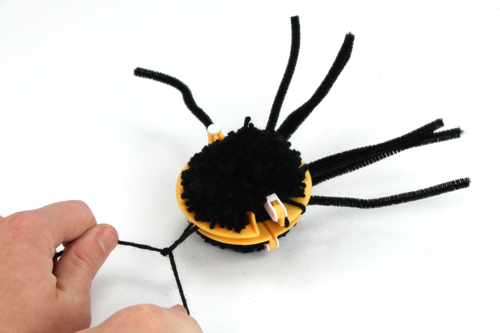
Step 5:
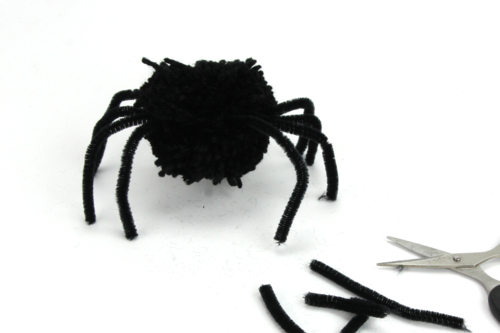
Remove the tool, then fold the tracks as shown in the photo and trim any excess if necessary.
Step 6:
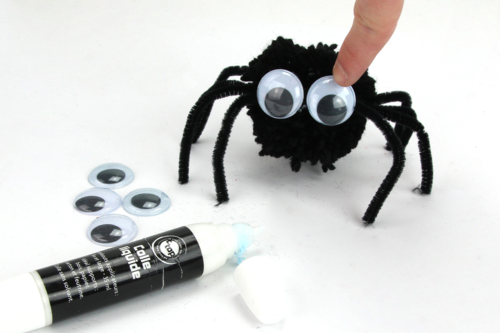
Finally, glue two movable eyes Ø 2.5 cm with white glue.
Step 7:
To make the pumpkin:
Wrap the orange yarn around the tool in the same way as the black yarn (until achieving about 1 to 2 cm in thickness) and then close both parts.
Here we have chosen the tool for making a pompom with a diameter of 9 cm.
Step 8:
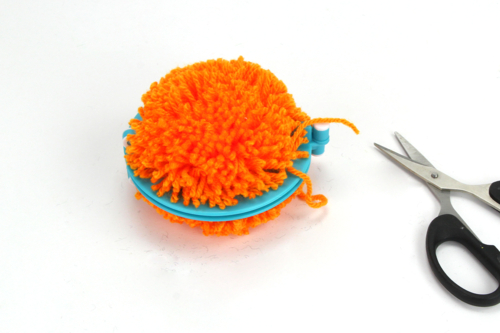
Cut the wool by sliding the precision scissors blade through the cavity.
Step 9:
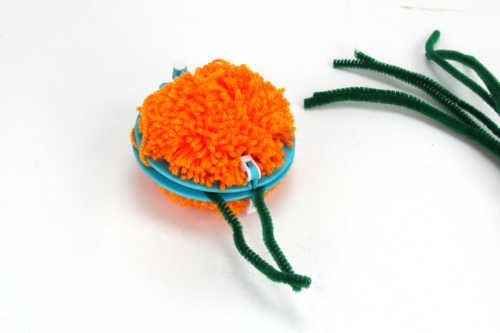
Pass a dark green chenille through the cavity of the tool.
Step 10:
Tie a triple knot tightly to hold the caterpillar and allow the pompom to maintain its round shape.
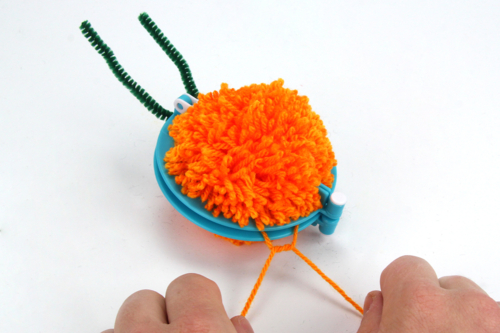
Step 11:
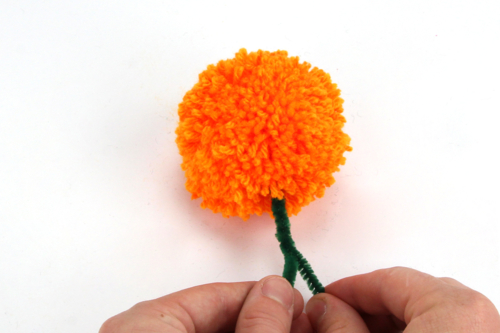
Remove the tool, then twist the chenille to form the pumpkin's tail.
Step 12 :
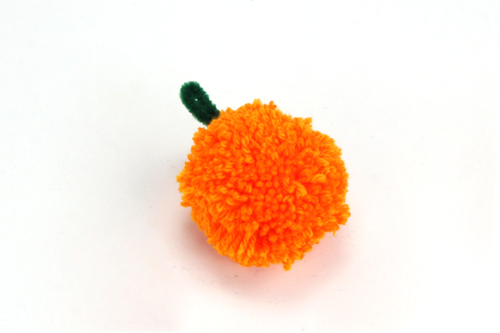
Fold the twisted chenille back onto itself.
Step 13:
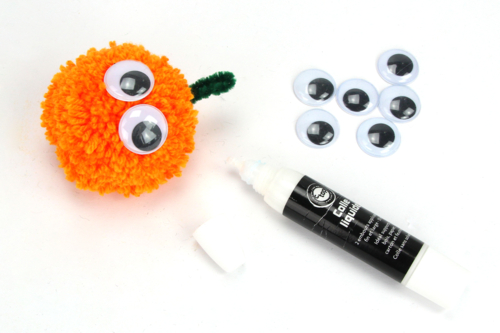
Glue two Ø 2.5 cm googly eyes with white glue.
The products used:
The products used:


Other tutorials on the theme "Halloween Tutorials"
-
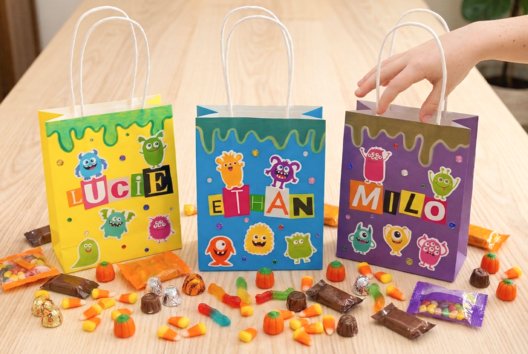

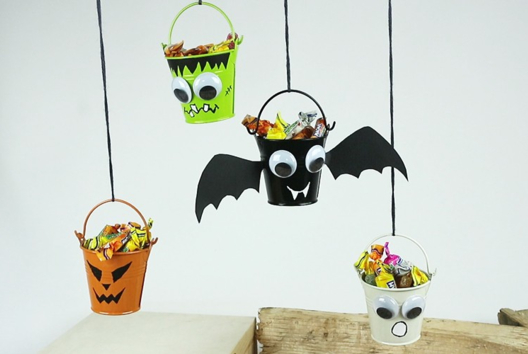
The monstrous candy bags
C17716View 419 time


-
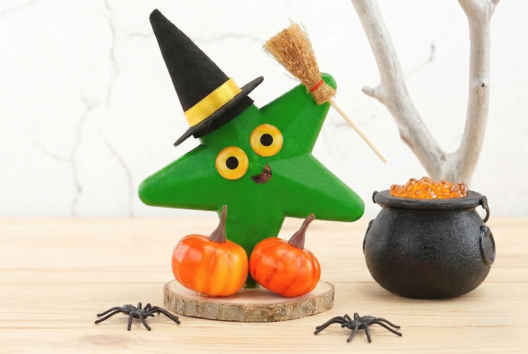
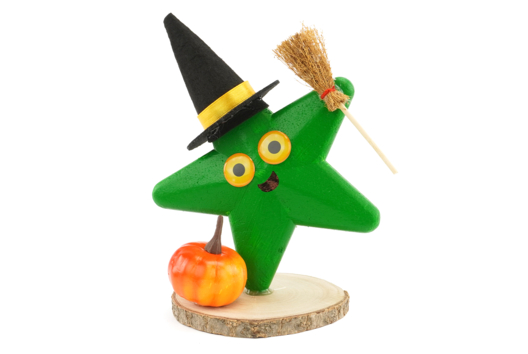
The Starry Witch
C17714View 403 time

-

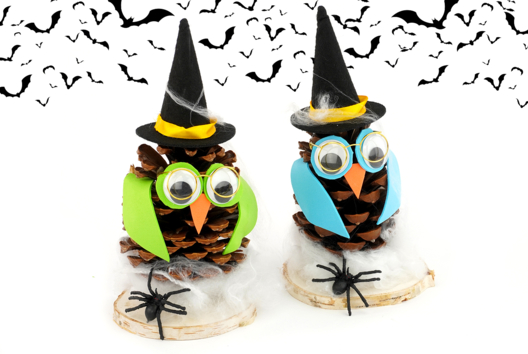
The Witch Owls
C11000View 10890 time

-
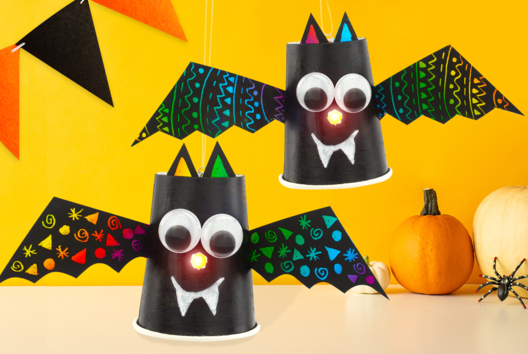
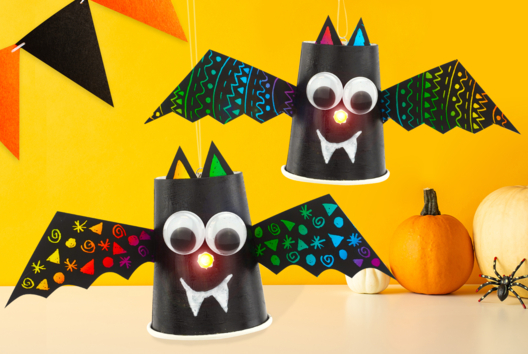
Glow-in-the-Dark Bats
C10982View 51090 time
-
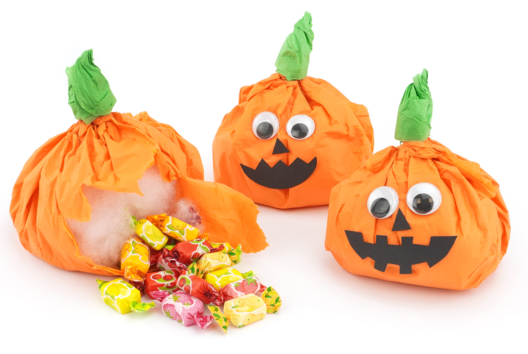
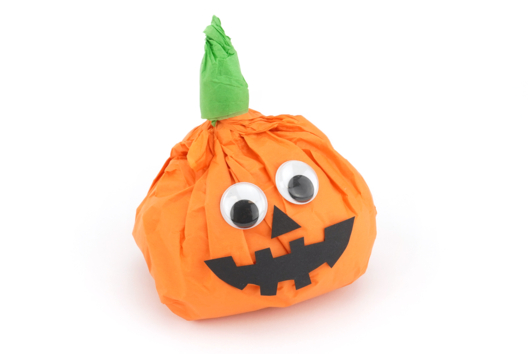
Silk Paper Pumpkins Filled with Candy
C11074View 12571 time
-


Disco Ghosts
C10925View 10518 time
-
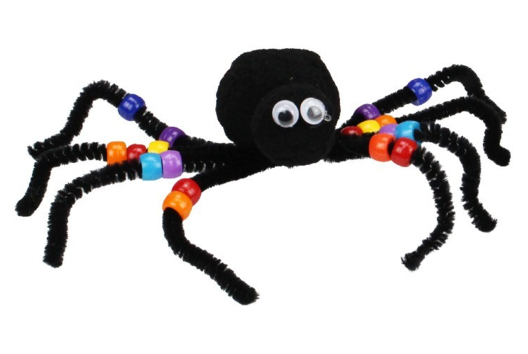
Pom Pom and Pipe Cleaner Spiders
C12413View 27734 time -
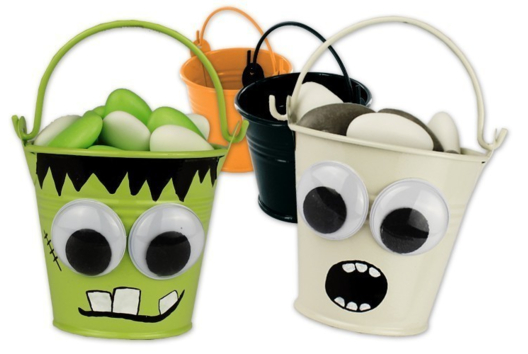
Mini candy buckets for Halloween
C12410View 14729 time -
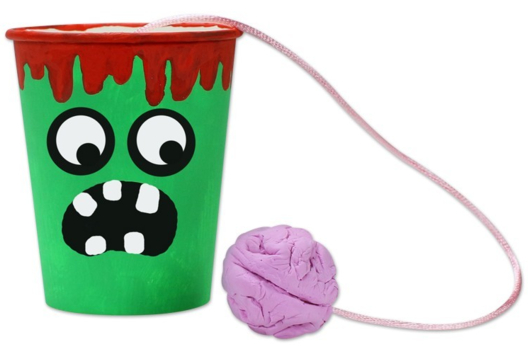
Cup and Ball Game
C12408View 18126 time -
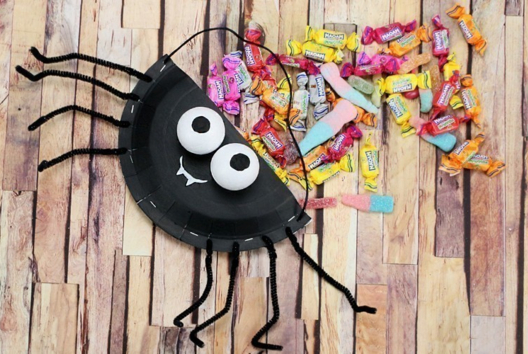
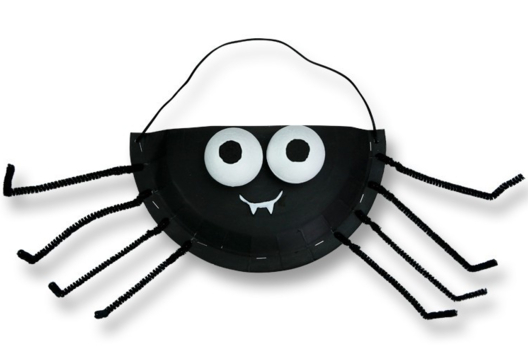
Spider Candy Basket
C12399View 30818 time
Idée toute simple mais tellement sympa ! Patience et ténacité pour réaliser le pompon, super au niveau apprentissage aussi. Merci pour l'idée.