Your cart is empty.
Pumpkin with Yarn and a Paper Plate
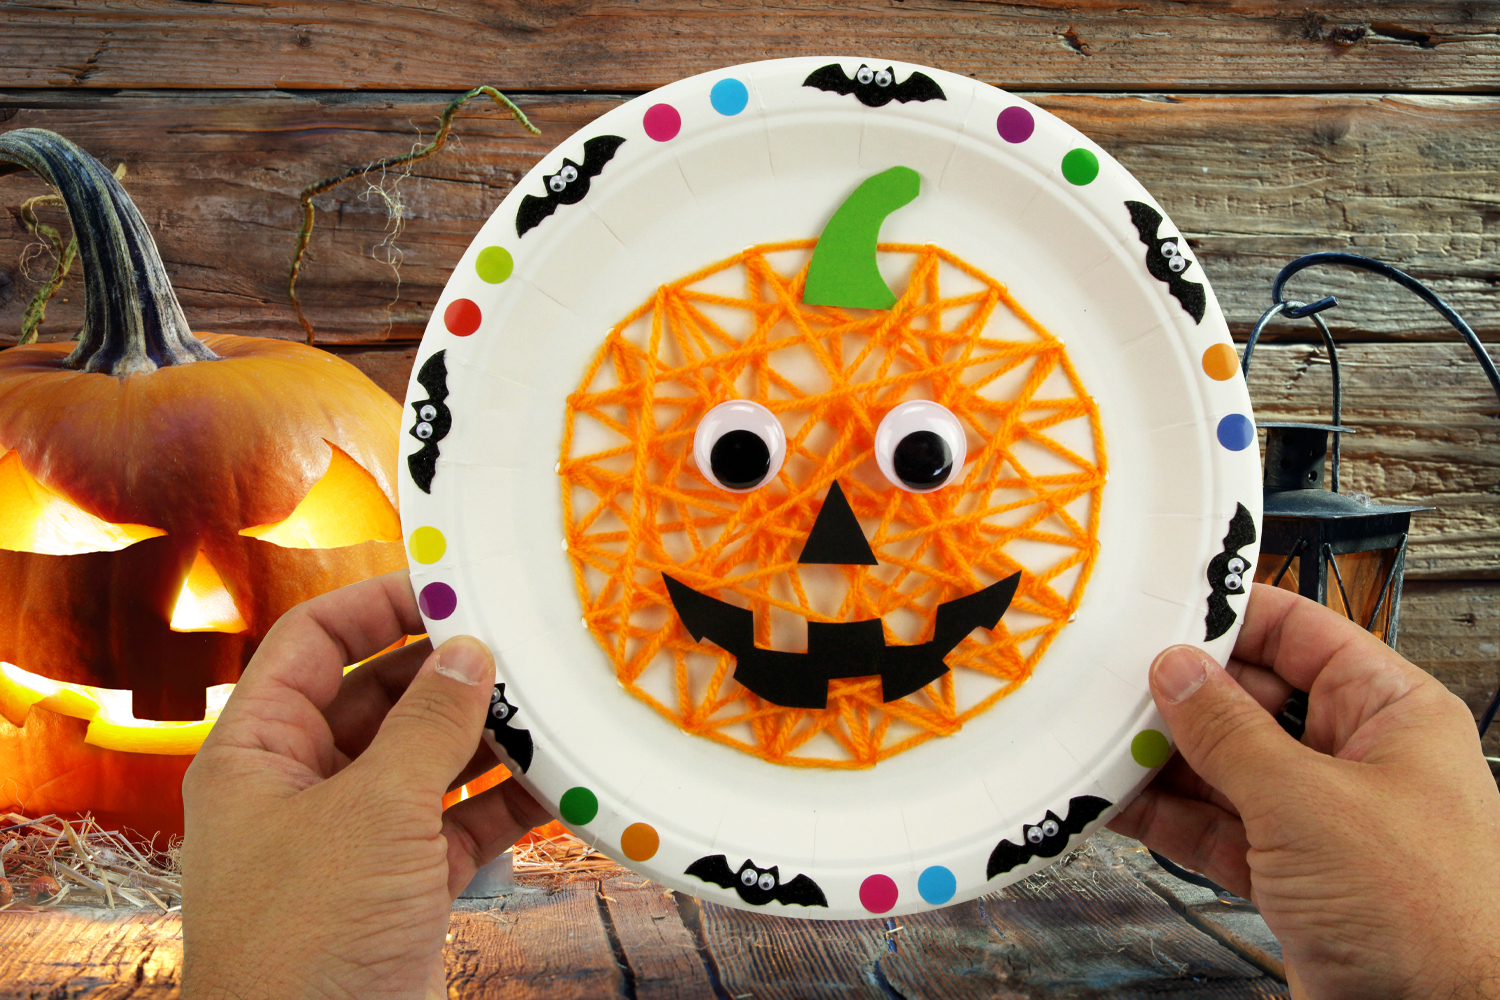
Pumpkin with Yarn and a Paper Plate
Discover a fun and original craft for Halloween.
The children will create a lovely pumpkin using a paper plate and yarn, decorating it with stickers and foam stickers.
By stitching on the plate with yarn and a plastic needle, children will develop both dexterity and fine motor skills.
How to complete this tutorial step by step?
Materials
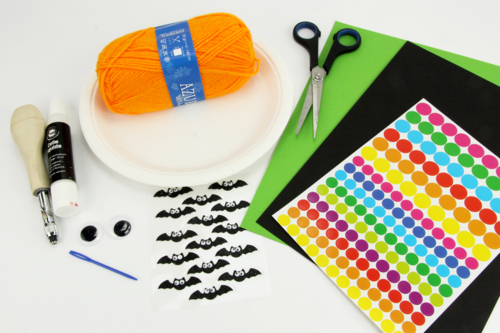
To make a pumpkin you need:
- a white cardboard plate Ø 21 cm
- a ball of orange yarn
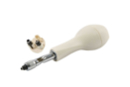
- a plastic needle
- a hole punch
- 2 googly eyes Ø 2.5 cm
- a piece of black cardstock
- a piece of green cardstock
- round stickers
- bat stickers
- a pair of scissors
- a tube of white glue
Step 1
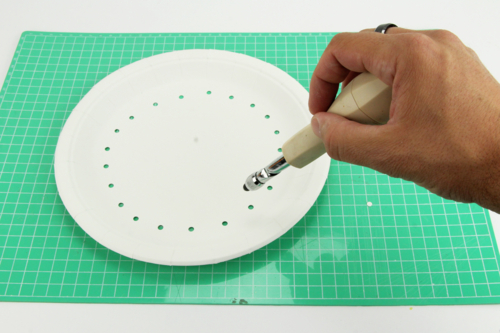
Make holes in a circle inside the plate using a hole punch.
We also recommend using a cutting board to protect your work surface!
Step 2
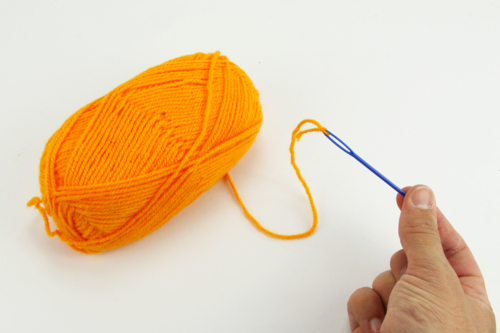
Attach an orange wool thread to a plastic needle.
Step 3
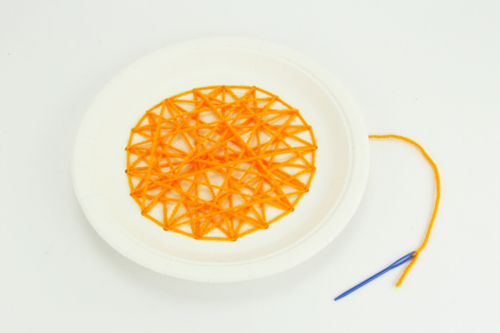
Embroider randomly on the plate between the holes to create a dense weaving that reveals the shape of the pumpkin.
Step 4
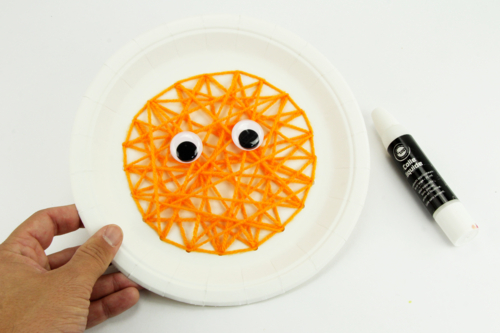
Glue 2 googly eyes Ø 2.5 cm.
Step 5
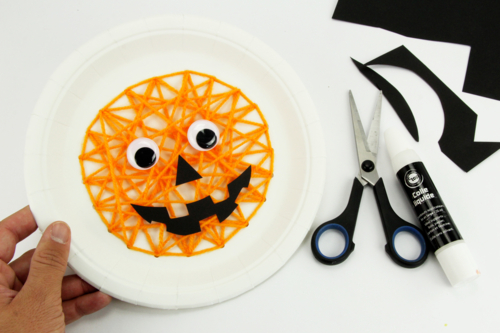
Cut out the mouth and nose of the pumpkin from a strong black card and then glue the two shapes onto the pumpkin with white glue.
Step 6
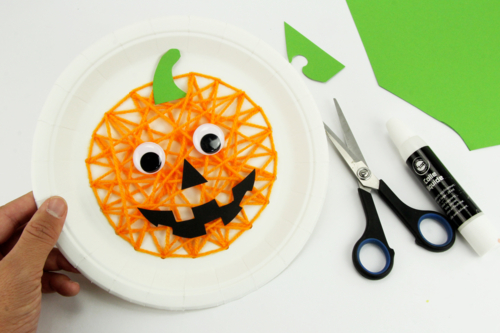
Cut the pumpkin's stem out of a strong green card and then glue it.
Step 7
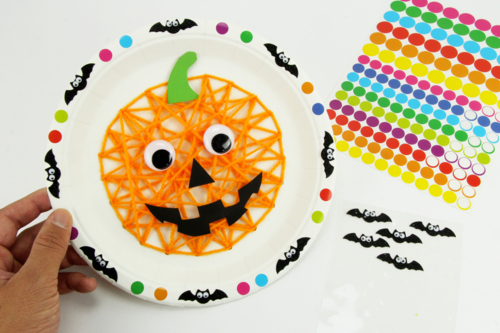
Decorate the edge of the plate using round stickers and bat stickers to create a nice Halloween decoration!
The products used:
The products used:


3,59€ (either 0,36 € / pc)
Available

3,59€ (either 0,36 € / pc)
Available


Bat stickers with moving eyes - Set of 15
Réf. 36240 - Product sheet
2,29€
Available from 14/07/2026


Other tutorials on the theme "Halloween Tutorials"
-
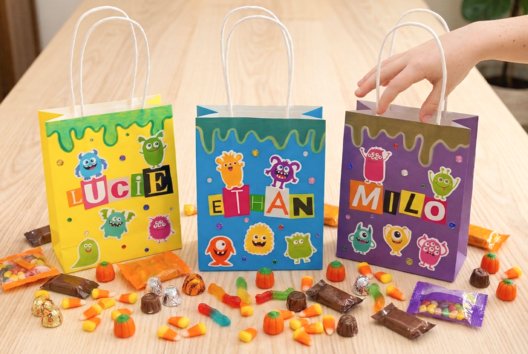

The monstrous candy bags
C17716View 439 time


-
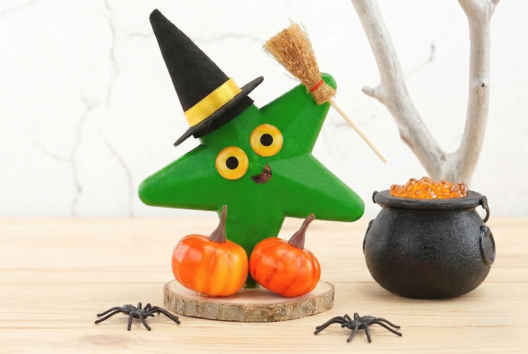
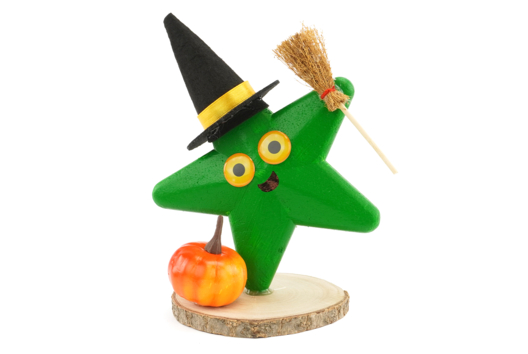
The Starry Witch
C17714View 428 time

-

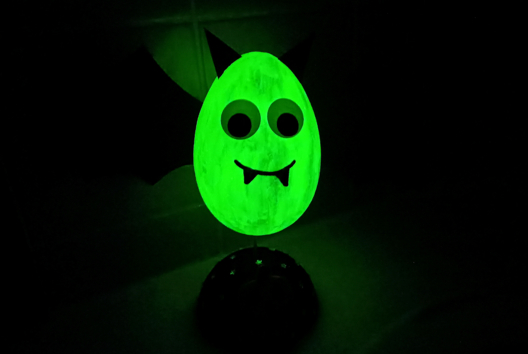
Glow-in-the-Dark Bat
C15740View 15585 time -
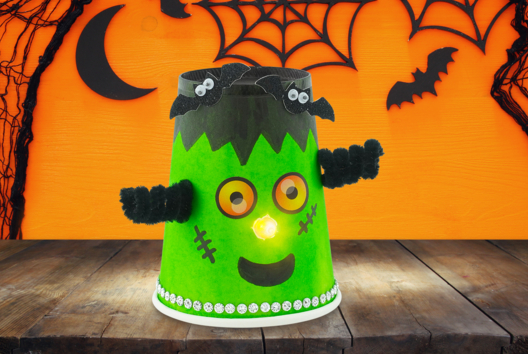
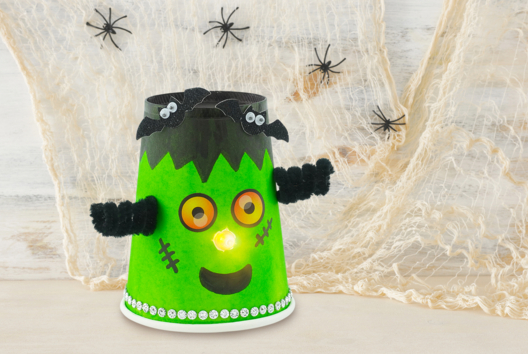
Frankenstein's Cute Monster
C15738View 14168 time -
Pumpkin Witch
C11319View 29913 time -
Spider with a Styrofoam Pumpkin
C11288View 13681 time
Long pour mettre la laine mais rendu super joli et pouvant laisser cours à beaucoup d'imagination pour la déco... Faite aussi en toile d'araignée pour moins de fils