Your cart is empty.
Santa Claus with Styrofoam Cone
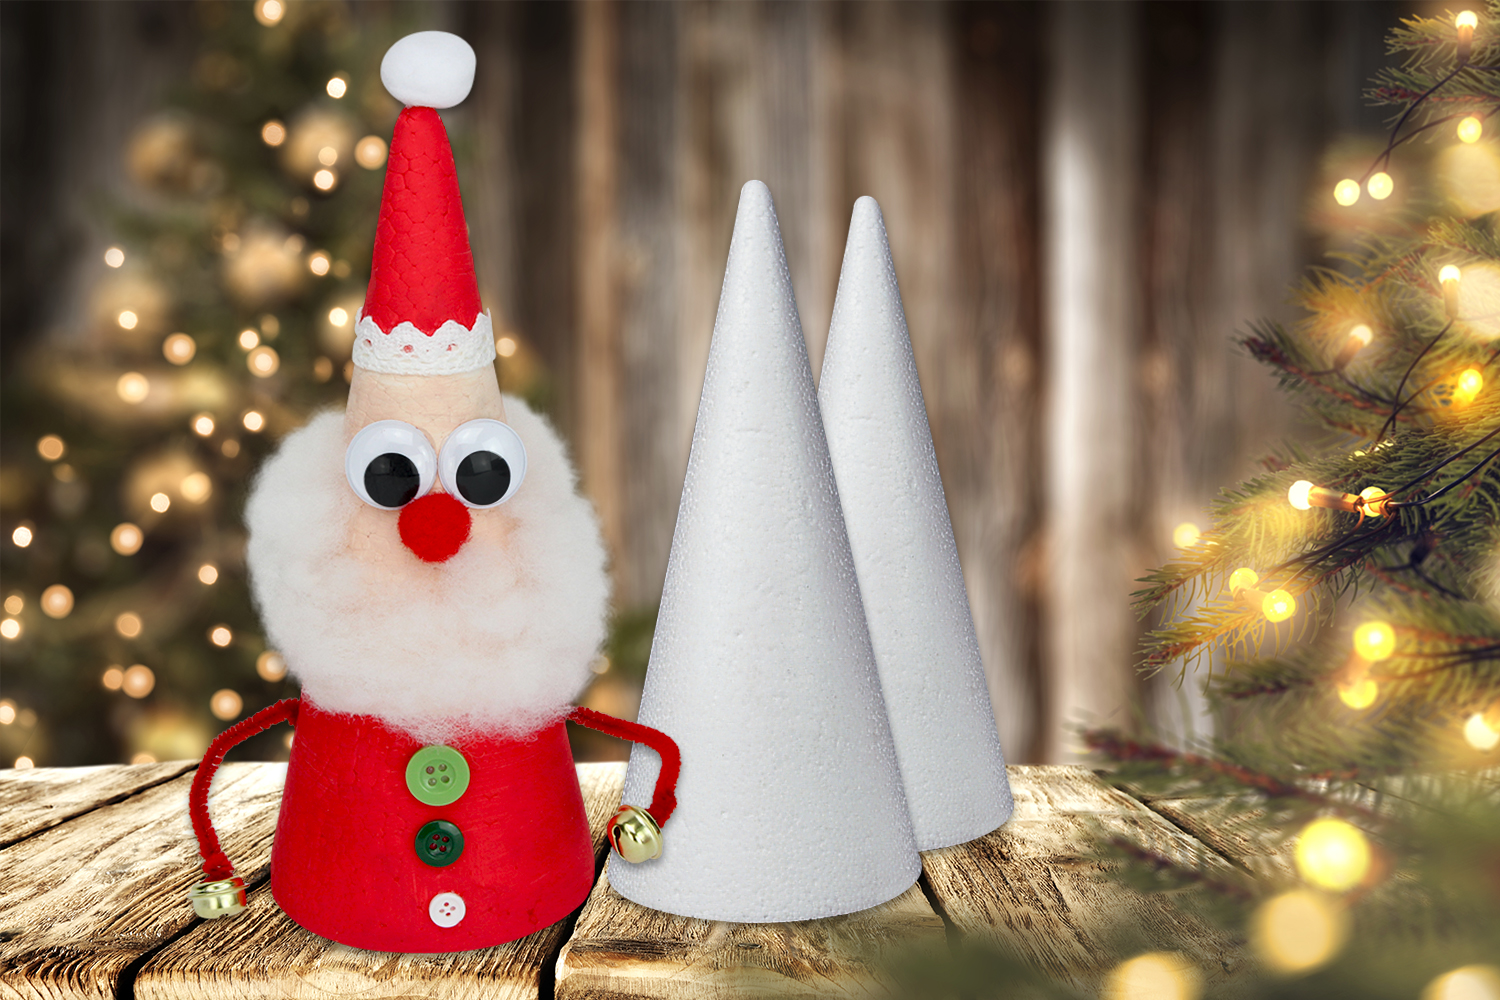
Santa Claus with Styrofoam Cone
Today, we will transform a simple Styrofoam cone into a beautiful Santa Claus!
An easy and original craft to do with kids this winter.
Thèmes de l'idéa créa :
#I'm Making an Advent Calendar
#Funny Characters Tutorials
#Christmas Characters
#Christmas Crafts
How to complete this tutorial step by step?
Materials:
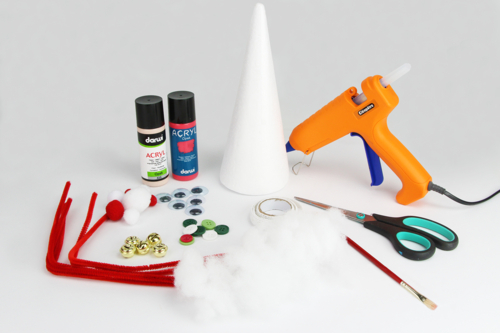
To make a Santa Claus, you need:
- a polystyrene cone (height = 25 cm)
- plastic buttons
- 2 googly eyes Ø 2.5 cm
- 2 pom poms
- stuffing
- acrylic paint and a brush
- a red chenille
- 2 golden bells Ø 1.8 cm
- adhesive lace
- a glue gun
- a pair of scissors
Step 1:
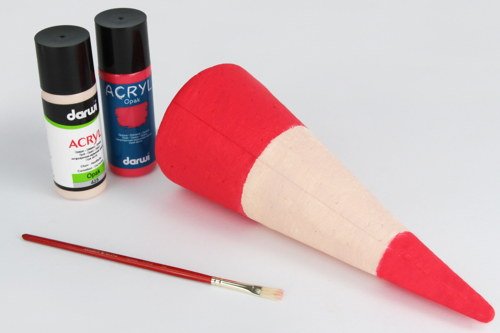
Paint the polystyrene cone:
- For the hat, use red paint to about 7.5 cm in height.
- For the face, use skin-colored paint to about 9.5 cm in height.
- For the coat, use red paint to about 7 cm.
Let dry for about 30 minutes
Step 2:
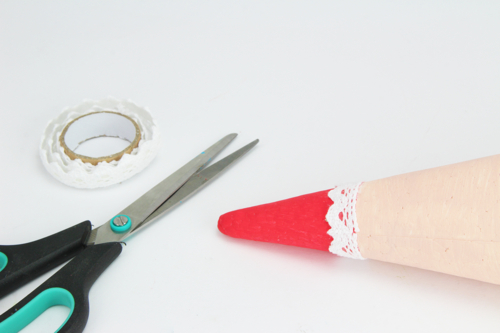
Cut a piece of lace adhesive tape about 15 cm long and then stick it around the cone to create the hat's demarcation.
Step 3:

WARNING this step may require the help of an adult.
Plug in the glue gun and let it heat up. Then glue the 2 pom poms, the googly eyes, the buttons, and the stuffing to create Santa Claus's beard.
Step 4:
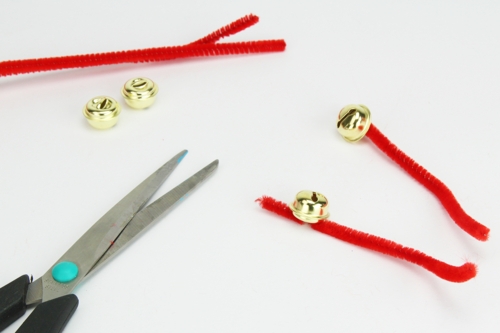
Cut 2 pieces of chenille about 10 cm long, then attach a golden bell to the end of each chenille.
Step 5:
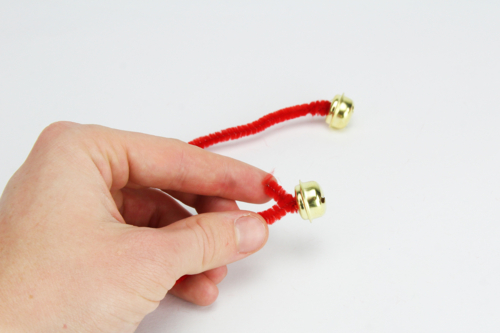
Twist the end of the pipe cleaner so that the bell doesn't move anymore.
Step 6:

Insert the two chenille stems into the polystyrene cone to create Santa Claus's arms.
The products used:
The products used:

8,94€ (either 1,49 € / pc)
Available


1,99€
Available


2,29€ (either 0,06 € / pc)
Available


2,99€ (either 1,00 € / pc)
Available


Other tutorials on the theme "Christmas Characters"
-
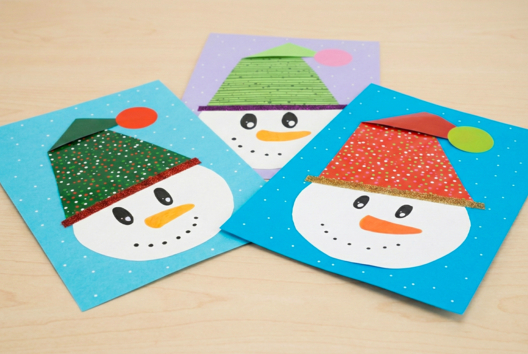
Snowman Collage
C17465View 10764 time


-
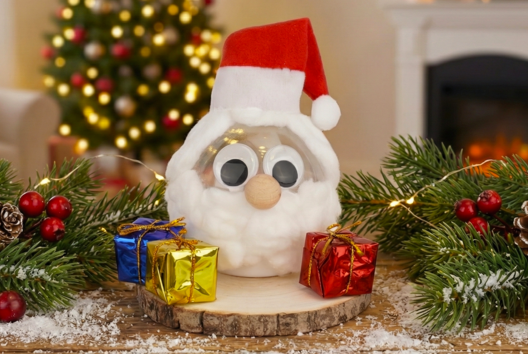
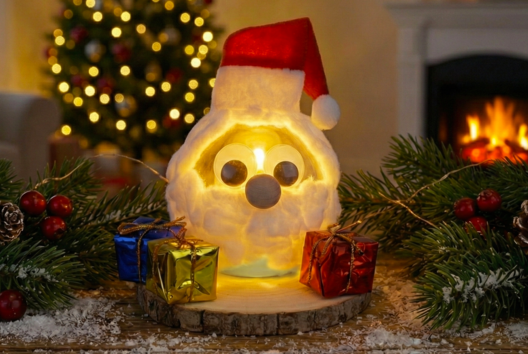
Glowing Santa Claus Head
C17447View 3737 time
-
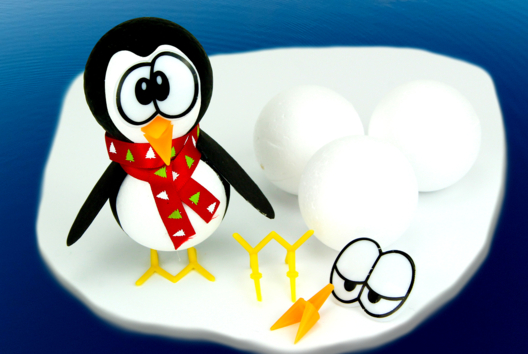
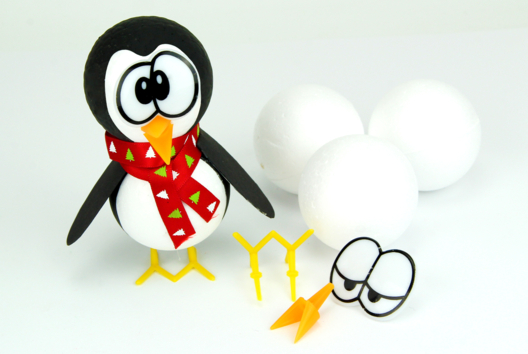
Penguin with Styrofoam Balls
C14503View 20328 time -
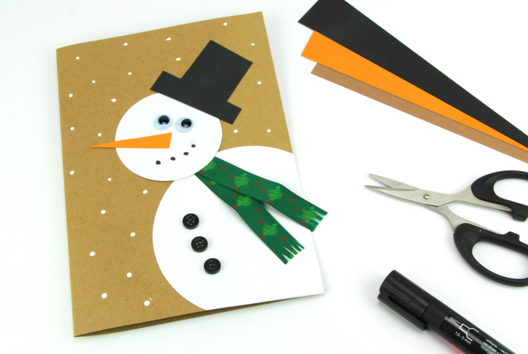
Snowman Card
C14476View 54945 time -
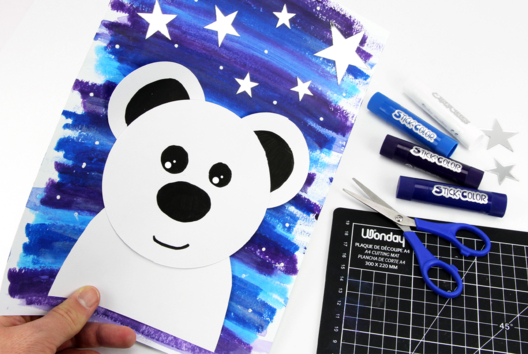
Paper Polar Bear
C14475View 49498 time -
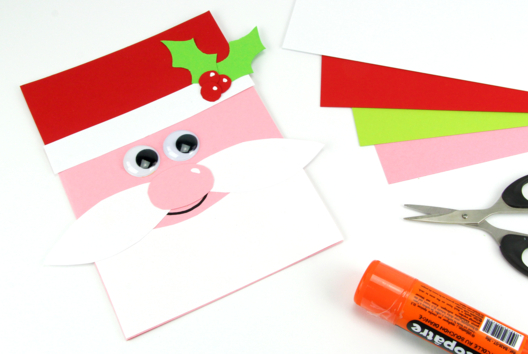
Santa Claus Card
C14474View 32228 time
Vos créations inspirées par ce tuto
Customer review
Give your feedback
Santa Claus with Styrofoam Cone
Be the first to share your review of this product.
Post a review