Your cart is empty.
Penguin with a Styrofoam Cone


Penguin with a Styrofoam Cone


In this winter-themed craft activity, we will create adorable little penguins dressed in colorful scarves!
A simple activity where children can make their very own little tribe of penguins.
How to complete this tutorial step by step?
Materials:
To make a penguin you need:
- A polystyrene cone with a ball
- Colored felt sheets
- A beak and feet to stick in
- Black paint and a brush
- Two moving eyes Ø 10 mm
- A glue gun
- A pair of scissors
- An embossing stylus
Step 1:
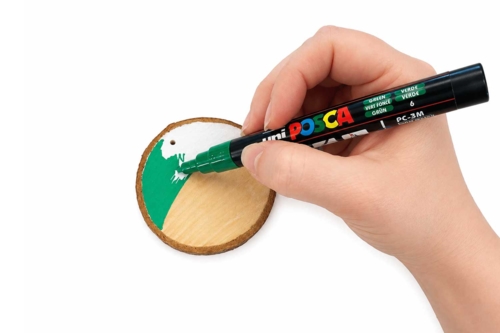
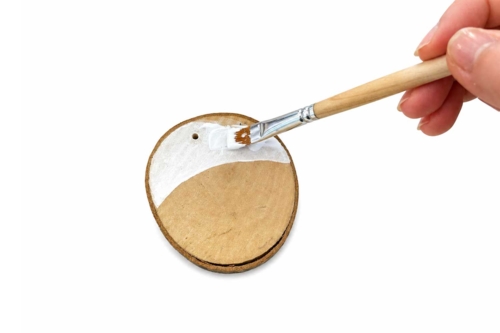
Paint the polystyrene cone with black paint, leaving a white oval area to form the penguin's belly.
Let it dry for 20 minutes.
Step 2:
Cut out two wings of about 10 cm from a sheet of black felt.
Step 3:

Glue the wings onto the cone using a glue gun.
Step 4:
Glue two moveable eyes Ø 10 mm onto the ball at the top of the cone.
Step 5:

Using an embossing stylus, make three holes in the polystyrene cone to more easily insert the beak and legs.
The products used:
The products used:
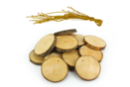
Wood Slice Hangings + Cords - 12 Pieces
Réf. 46698 - Product sheet
6,99€ (either 0,58 € / pc)
Available


79,99€ (either 5,00 € / pc)
Available


Other tutorials on the theme "Christmas Ornement"
-

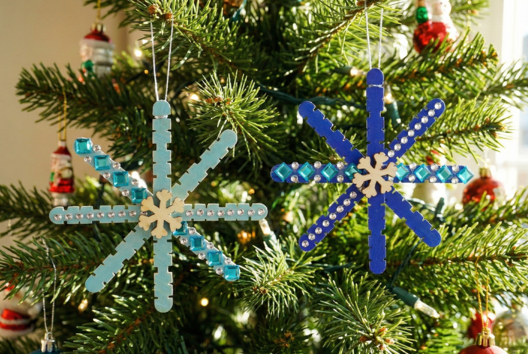
Snowflakes to Hang on the Christmas Tree
C17455View 12033 time


-

Funny Little Hanging Tree
C17416View 17598 time

-
Sparkling Mini Crowns
C17421View 27954 time
-
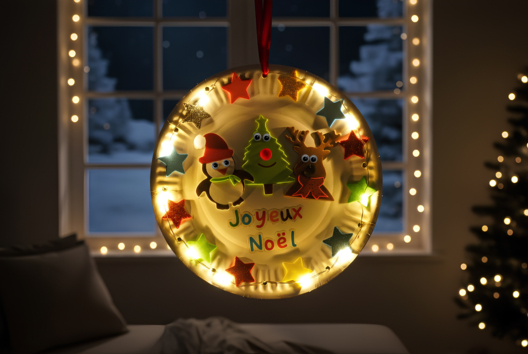
Light-Up Christmas Decoration
C17411View 17713 time
-
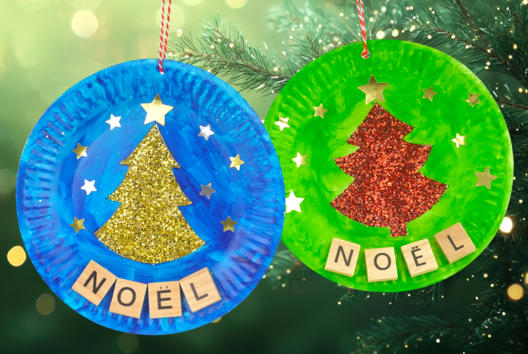
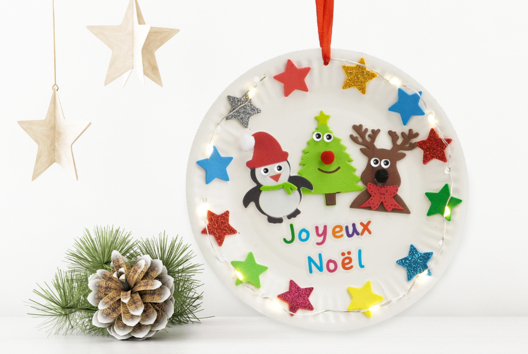
Glitter Christmas Tree on a Paper Plate
C16610View 43892 time
-
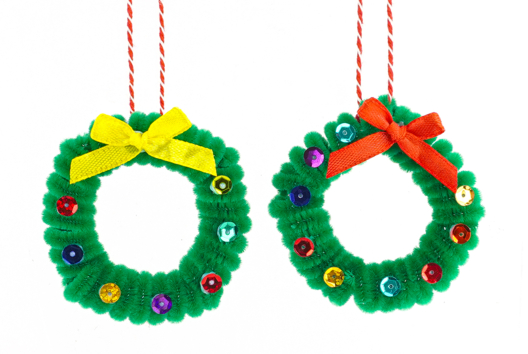
Little Elves to Hang on the Christmas Tree
C16590View 26840 time
-

Glitter Christmas Bauble with Photo
C14812View 46935 time -
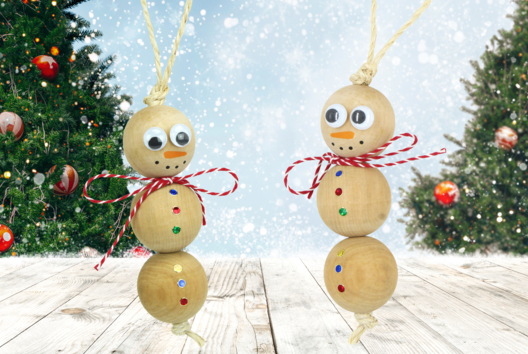
Snowman Ornament with Beads
C14697View 24000 time -

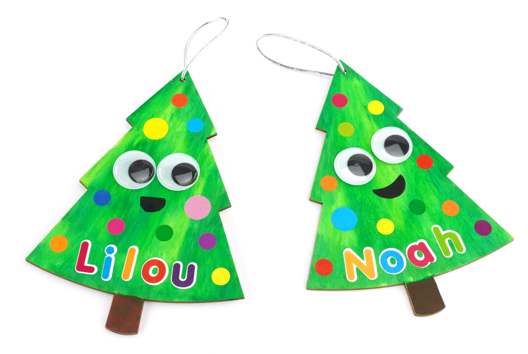
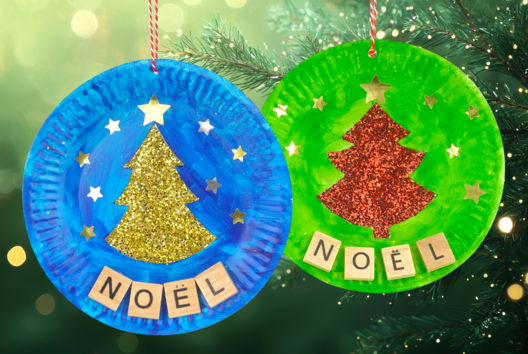
Christmas Ornament with Name
C14617View 27682 time -

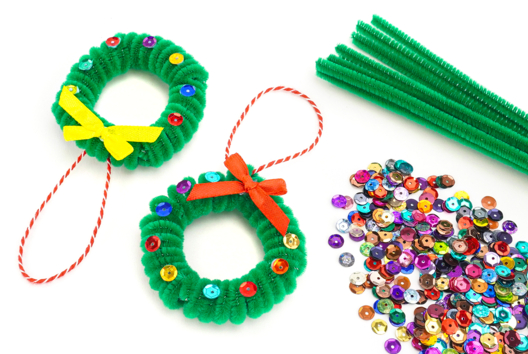
Decorative Pine Tree Ornament with Buttons
C14351View 20513 time
Customer review
Give your feedback
Penguin with a Styrofoam Cone
Be the first to share your review of this product.
Post a review