Your cart is empty.
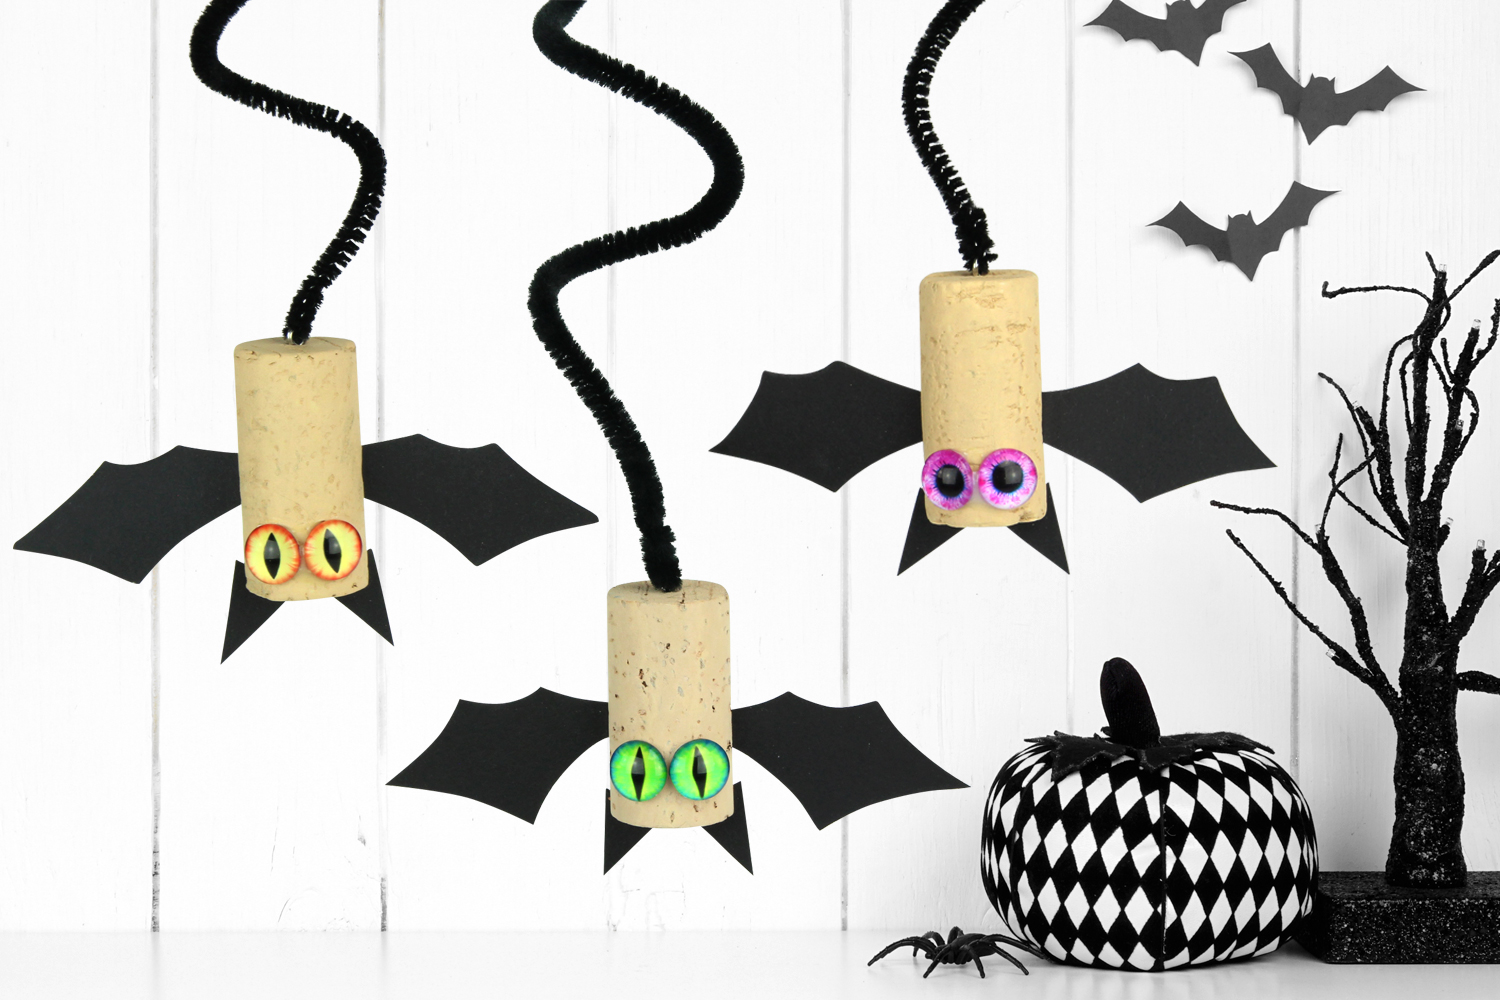
Small Hanging Bats
Small Hanging Bats
In this Halloween craft, we will learn how to make bats using corks and paper!
Thanks to caterpillars turned into springs, children can hang them all around the house to create a unique decoration.
Thèmes de l'idéa créa :
#Halloween Tutorials
#Animal Tutorials
#Funny Characters Tutorials
#Upcycling Tutorials
How to complete this tutorial step by step?
Materials
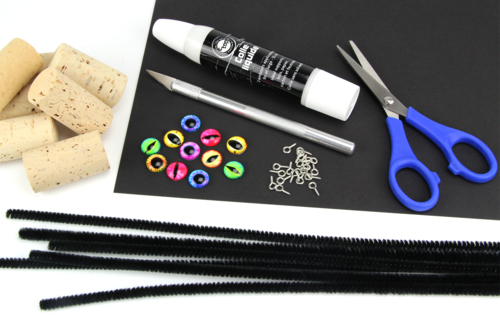
To make these bats, you will need:
- cork stoppers
- a heavy black card (300 g/m²)
- black chenille (30 cm)
- colored glass eyes
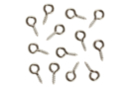
- screw eyes
- a pair of scissors
- a tube of strong white glue
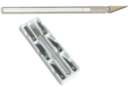
- a craft knife
Step 1
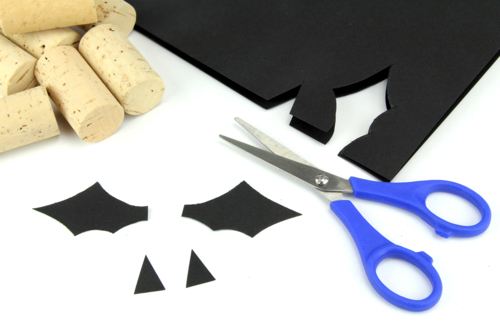
Cut the wings (5 cm) and ears (2 cm) of the bat from a sturdy black card.
Tip: Fold the card in half, trace, and then cut to obtain 2 symmetrical wings.
Step 2
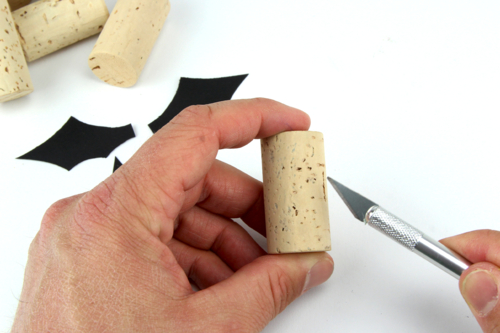
Step reserved for adults: make a cut of about 1 cm on the side of the cap using a cutter.
Step 3
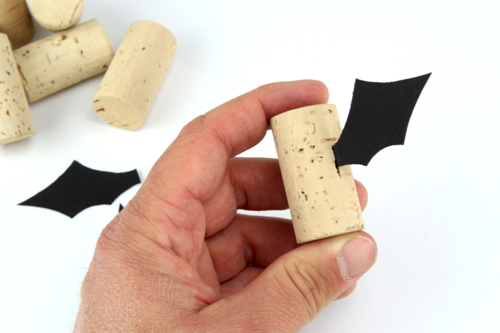
Insert the sturdy card wing into the notch.
Repeat these 2 steps for the second wing.
Step 4
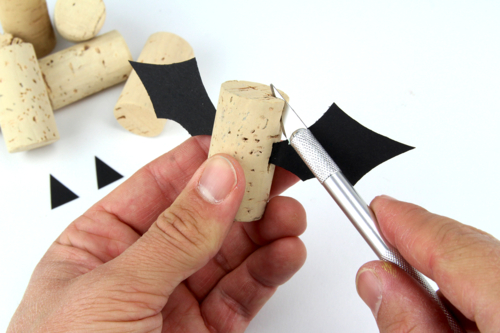
Step reserved for adults: make 2 notches at the top of the cork for the ears.
Step 5
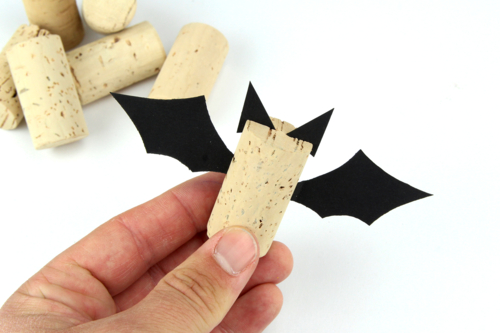
Slide the 2 strong cardboard ears into the notches.
Step 6
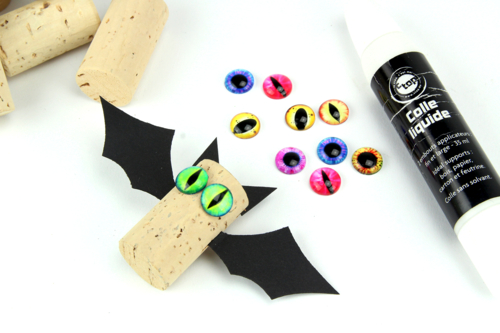
Glue 2 glass eyes with white glue.
Step 7
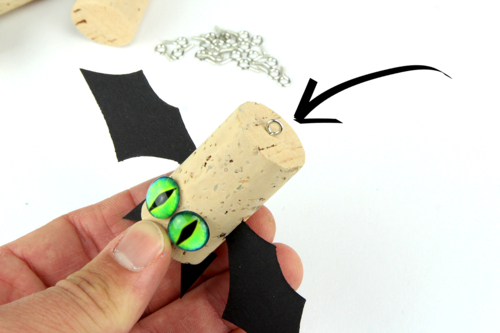
Screw a metal hook underneath the cap.
Step 8

Attach a black chenille to the metal hook.
Step 9
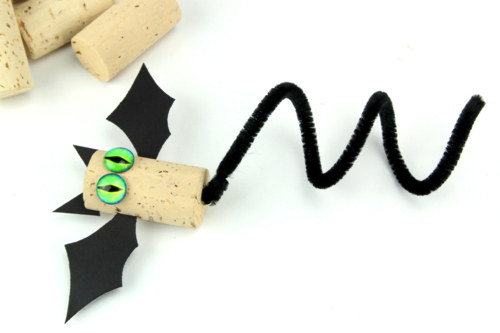
Wrap the chenille around a cylindrical object to create a spring.
The products used:
The products used:


3,59€ (either 0,36 € / pc)
Available


Other tutorials on the theme "Halloween Tutorials"
-


The monstrous candy bags
C17716View 623 time


-
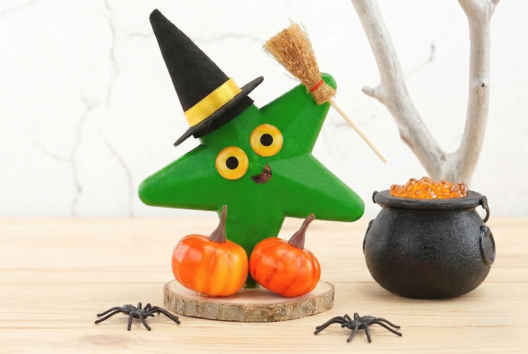
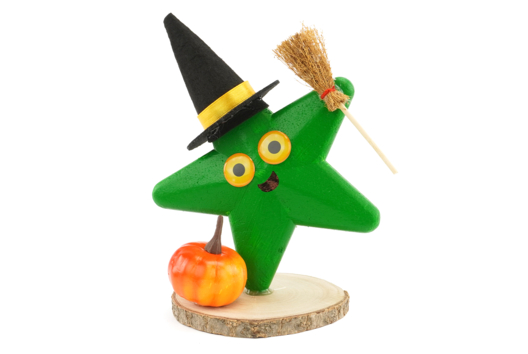
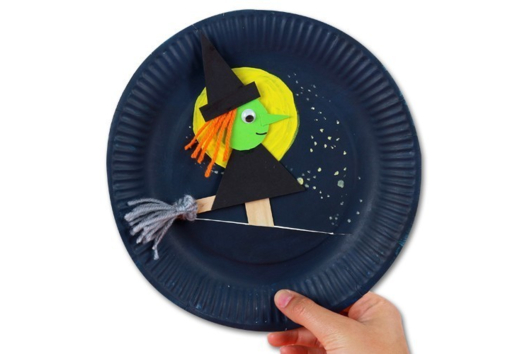
The Starry Witch
C17714View 620 time

-

Hanging Cats
C14103View 54031 time

-


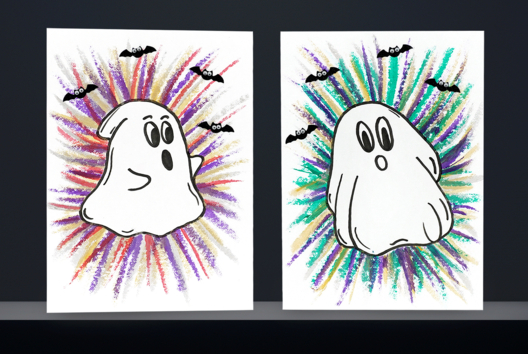
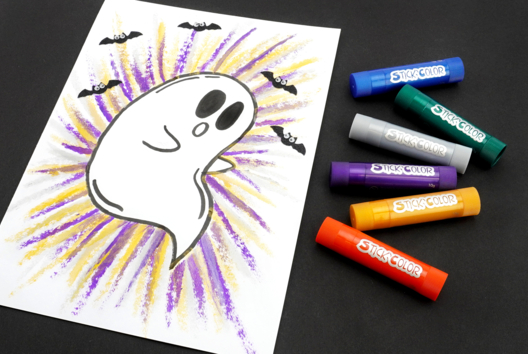
Raclette Painting: Ghosts
C10818View 10554 time
-
Mini Halloween Pumpkins
C10908View 17980 time
-
Ghost Silhouettes
C11025View 47602 time
-

Halloween Light Balls
C13045View 28043 time -


Funny Monsters on Sticks
C12430View 49295 time -

Candy Dispenser Witch
C12429View 11514 time -
Witch Puppet
C12427View 49702 time
Vos créations inspirées par ce tuto
Customer review
Give your feedback
Small Hanging Bats
Be the first to share your review of this product.
Post a review