Your cart is empty.
Surprise Pencil


Surprise Pencil
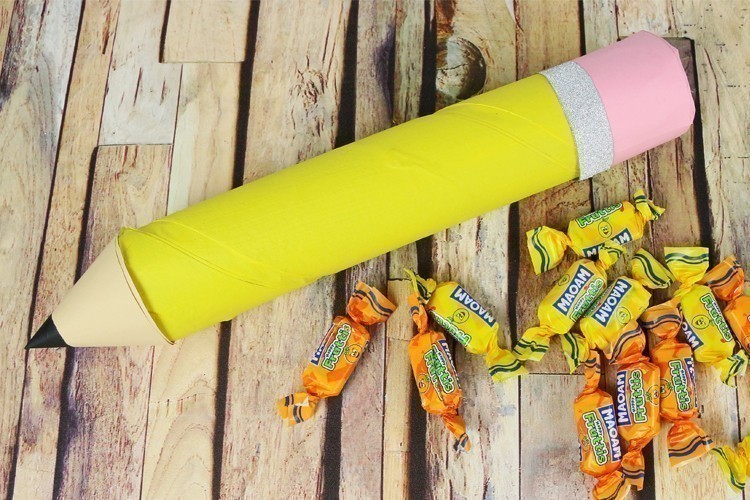
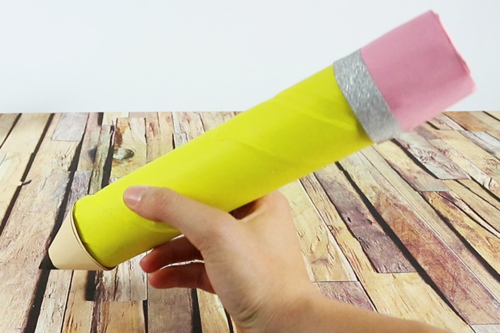
Awesome, a giant pencil filled with treats!
This easy craft, perfect for back-to-school, will allow children to create a "surprise pencil" in which they can hide candies, small items... To access the treasure inside the pencil, simply remove the lead!
To view the video tutorial, click on "VIDEO" below the main photo.
How to complete this tutorial step by step?
Etape 1.
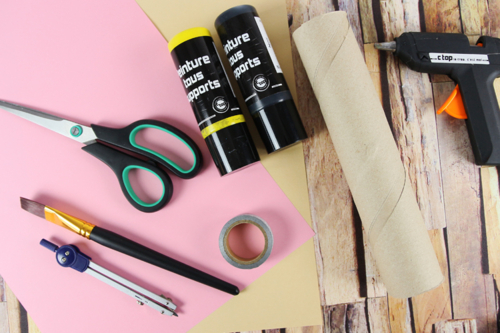
To make a surprise pouch pencil, you will need:
- a cardboard roll about 20 cm long (like a paper towel roll)
- acrylic paint and a brush
- a roll of masking tape
- colored paper
- a pair of scissors
- a compass
- a pencil
- a tube of white glue
- a glue gun
Etape 2.
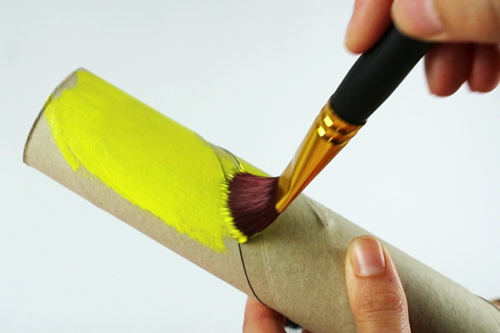
Paint the cardboard roll with acrylic paint and then let it dry for about ten minutes.
Etape 3.
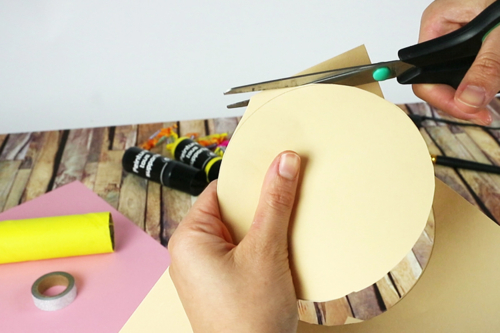
To create the pencil tip, cut a circle with a diameter of 12 cm from a sturdy beige-colored cardstock.
Etape 4.
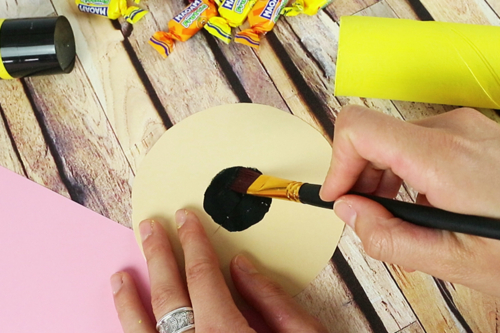
With acrylic paint (or a marker), draw a black circle in the center of the circle.
Etape 5.
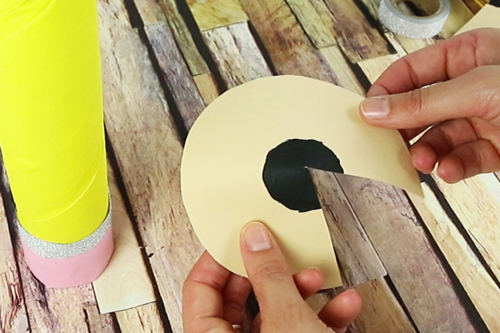
Cut approximately 1/6 of the circle as shown in the photo on the right.
Apply white glue to one of the cut edges and then shape it into a cone to create the pencil tip.
Etape 6.
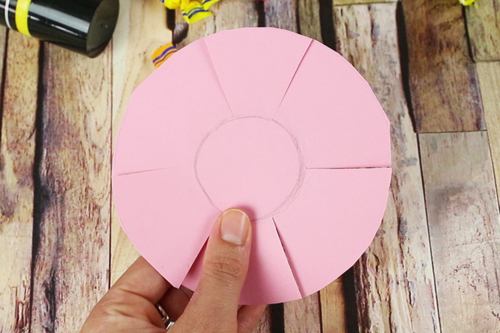
- Place the roll upright on a pink piece of paper, then trace the outline.
- Using a compass, draw a second circle around the first (the diameter of the second circle must be at least equal to double that of the first drawn circle).
- Cut along the outline of the larger circle.
- Using a pair of scissors, make 6 or 7 notches starting from the outside of the circle and going up to the outline of the smaller circle.
Etape 7.
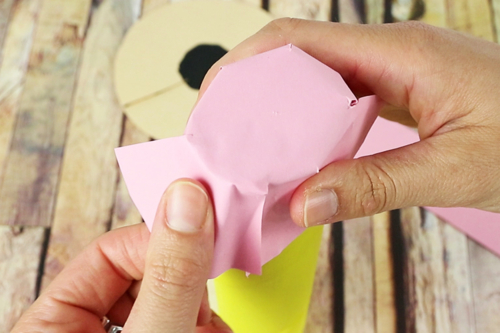
Apply glue to the pink tabs and then place the pink circle on the end of the cardboard tube.
Fold and then glue the paper tabs around the cardboard tube.
Etape 8.
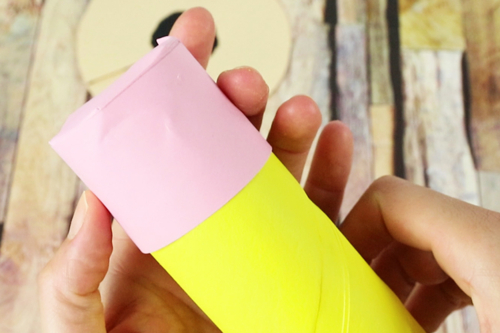
Using the same previously utilized pink paper card, cut a strip of paper measuring 4 to 5 cm by 20 cm in length.
Apply glue to the entire surface of the strip and then wrap it around the roll to cover the glued tabs from the previous step.
Etape 9.
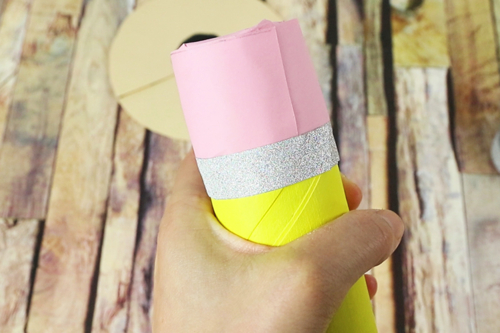
Stick a piece of silver masking tape between the pink part and the yellow part of the pencil for a nice finish.
Etape 10.
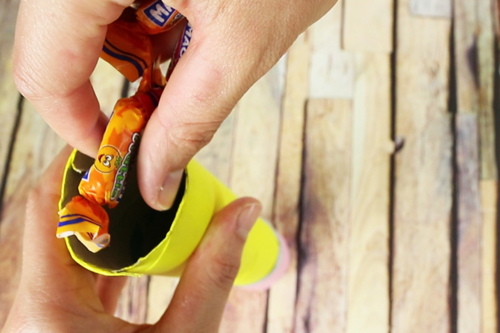
Fill the cardboard roll with treats.
Etape 11.
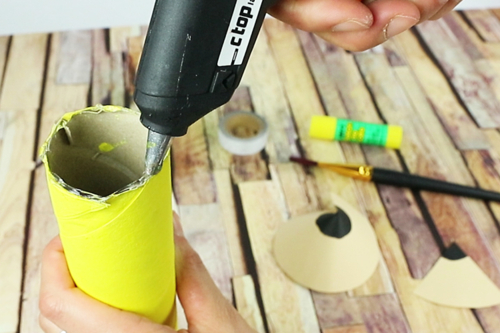
Using a glue gun, apply glue to the edge of the cardboard roll.
Etape 12.
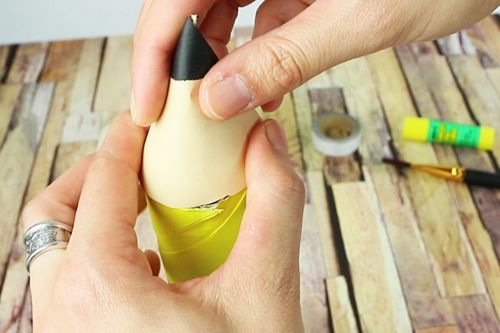
Quickly, come stick the pencil tip on the end of the roll.
Etape 13.
To access the treats, you will need to "break" the tip of this original crayon!
The products used:
The products used:


3,99€ (either 0,40 € / pc)
Available

6,99€ (either 0,14 € / pc)
Available


Other tutorials on the theme "Craft Tutorials"
-

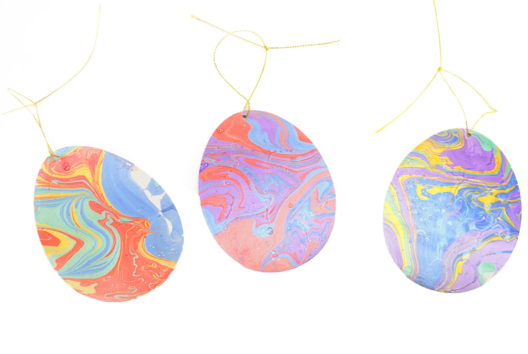
Easter Eggs Marbling Ornaments
C17738View 4685 time


-
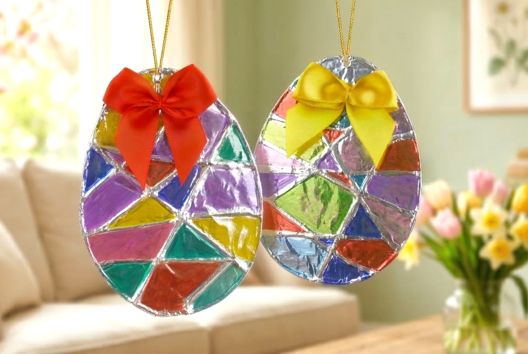
Easter Eggs with Aluminum Foil (Foil Art)
C17718View 11753 time


-
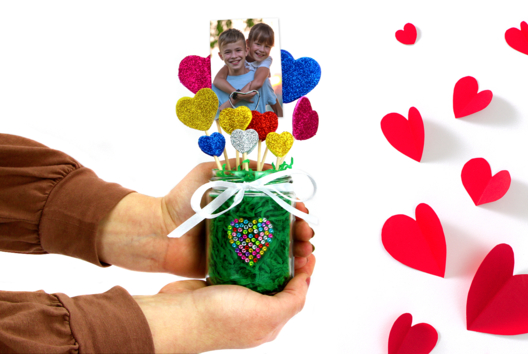
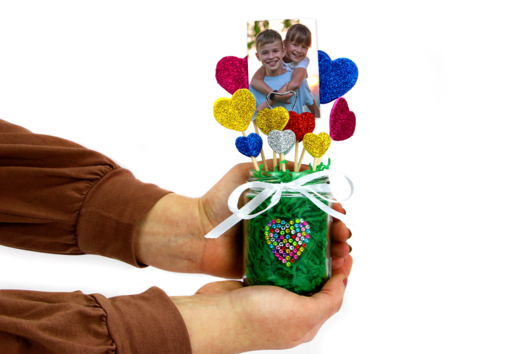
Mother's Day/Grandmother's Day Heart Pot
C15082View 23247 time -
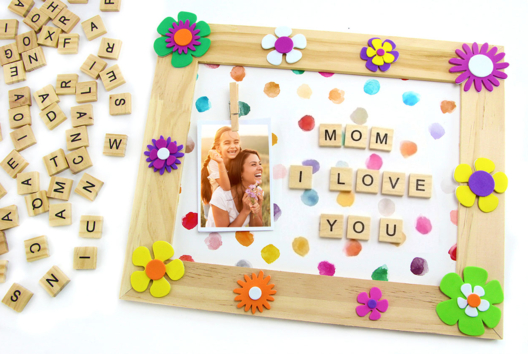

Scrabble Board Mother's Day/Grandmothers
C15078View 22120 time
-
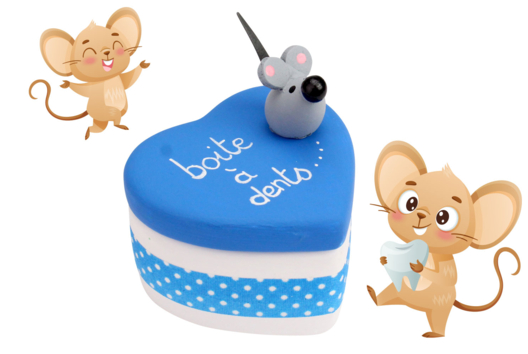

Little Mouse Tooth Box
C11298View 11730 time -
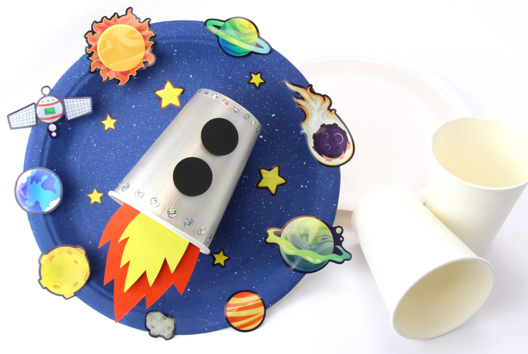
Rocket with a Cup and a Plate
C15065View 20172 time