Your cart is empty.
Bat


Bat
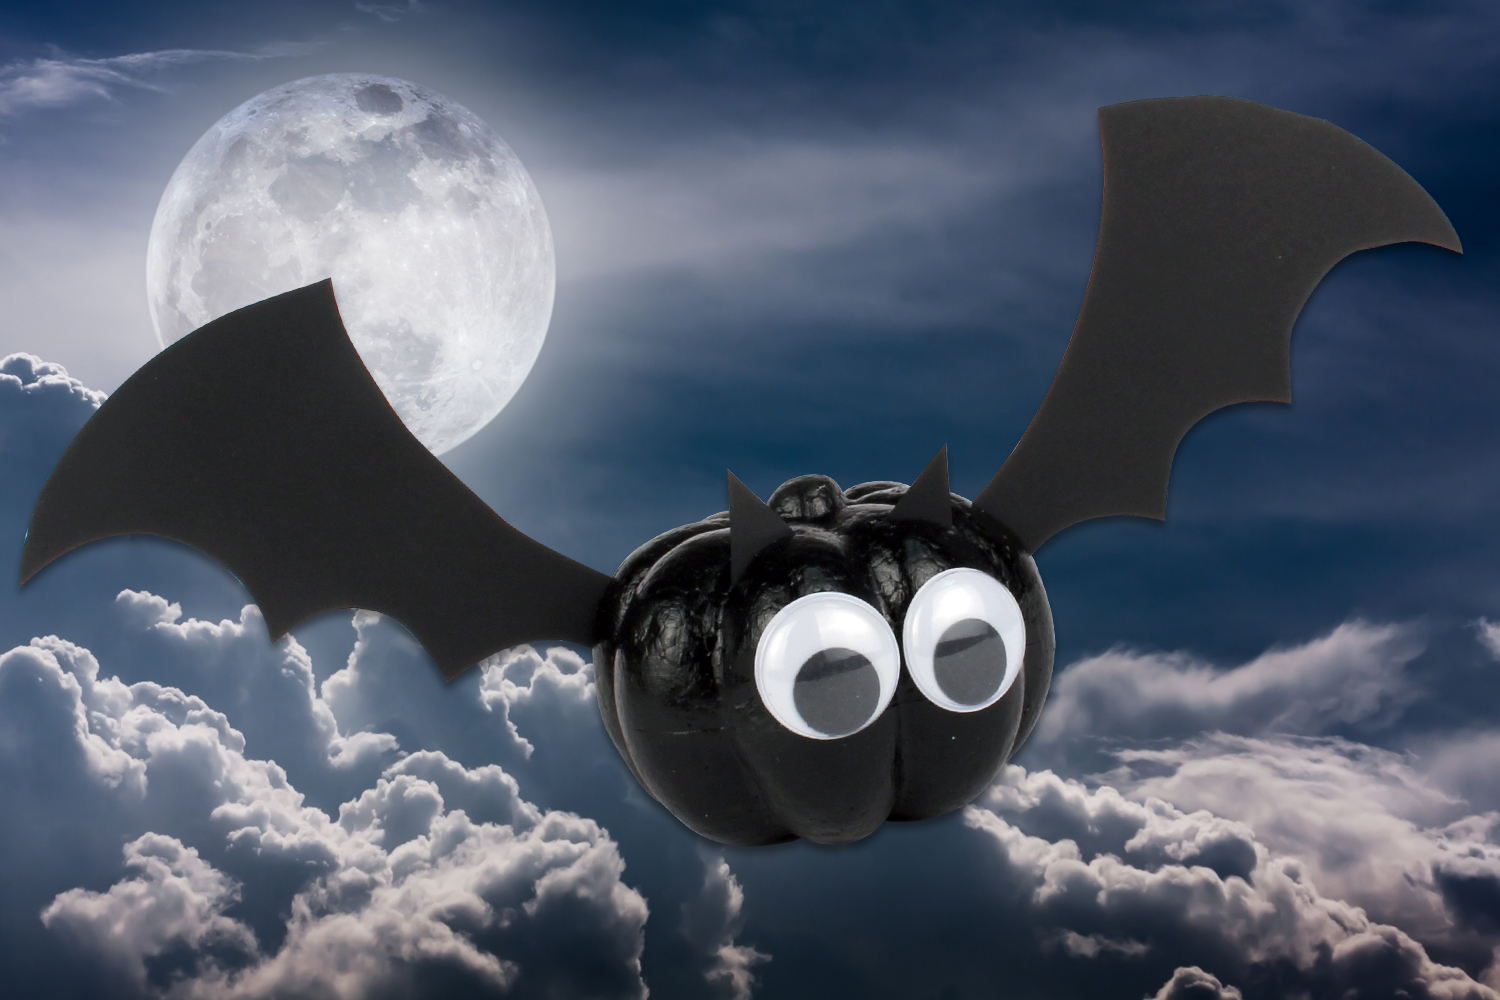
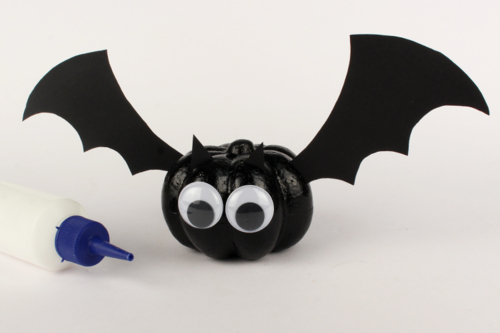
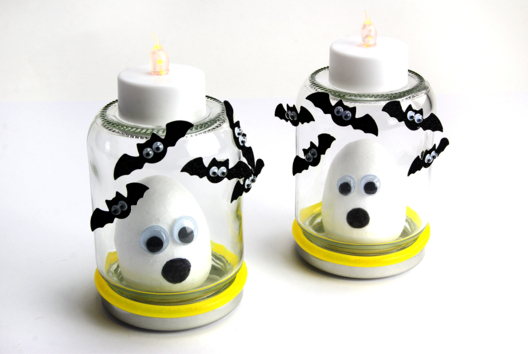
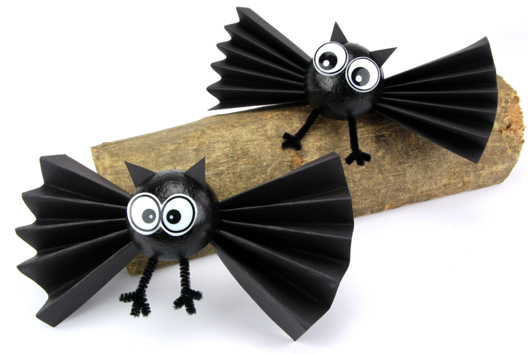
Discover a simple tip to make little hanging bats for Halloween! To create these decorations, you will only need a styrofoam pumpkin (or ball), black paint, black paper, 2 googly eyes, and a metal attachment.
A simple and fun Halloween craft to offer to children!
Thèmes de l'idéa créa :
#Halloween Tutorials
#I Make My Halloween Decorations
#I Make Bats
#Animal Tutorials
How to complete this tutorial step by step?
Etape 1.
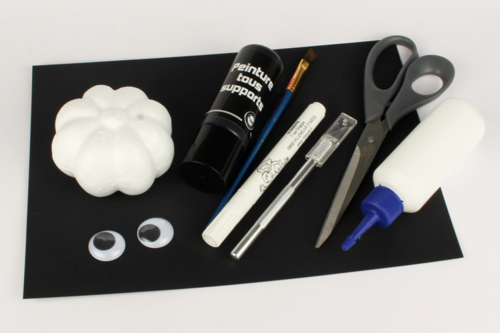
To make a bat, you will need:
- a polystyrene pumpkin
- black acrylic paint and a paintbrush
- a sturdy card 300 g/m²
- a pair of scissors
- 2 movable eyes Ø 2.5 cm
- a tube of strong white glue
- a precision cutter
If you would like to hang your bat, add the following:
- a metal spike attachment
- transparent nylon thread
Etape 2.
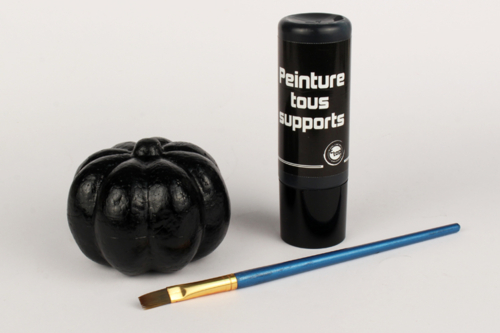
Paint the pumpkin with black acrylic paint and let it dry for about 30 minutes.
Tip: Stick a skewer under the pumpkin to paint the entire surface at once and avoid getting your fingers messy!
Etape 3.
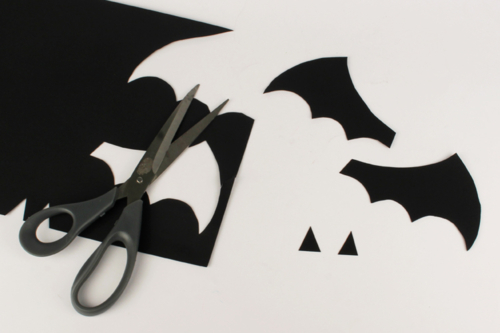
Draw and then cut out the wings and ears of the bat from black cardstock.
TIP: You can also PRINT the wing template by clicking on "technical sheet" below the main photo at the top of the page!
Etape 4.
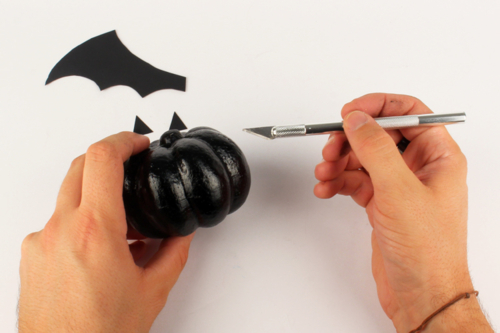
Make a cut of about 2 cm on one side of the pumpkin so that you can insert a wing.
Etape 5.
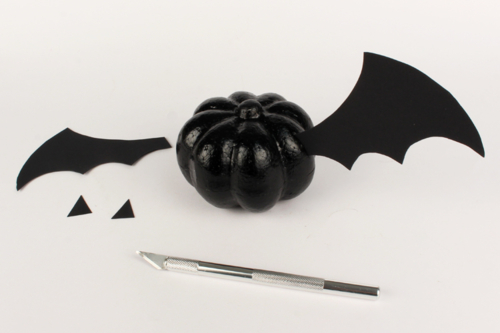
Insert the first wing into the formed notch.
Etape 6.
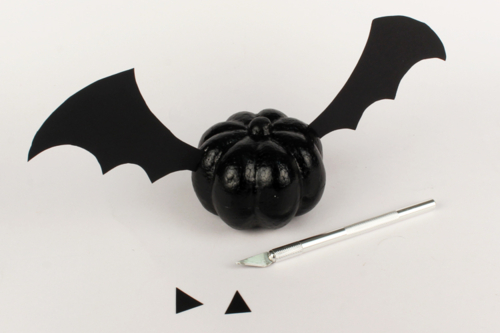
In the same way, plant a second wing on the other side of the pumpkin.
Etape 7.
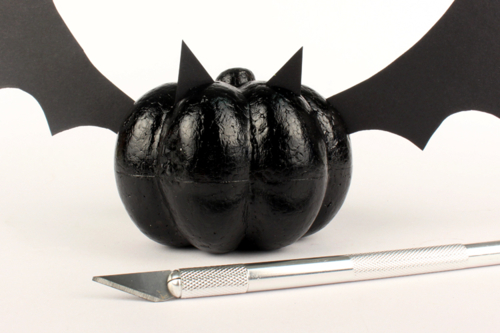
Make 2 small cuts above the pumpkin to insert the 2 ears of the bat.
Etape 8.
Glue 2 googly eyes to give your bat a funny look.
Etape 9.
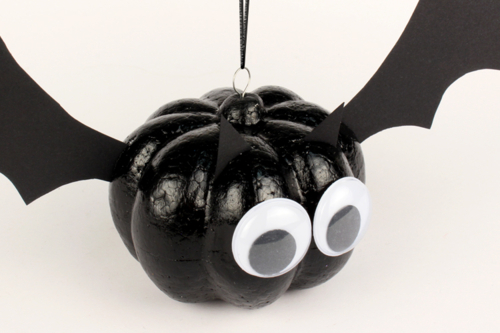
Insert a metal clip into the pumpkin's stem, then attach a clear thread to hang your bat in the air.
The products used:
The products used:


3,59€ (either 0,36 € / pc)
Available


2,99€ (either 1,00 € / pc)
Available


Other tutorials on the theme "Halloween Tutorials"
-


The monstrous candy bags
C17716View 623 time


-
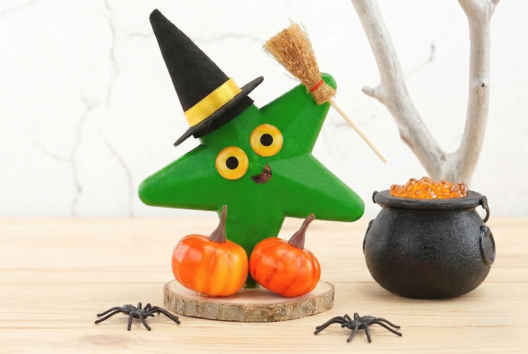
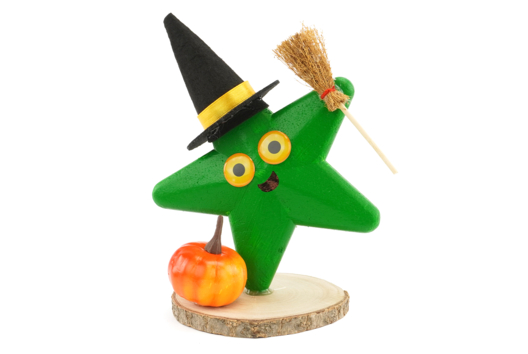
The Starry Witch
C17714View 620 time

-
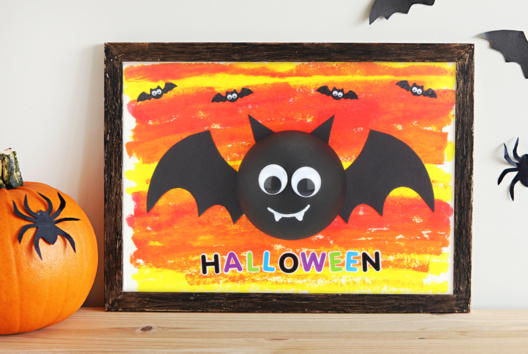
Bat Wall Art
C15161View 26771 time -
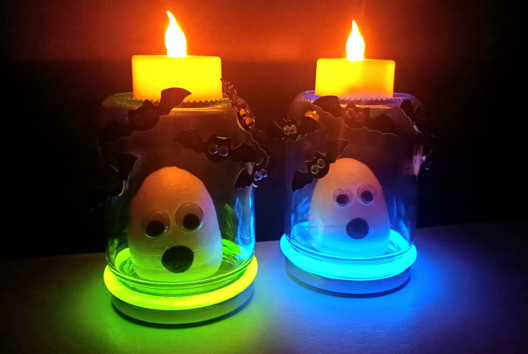
Ghost Cage
C14789View 57088 time -
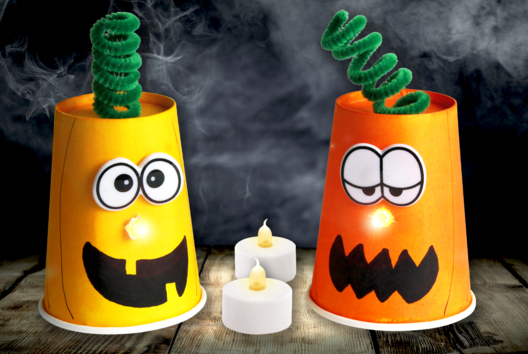
Glowing Pumpkin with a Paper Cup
C14236View 44437 time -
Halloween Bat
C14775View 50692 time