Your cart is empty.
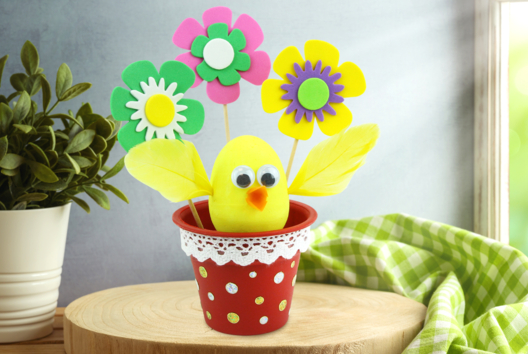
Chick Puppet
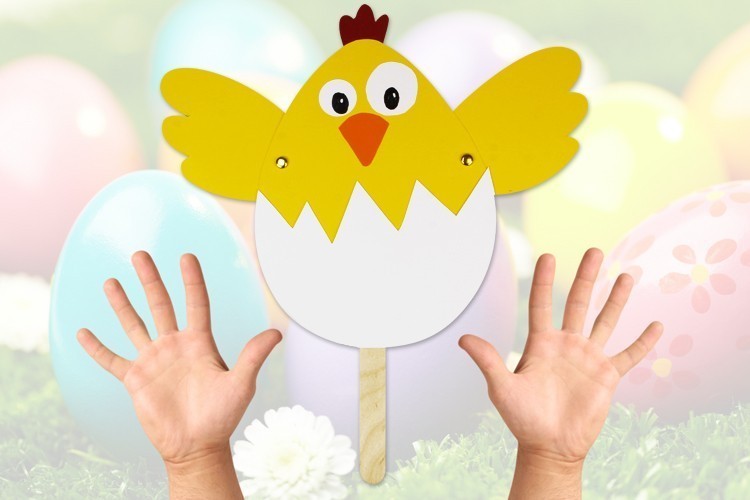


Chick Puppet
An easy and inexpensive Easter craft that will certainly entertain the kids.
This easy-to-make chick puppet can be crafted even by the youngest children, requiring only a few sheets of thick paper, a wooden stick, and some accessories.
Children will love pulling the string to make the little chick's wings move!
To view the video tutorial, click on "VIDEO" below the main photo.
How to complete this tutorial step by step?
Etape 1.
To make a chick puppet, you will need:
- 4 stiff cards 300 g/m² in A4 format (yellow, red, orange, white)
- a 15 cm wooden stick
- about 80 cm of polyester cord
- a hole punch
- 2 split pins (length: 2 cm)
- a pair of scissors
- a stick of white glue
- a black marker
Etape 2.
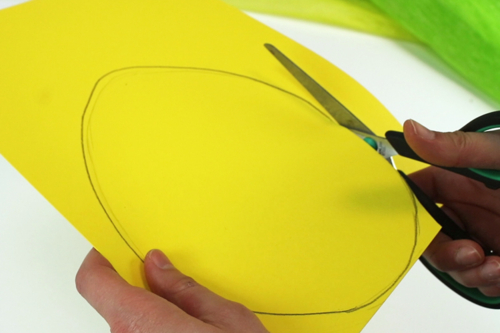
To create the body of the chick, cut out an egg shape about 20 cm tall from a sturdy yellow cardstock.
Etape 3.
Cut out:
- the wings of the chick from a sturdy yellow card (length of a wing: approximately 10 cm)
- the beak of the chick from a sturdy orange card
- the comb of the chick from a sturdy red card
- the 2 eyes of the chick from a sturdy white card
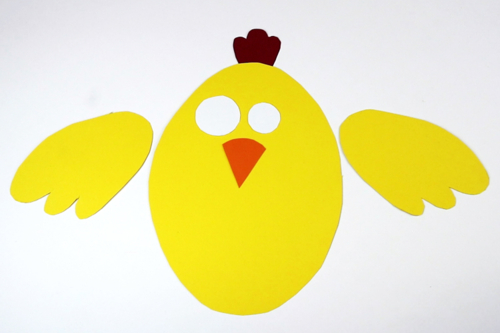
Etape 4.
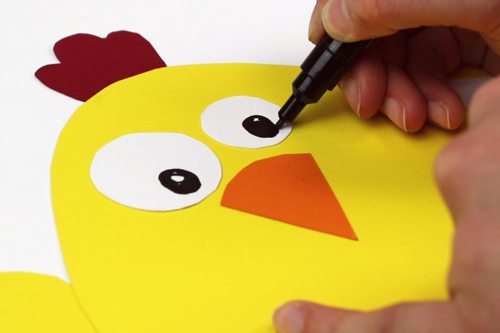
With a glue stick, attach the eyes, beak, and crest of the chick (Note: do not attach the wings!)
Draw the pupils of the eyes using a black marker.
Etape 5.
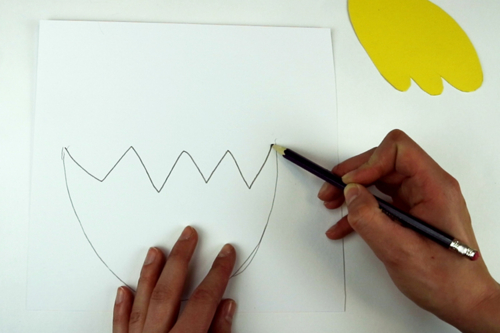
To create the eggshell, place the chick's body on a sturdy white card and trace the outline with a pencil.
Then, hand-draw the 'broken line' of the eggshell and cut out the sturdy white card following your outline.
Etape 6.
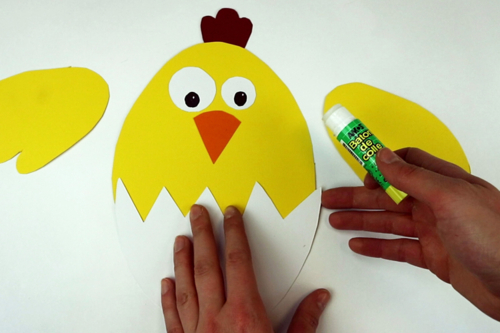
With a stick of white glue, stick the shell to the bottom part of the chick's body.
Etape 7.
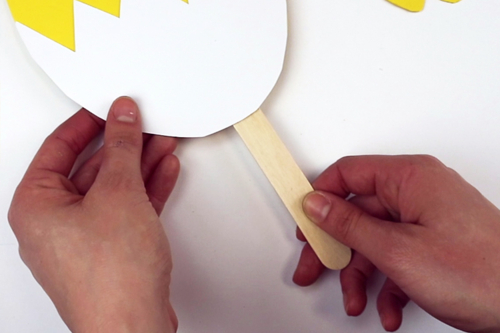
Using a stick of white glue, attach a wooden stick to the back of the chick so you can hold the puppet in your hand.
Etape 8.
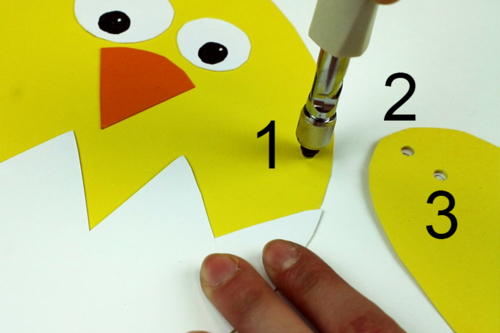
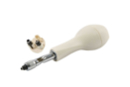
Using a hole punch, make 3 holes of Ø 3 mm:
- the first on the right side of the chick at the height of the beak
- the second at the tip of the right wing of the chick (at the level of the 'shoulder')
- the third about 1 cm below the second
Make 3 more holes placed in the same spots on the left side and left wing of the chick.
Etape 9.
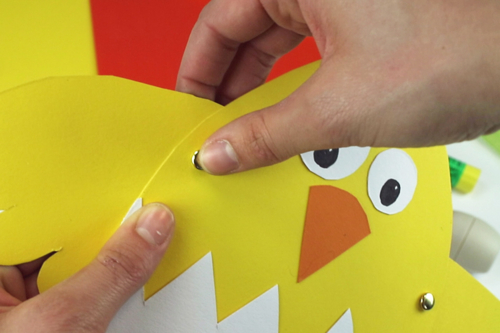
Attach the wings to the body of the chick using 2 cm length brass fasteners.
The 2 brass fasteners will go through holes numbered 1 and 3 in the photo from the previous step.
Etape 10.
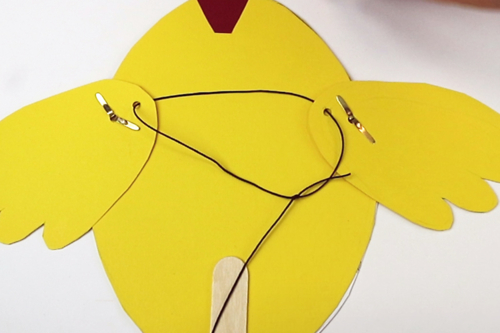
Cut a piece of polyester thread about 80 cm long, pass it through the holes at the ends of the chick's wings, then tie a double knot as shown in the picture on the side.
Etape 11.
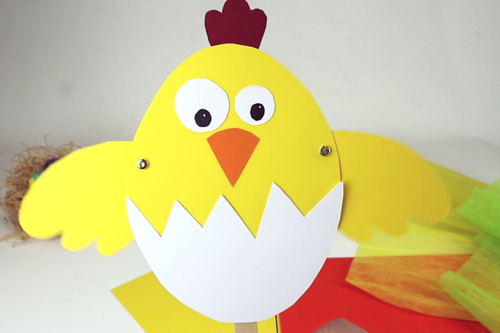
To make the chick's wings move, simply hold the puppet in one hand and pull the string down with the other hand, easy!
The products used:
The products used:

3,59€ (either 0,36 € / pc)
Available

3,59€ (either 0,36 € / pc)
Available

3,59€ (either 0,36 € / pc)
Available

3,59€ (either 0,36 € / pc)
Available


Other tutorials on the theme "Easter Tutorials"
-

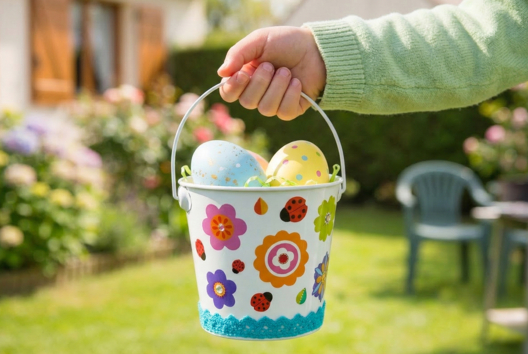
Bucket for collecting Easter eggs
C17732View 6229 time


-
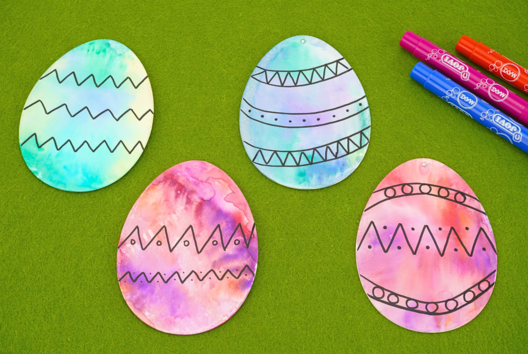

Watercolor Easter Eggs
C11103View 20836 time
-

3D Easter Egg Board
C15129View 24956 time -
Little Chick in a Flower Pot
C15126View 18068 time -
Glowing Easter Egg
C15125View 21396 time -
Easter Bunny and Flower Planter
C15113View 22504 time
Avis client
4.5/5
2 avis publiés
5
50%
4
50%
3
0%
2
0%
1
0%
Customer review
POUSSIN
Tres bien cette activité pour les grands j'aimerrais connaaitre des activitées pour les enfants a partir de 2 ans
Si on veut occuper les petits.....ils ne peuvent rien faire avant d'avoir 7 ans non? Avez vous des activités à la portée des tout petits