Your cart is empty.
3D Easter Egg Board
3D Easter Egg Board
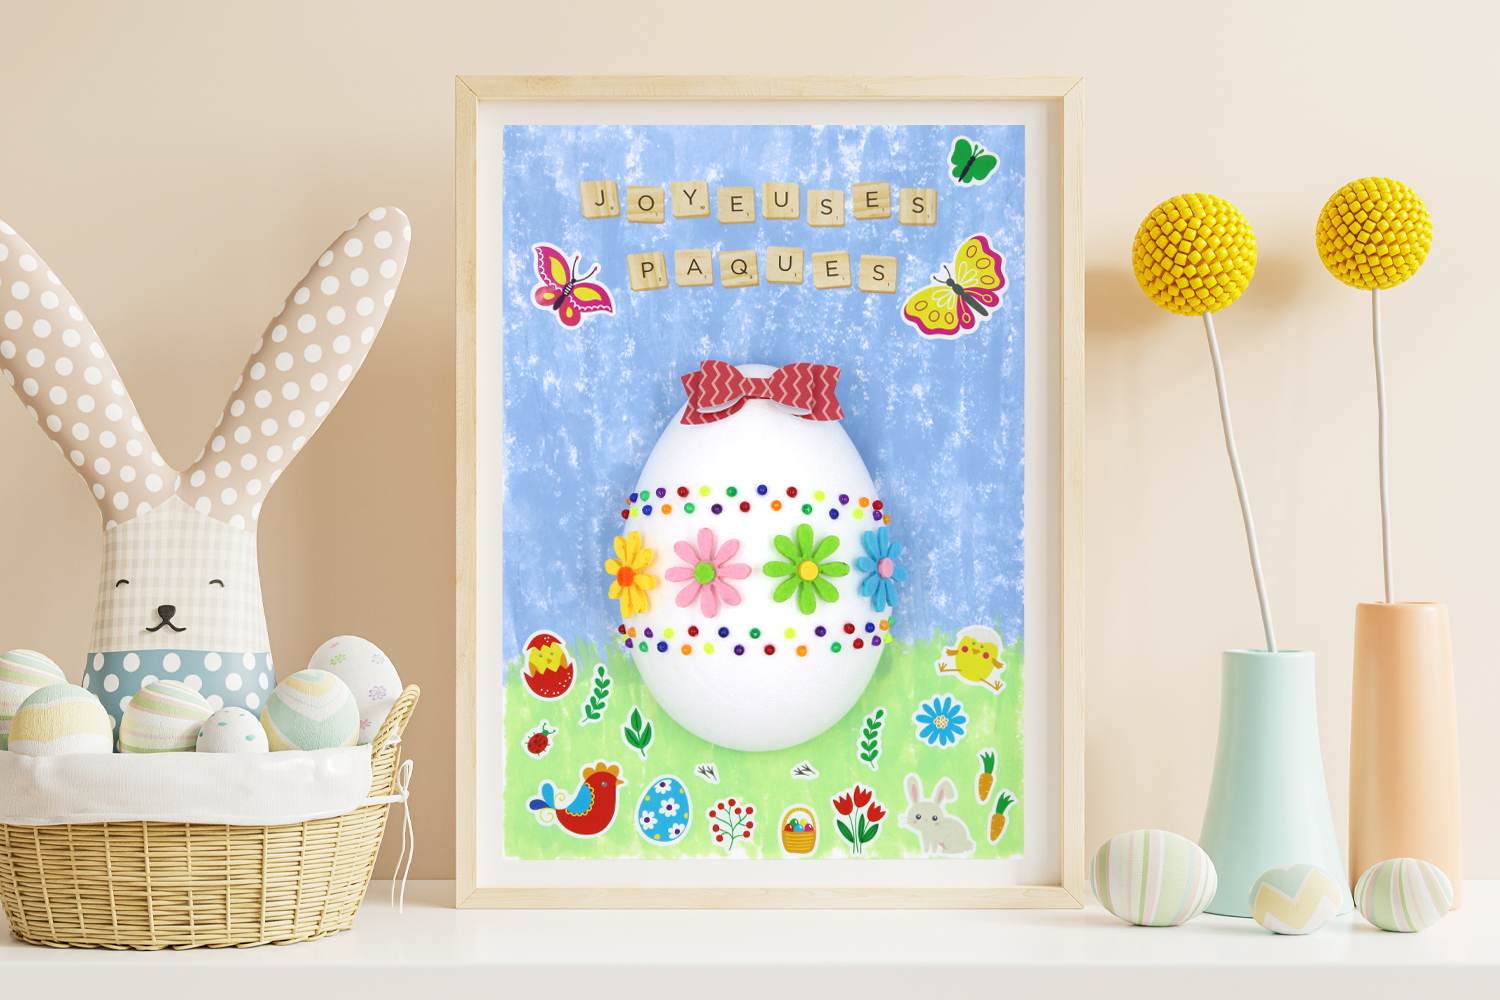
With a large styrofoam egg, children can create a beautiful 3D board to decorate the house for Easter.
A simple activity for younger ones that includes coloring, gluing stickers, and piercing with plastic pins.
How to complete this tutorial step by step?
Materials
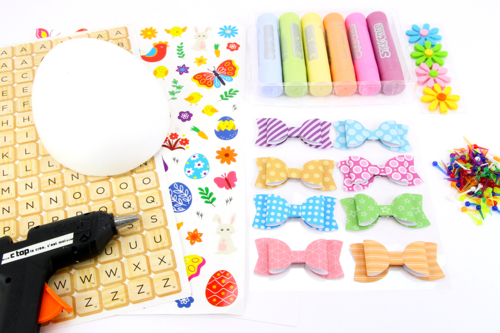
For this activity, you will need:
- a polystyrene egg in 2 parts (15 cm)
- a sturdy white card (A4)
- solid gouache sticks
- felt flower stickers
- plastic pins
- a bow tie sticker
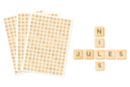
- wooden letter stickers
- Easter stickers
Step 1
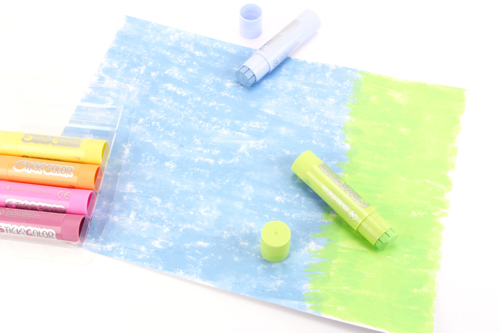
Create the background of the painting using solid gouache sticks: color 2/3 of the strong paper in blue (sky) and 1/3 in green (grass).
Step 2
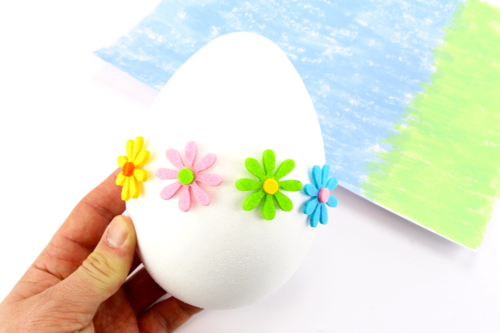
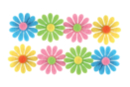
Glue 4 felt flowers to the center of the half-egg.
Step 3

Insert plastic pins into the Styrofoam egg to create pretty colorful decorations.
Step 4
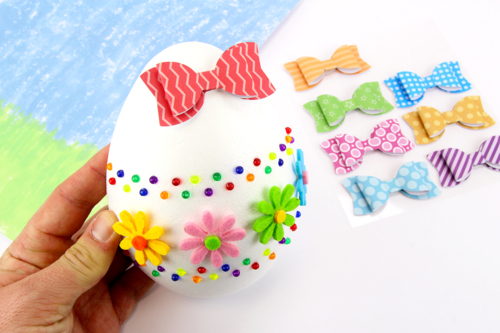
Glue a bowtie to the top of the egg.
Step 5
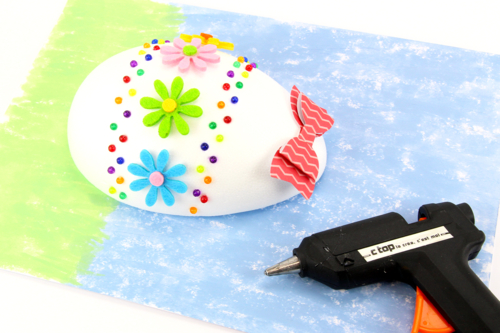
Glue the egg onto the colored background using a glue gun.
Step 6
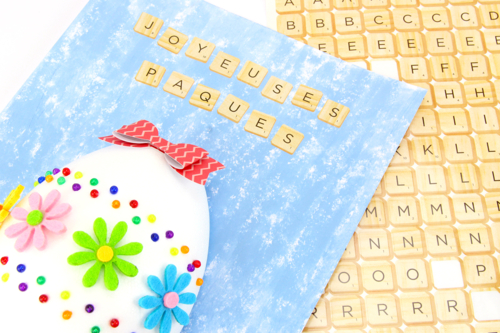
Write "Happy Easter" using the Scrabble letter effect stickers.
Step 7
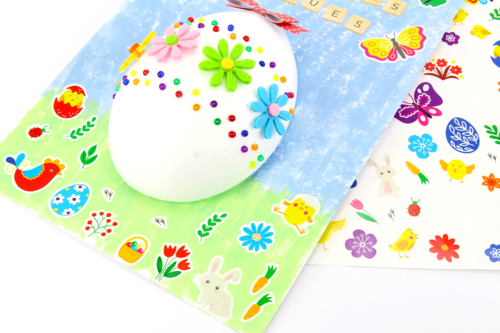
Complete the board by sticking lots of pretty Easter stickers.
The products used:
The products used:

2,29€
Available

3,59€ (either 0,36 € / pc)
Available


Other tutorials on the theme "Easter Tutorials"
-

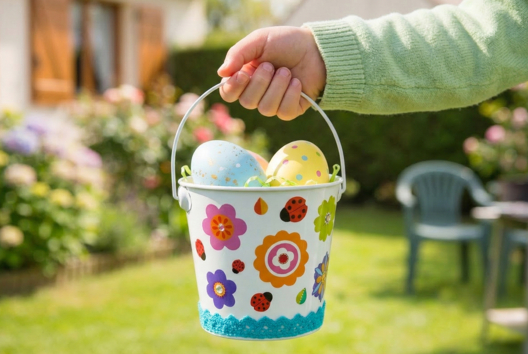
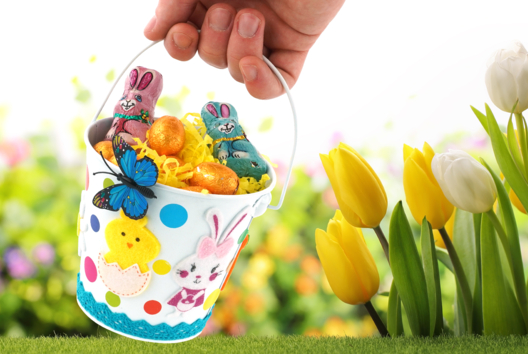
Bucket for collecting Easter eggs
C17732View 6206 time


-
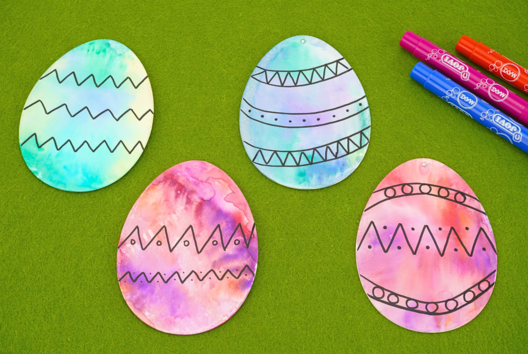

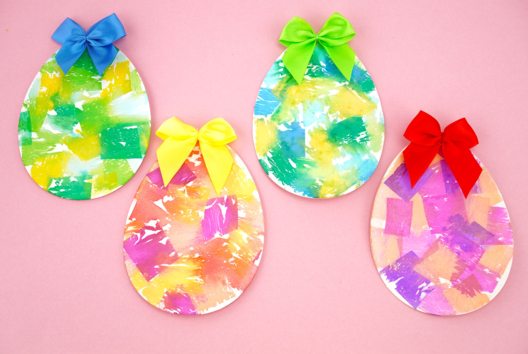
Watercolor Easter Eggs
C11103View 20804 time
-

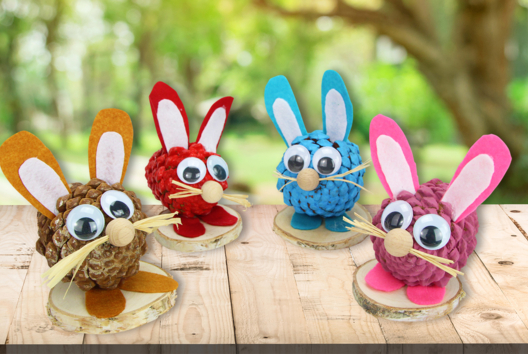
Pine Cone Rabbit
C13969View 61318 time


-
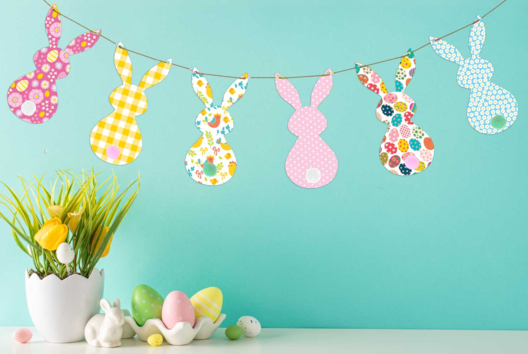
Bunny Garland
C13141View 9746 time
-
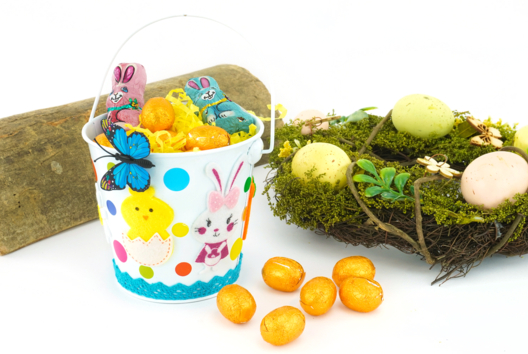
Easter Egg Collection Basket
C11232View 25204 time
-
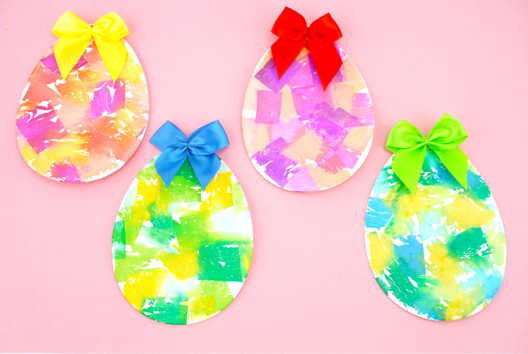
Crepe Paper Painting - Easter Eggs
C11178View 38361 time
-
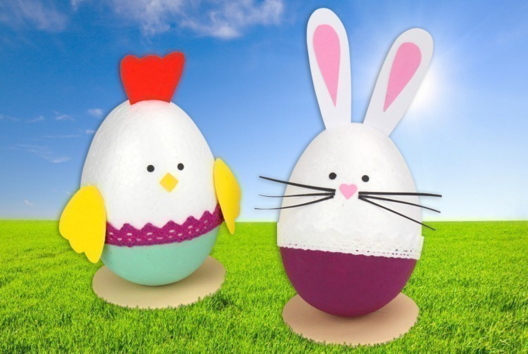
Chicken and Bunny with Styrofoam Eggs
C12663View 13108 time -
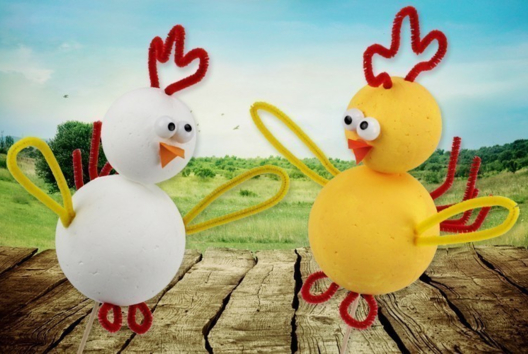
Funny Chickens
C12662View 17495 time -
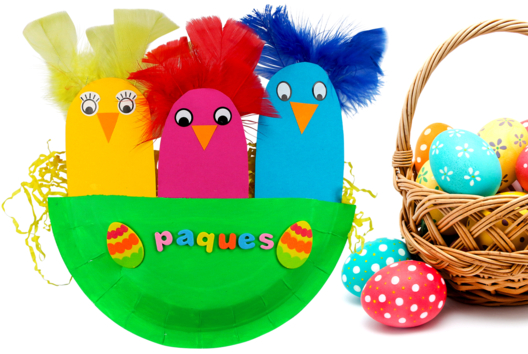
Easter Chicks in Their Nest
C12661View 34435 time -
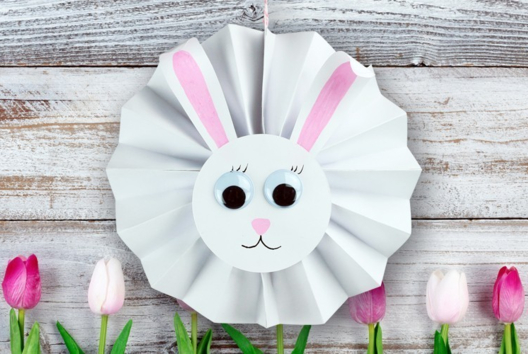
Cute Paper Bunny
C12654View 32694 time
Vos créations inspirées par ce tuto
Customer review
Give your feedback
3D Easter Egg Board
Be the first to share your review of this product.
Post a review