Your cart is empty.
Glowing Easter Egg


Glowing Easter Egg
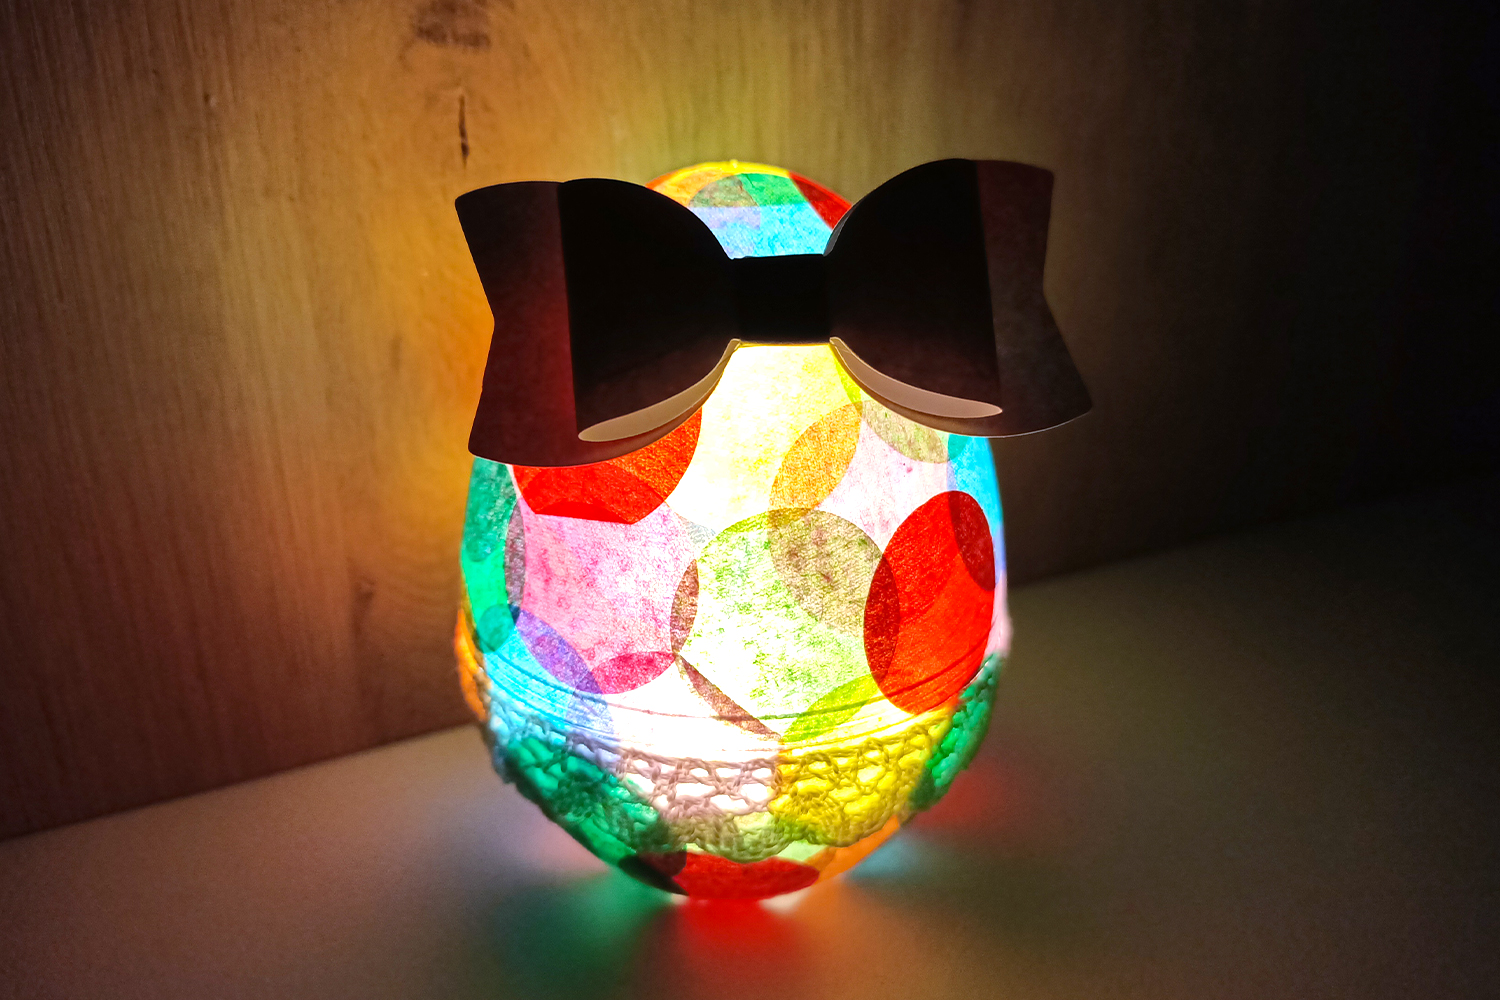
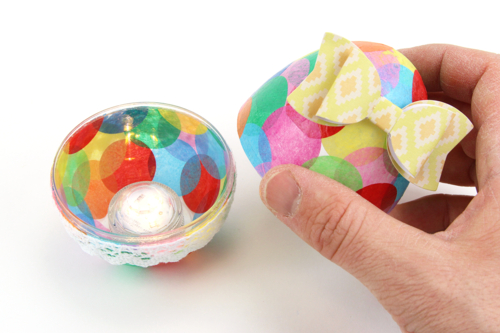
In this Easter activity, children will enjoy decorating a transparent egg with colored tissue paper.
They can then place a candle inside the egg to make it shine in the dark, creating a beautiful luminous decoration for the home!
How to complete this tutorial step by step?
Materials
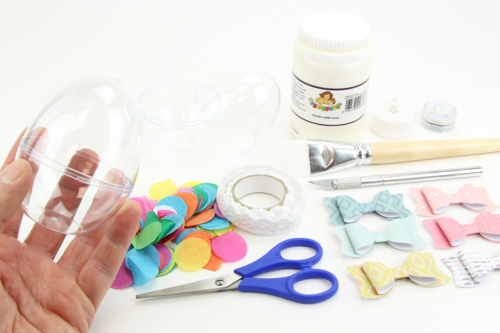
To complete this activity, you will need:
- a transparent plastic egg to place
- glue varnish and a brush
- colored circles made of tissue paper
- adhesive lace
- bow tie stickers
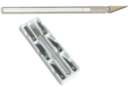
- a precision cutter
- a pair of scissors
Step 1
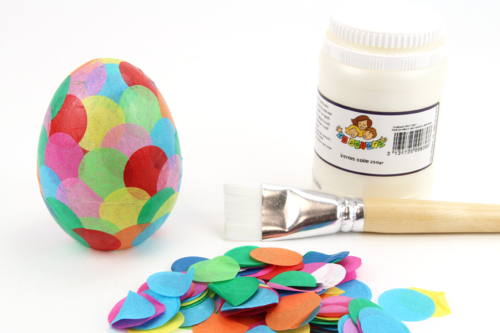
Decorate the egg with adhesive varnish by applying circles of tissue paper all over its surface.
Let everything dry for a few hours.
Step 2
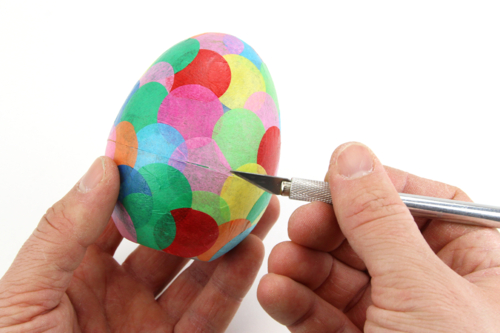
Step to be completed with an adult
Once the varnish is dry, cut the tissue paper with a cutter along the junction of the 2 parts of the egg.
Step 3
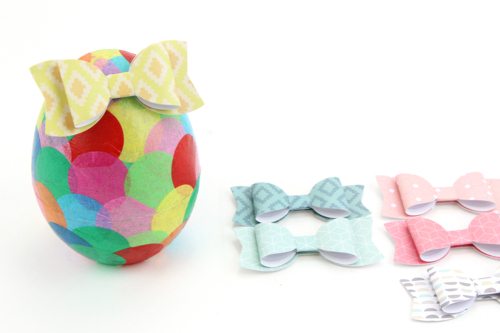
Stick a bow tie sticker at the top of the egg.
Step 4
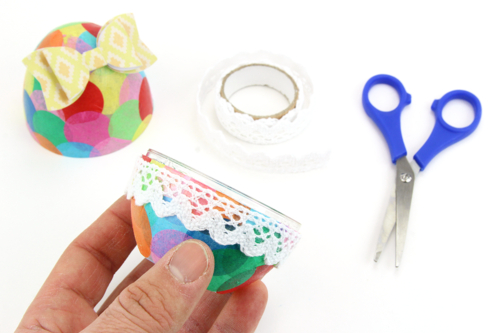
Open the egg in half and then glue adhesive lace around the lower part.
Step 5
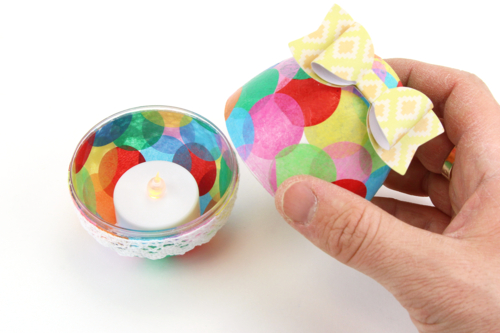
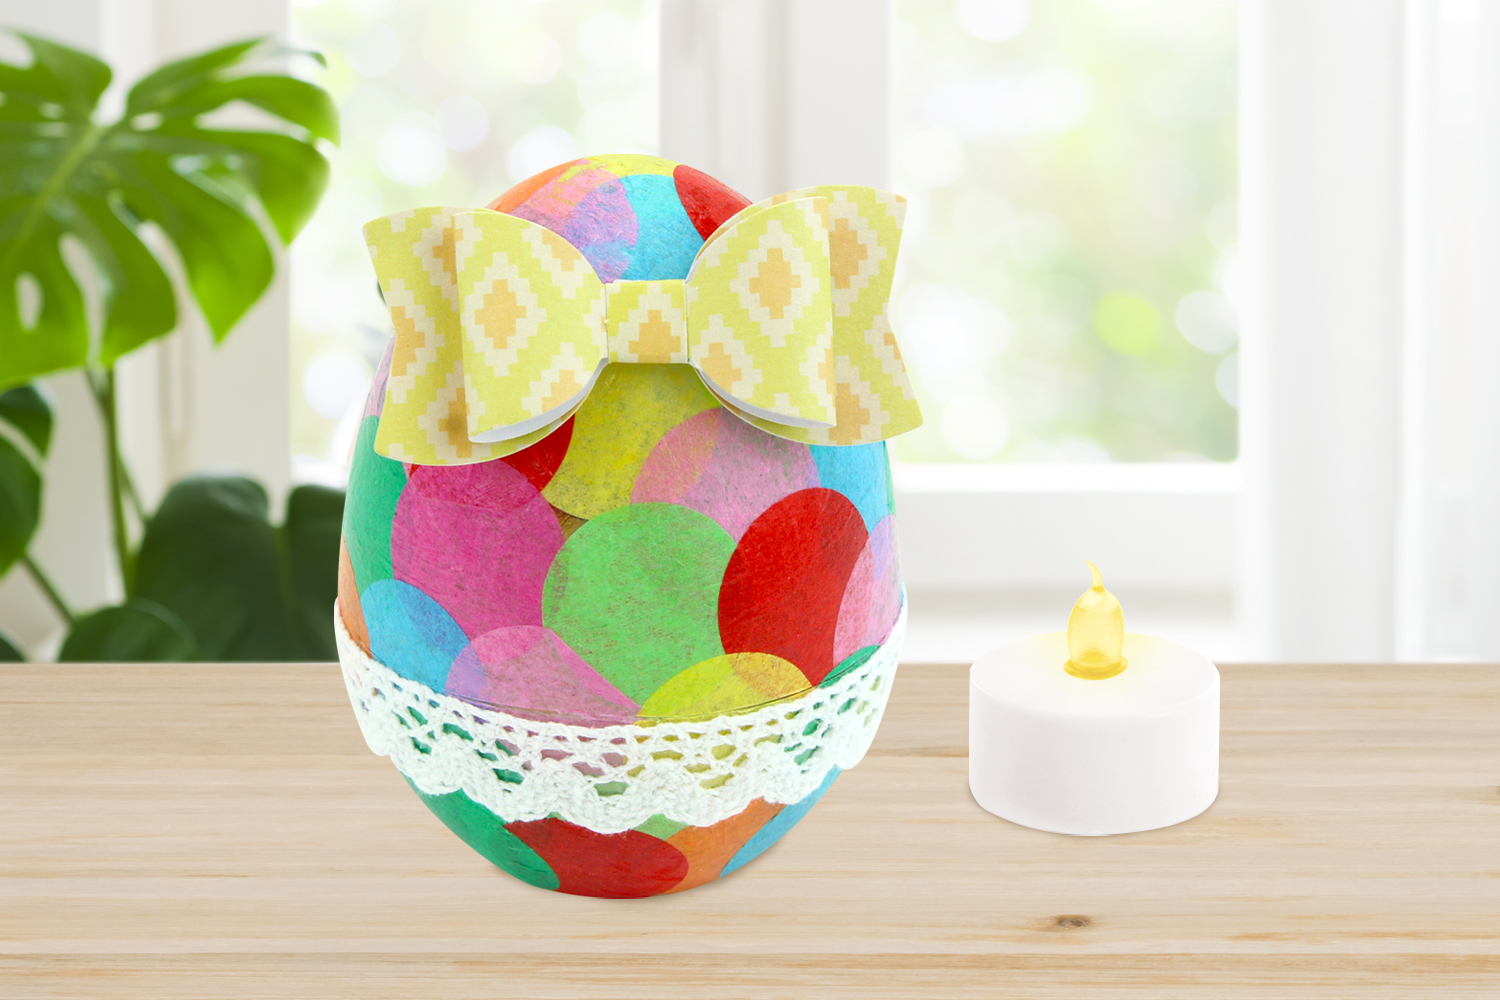
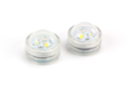
Place a LED candle inside the egg so that it lights up in the dark.
Step 6
For a whiter and more powerful light, we recommend using the LED candles ref. 44626.
The products used:
The products used:
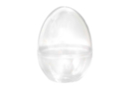
Transparent Surprise Eggs - 5 Pieces
Réf. 57320 - Product sheet
5,95€ (either 1,19 € / pc)
Available


7,90€ (either 1,32 € / pc)
Available


LED Electric Candles - 2 Pieces
Réf. 07139 - See the full range
1,98€ (either 0,99 € / pc)
Available
6,98€ (either 3,49 € / pc)
Available

Other tutorials on the theme "Easter Tutorials"
-


Bucket for collecting Easter eggs
C17732View 6180 time


-
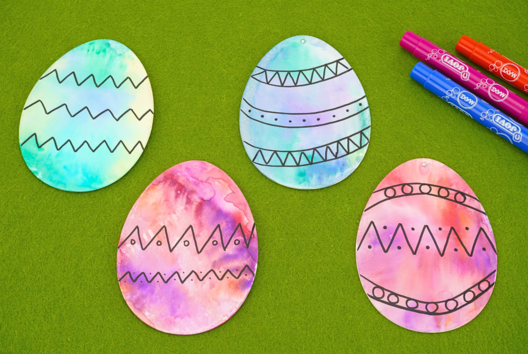

Watercolor Easter Eggs
C11103View 20769 time
-
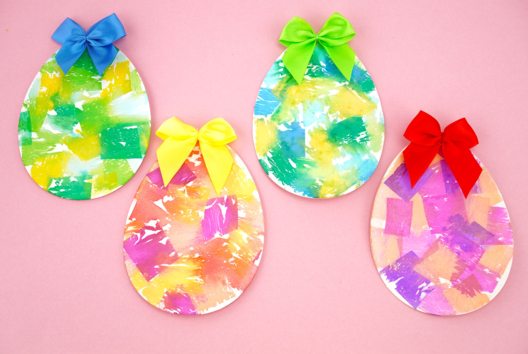
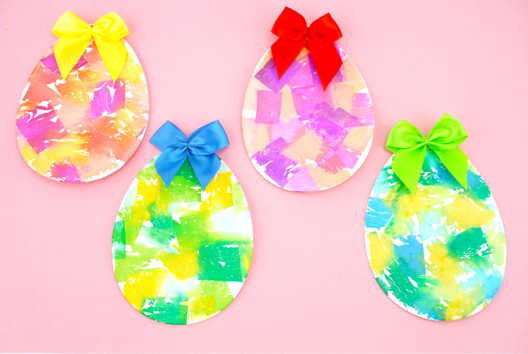
Crepe Paper Painting - Easter Eggs
C11178View 38331 time
-
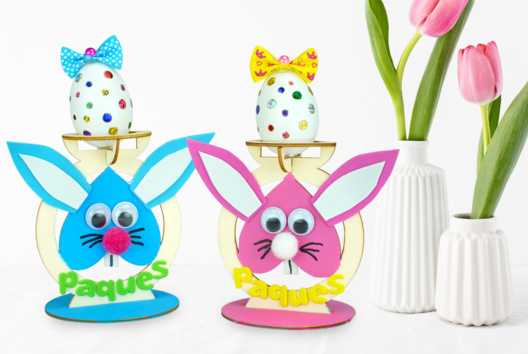
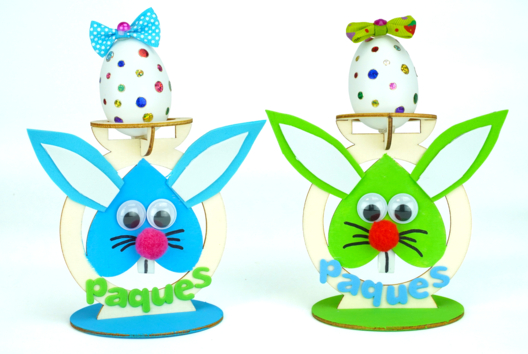
Rabbit-Shaped Egg Cup
C11146View 15449 time


-


Glitter Easter Bells
C11130View 32087 time
-
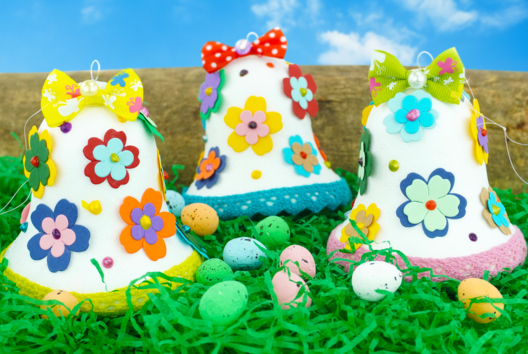

Flowered Easter Bells
C11112View 16171 time
-
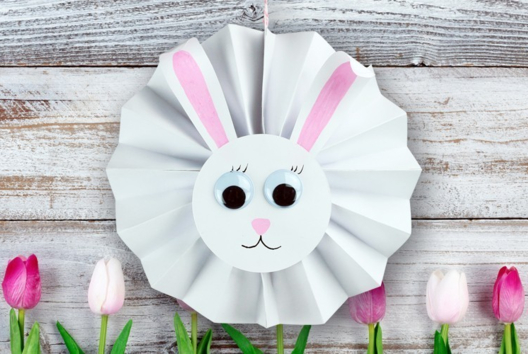
Cute Paper Bunny
C12654View 32671 time -

Bunny Puppet
C12194View 26790 time -
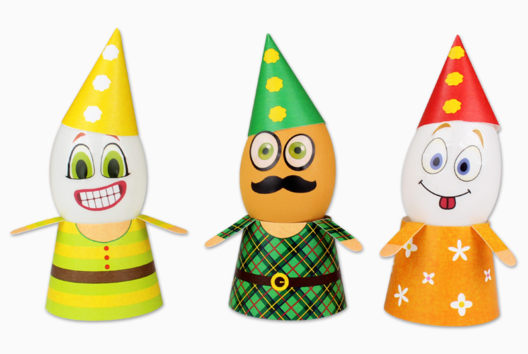
Dress Up Easter Eggs
C12190View 23277 time -

Chick Puppet
C12188View 38608 time
Vos créations inspirées par ce tuto
Customer review
Give your feedback
Glowing Easter Egg
Be the first to share your review of this product.
Post a review