Your cart is empty.
Chicken and Bunny with Styrofoam Eggs
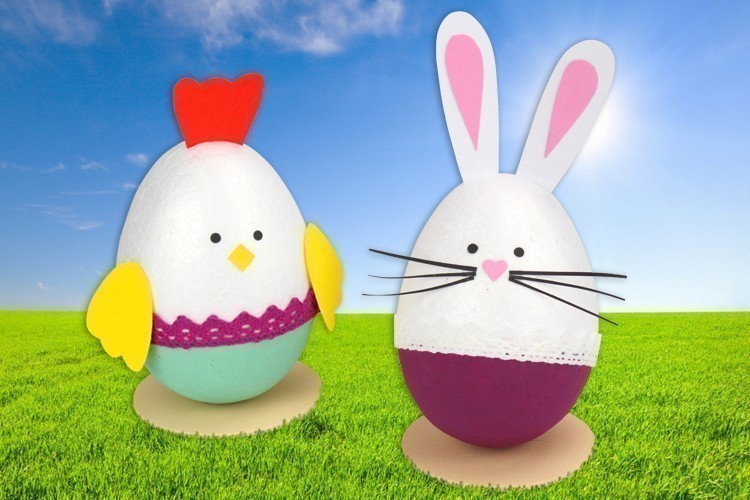
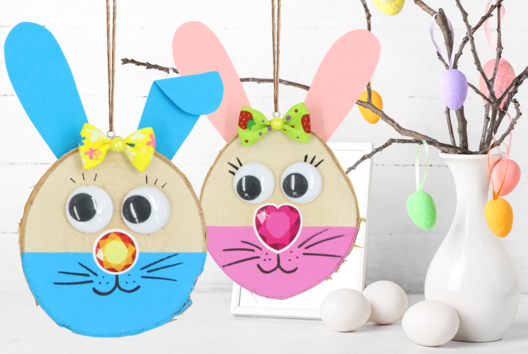
Chicken and Bunny with Styrofoam Eggs
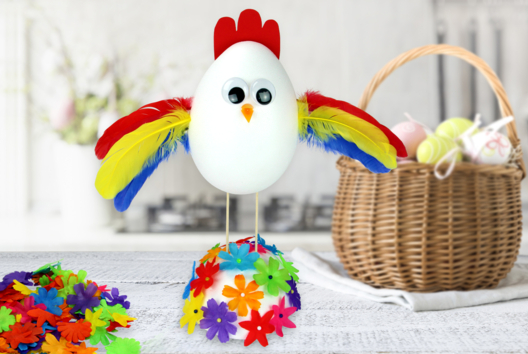
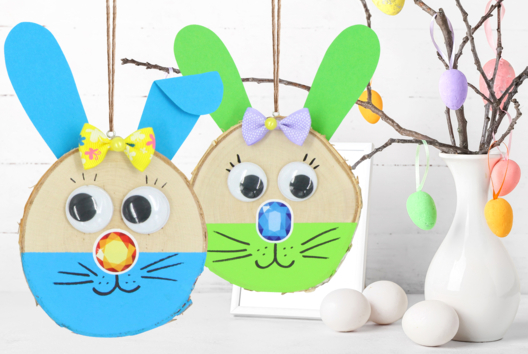
This is an easy Easter craft that allows you to create a lovely decorative chicken and bunny using a styrofoam egg, some paint, adhesive lace, and paper!
Thèmes de l'idéa créa :
#Easter Tutorials
#I Make Bunny Eggs
#Animal Tutorials
#Decorate Styrofoam Eggs
How to complete this tutorial step by step?
Etape 1.
To make a cute Easter bunny or chicken, you will need:
- a polystyrene egg 9 x 12 cm
- acrylic paint and a brush
- a wooden stick
- adhesive lace
- colored sturdy cards 300 g/m²
- a natural wood base Ø 8.5 cm
- strong white glue and a glue gun
- a pair of scissors and a craft knife
Etape 2.
Insert a wooden stick into the bottom of the egg (the widest part) and then paint about 1/3 of the egg with decorative chalk paint.
Let the paint dry for about 20 minutes.
Etape 3.
Once the paint is dry, stick adhesive lace all around the egg, at the edge of the colored part.
Etape 4.
Cut out the decorative elements of the chicken and the rabbit (ears, comb, wings, eyes, ...) from colored cardstock and then glue the elements together using strong white glue.
Tip: For the rabbit's ears and the chicken's comb, we made a notch with a cutter in the egg to slide the paper elements in.
Etape 5.
Using chalk paint, paint a natural wood round base with a diameter of 8.5 cm and let it dry for a few minutes.
Once the wooden base is dry, glue the figure you created using a hot glue gun for instant adhesion.
The products used:
The products used:

Styrofoam Egg 12 x 9 cm - 6 pieces
Réf. 13224 - See the full range
5,94€ (either 0,99 € / pc)
Available


2,99€ (either 1,00 € / pc)
Available


13,99€ (either 0,28 € / pc)
Available


Other tutorials on the theme "Easter Tutorials"
-

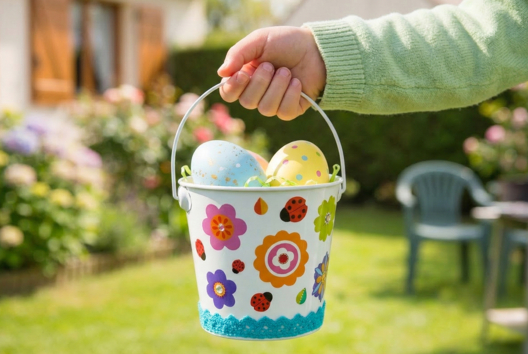
Bucket for collecting Easter eggs
C17732View 6180 time


-
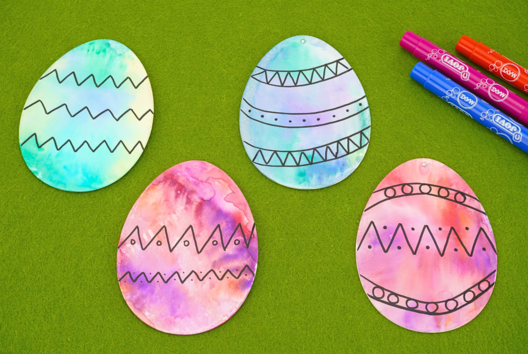

Watercolor Easter Eggs
C11103View 20768 time
-
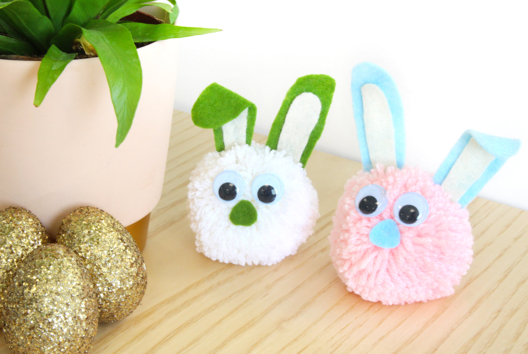
Fluffy Bunnies
C15154View 37844 time -
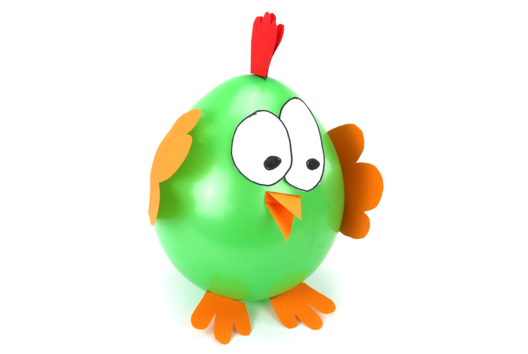
Funny Chicken
C15145View 20050 time -
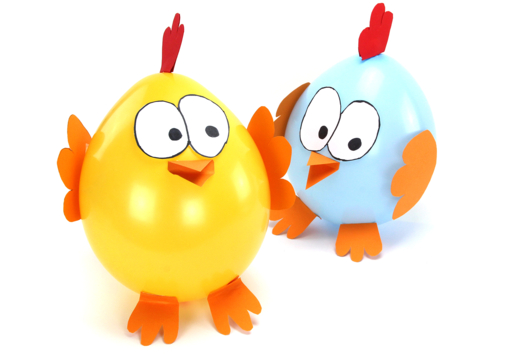
Giant Chickens with Balloons
C15144View 14066 time -
Colorful Bunnies to Hang on the Easter Tree
C15137View 34963 time
Le lapin et la poule rendent très bien dans la maison et même en extérieur ! Facile à faire et efficace pour la décoration !